penicillin
Member
- Joined
- Feb 27, 2019
- Messages
- 1,036
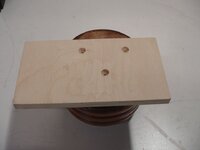
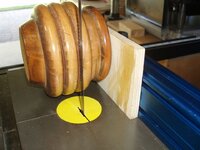
My spouse wants me to cut down a few old sofa feet. She wants to slice off part of the feet and use the slices as new feet for our ottoman.
Initially I thought about mounting them to a board and slicing them on the bandsaw. The problem is getting a perfect straight cut, plus the bandsaw marks that get left behind.
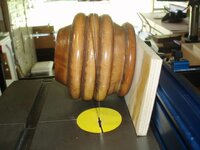
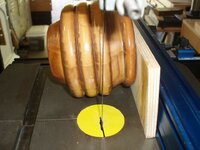
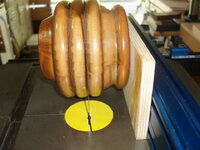
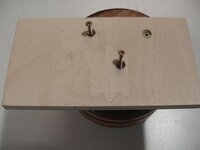
I can see the spur and tailstock marks from when the legs were originally turned, so it occurred to me to mount a foot on the lathe and use a parting tool to get a smooth, perfect cut. The issue there is that my spouse wants me to cut down one of the seams. The seams are thin. My parting tool is the standard size - wider than those seams.
How would you cut this foot along one of those two inner seams?

Initially I thought about mounting them to a board and slicing them on the bandsaw. The problem is getting a perfect straight cut, plus the bandsaw marks that get left behind.
I can see the spur and tailstock marks from when the legs were originally turned, so it occurred to me to mount a foot on the lathe and use a parting tool to get a smooth, perfect cut. The issue there is that my spouse wants me to cut down one of the seams. The seams are thin. My parting tool is the standard size - wider than those seams.
How would you cut this foot along one of those two inner seams?
- Cut by hand?
- I have tools - Japanese hand saws and a typical US-style hand saw.
- Use the lathe and part it?
- I don't have a thin parting tool. I could try to make a crude one by grinding the end of a hacksaw blade.
- Is there a safe way to use a handsaw with a slowly turning lathe?
- Make a frame and use the bandsaw?
- Perfect alignment is always tricky.
- I don't like bandsaw marks.