
Lew
Member
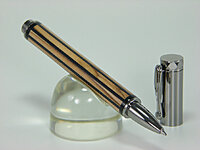
It seems like every question I ask here is so basic that it is embarrassing for me and the people who read them. But anyway. I have thought about making a segmented pen with vertical (or longitudinal) stripes. I have made pens with horizontal stripes out of all kinds of different material. But I can't really find anything specific on the site about the process for vertical stripes. I have seen some comments about being careful when drilling or I'll come out with out-of-kilter stripes.
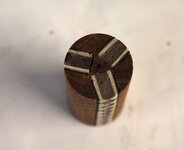
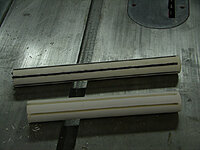
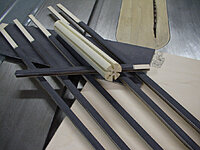
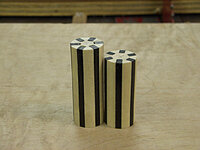
The basic idea I believe is to take a blank, cut it lengthwise, add whatever to it and glue it back together. Do the same to the other side. This process should give 4 stripes. What if I want more or fewer stripes? To have say 3 stripes, do I cut the blank to round and but a kerf every 120 degrees to the center and fill that with the stripe material? Or would 3 stripes look ridiculous?
For more than 4 do I just but the blank more than once on each side? I'm not really looking for advanced technique like curving the stripes.
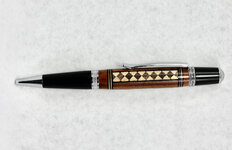
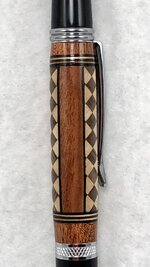
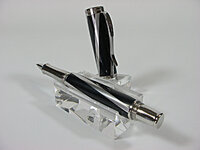
I have been successful so far in making some pens that my friends and acquaintances are willing to shell out some money for them (just enough to cover the expense of the materials). I see, though, pens like in the recent contest that just blow my mind at how precise and beautiful they are. I don't expect to get there soon, but I would like to start the journey.
The basic idea I believe is to take a blank, cut it lengthwise, add whatever to it and glue it back together. Do the same to the other side. This process should give 4 stripes. What if I want more or fewer stripes? To have say 3 stripes, do I cut the blank to round and but a kerf every 120 degrees to the center and fill that with the stripe material? Or would 3 stripes look ridiculous?
For more than 4 do I just but the blank more than once on each side? I'm not really looking for advanced technique like curving the stripes.
I have been successful so far in making some pens that my friends and acquaintances are willing to shell out some money for them (just enough to cover the expense of the materials). I see, though, pens like in the recent contest that just blow my mind at how precise and beautiful they are. I don't expect to get there soon, but I would like to start the journey.
")

")