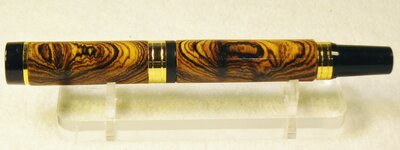
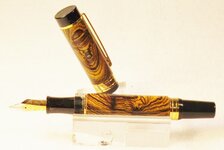
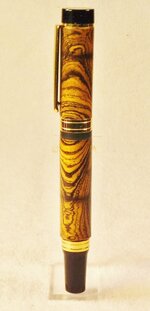
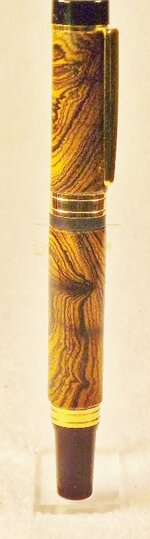
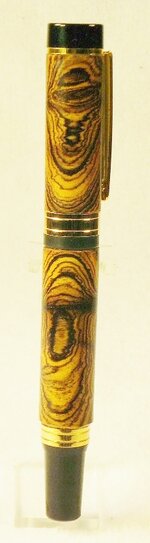
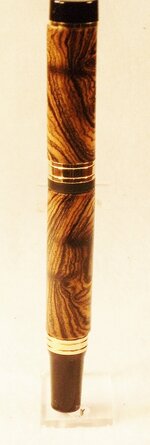
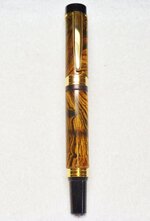
Maybe this will help you. The method I use is as follows. Select a board with some crazy wild grain in it. Measure the thickness of the board. Crosscut the board to this thickness making a square endgrain blank. Place the two blanks side by sde as they were cut from the board. Mark the surface for later referance and grain match. Swing the two blanks out to make one long blank. Now you have an endgrain bookmatched 360 degree pattern. The next steps are the tricky part. You must find and mark the exact center of each blank. I use a spring loaded center punch to mark the blank centers. Next mount the blanks in the lathe and use a centering drill to start your holes. Follow with the drill needed to fit your tubes. Glue the tubes in the blanks on the marked end of the blanks as close to te edge as you can. Cut your blanks to length and square the ends. Turn your blanks to whatever shave you desire, but try to keep the two marked ends the same size or close at least. If you have a center band, and are a little off, it won't be noticeable. Finish your blanks, remove from lathe, and check your grain alignment. Remember on a bookmatched piece the two barrels will be mirror images not straight grain matches. Press your fittings in by first matching the grain and than pressing in the parts. There, you have all my secrets !! Crosscutting the board gives you the wild grain patterns, but may also require some CA to hold it together. It's not that hard, just takes a little more time and some precise measuring and drilling. If you have any other question, don't be afraid to ask. Hope this helps !! Jim S