BigShed
Member
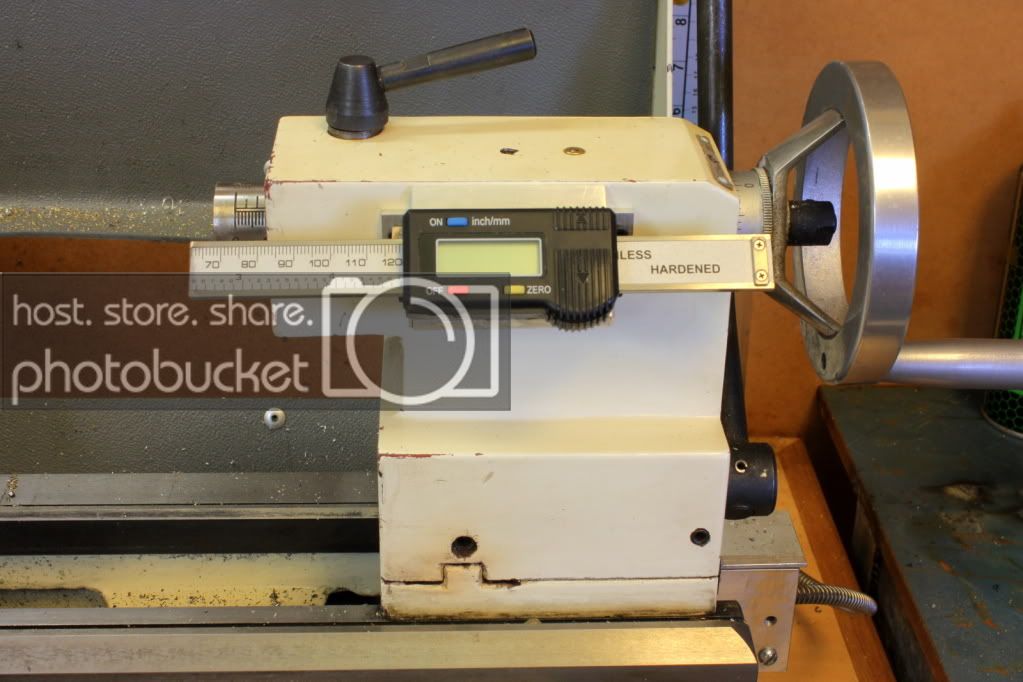
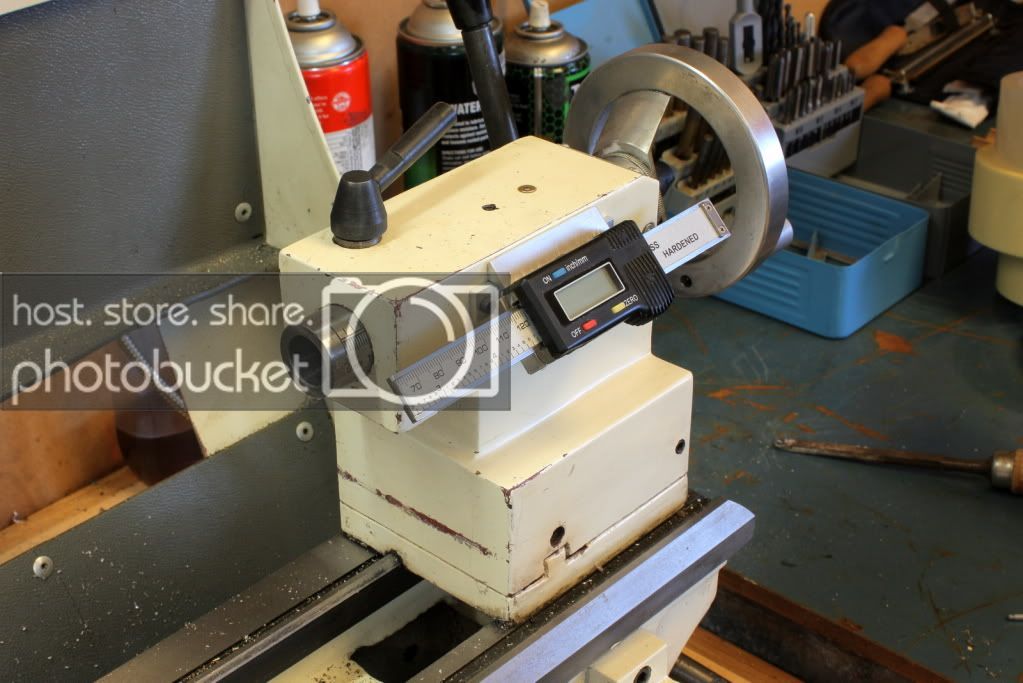
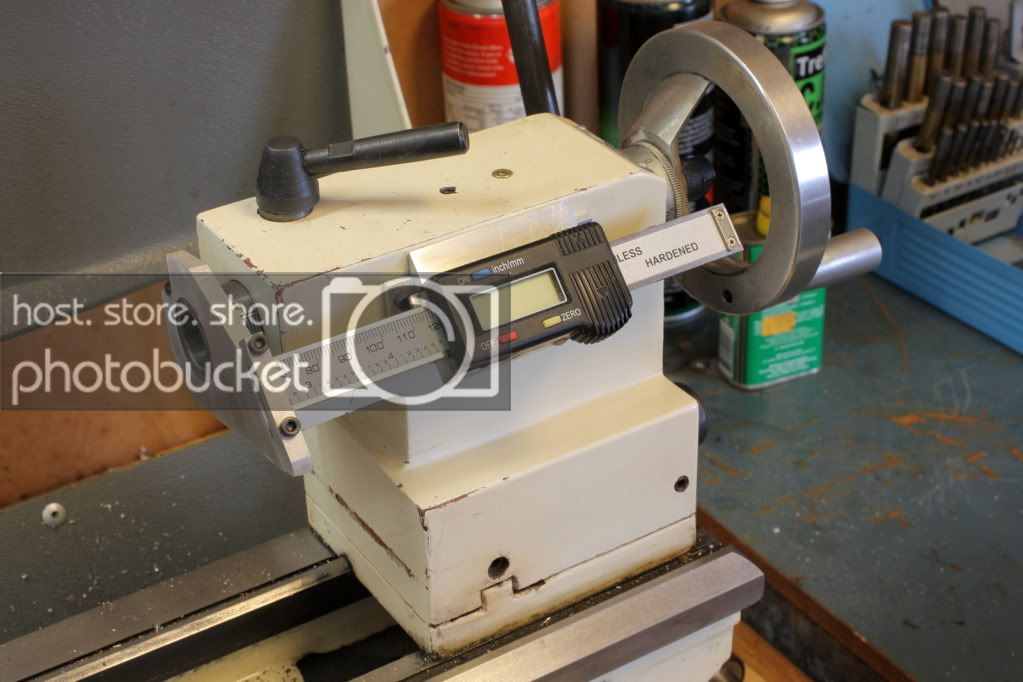
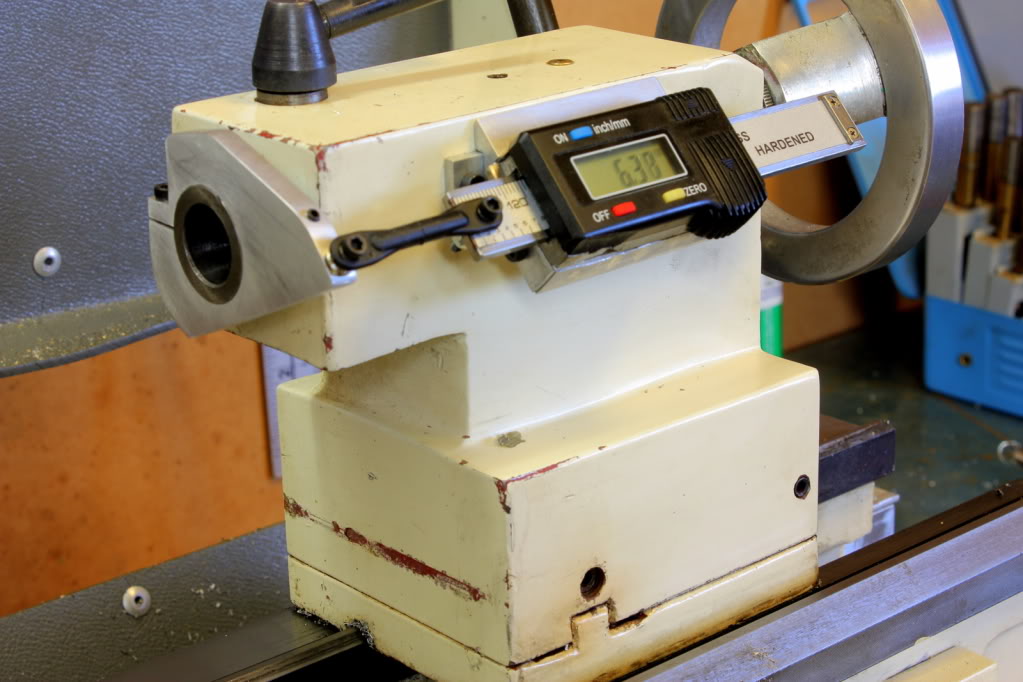
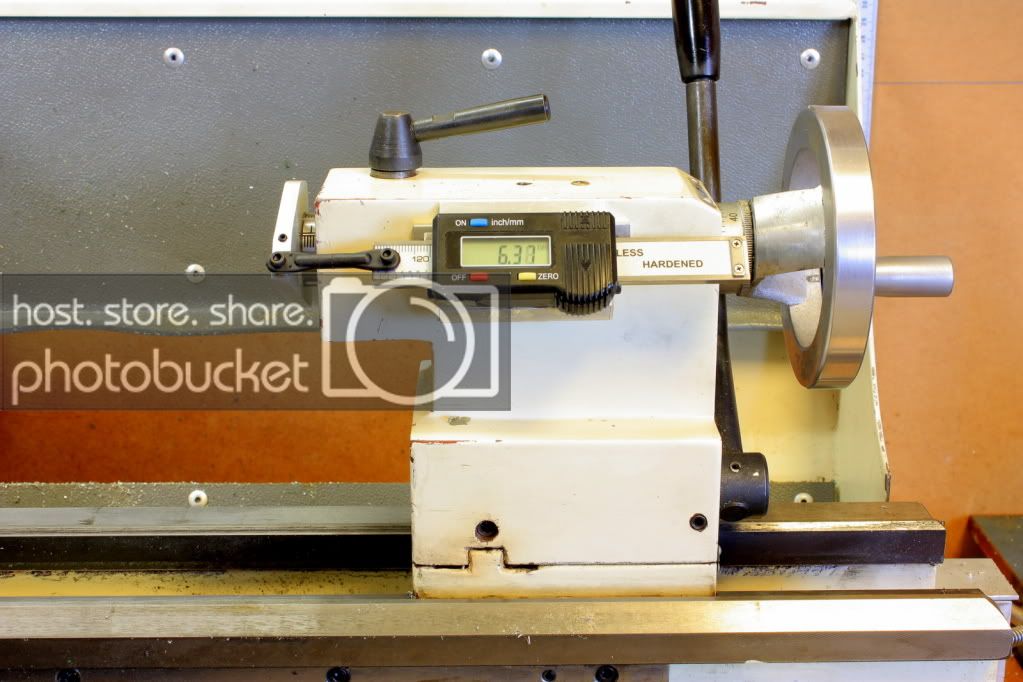
.......Yet Another Tailstock DRO (don't you just love acronyms?

(This is a repeat of a thread I posted back in September last year on Woodwork Forums in Oz, as most of you may not have access to that forum and I posted some pics in a thread here I thought I would repeat the full original thread here)
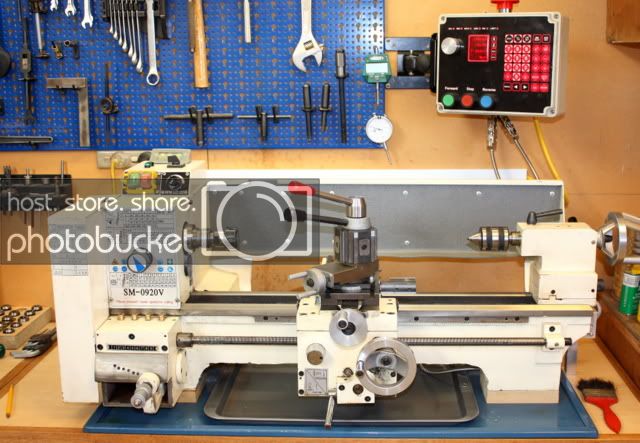
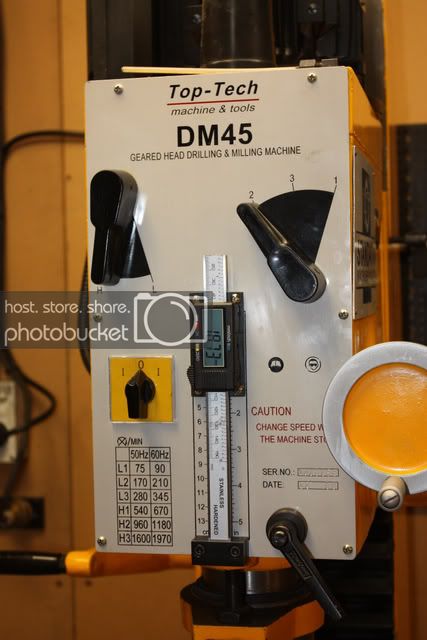
For some time I have been wanting a DRO on the tail stock of my metal lathe, particularly after adding one to the quill of my DM45 mill.
I have been saving various links of how other people have done it and my main inspiration for this one is a thread on HSM.
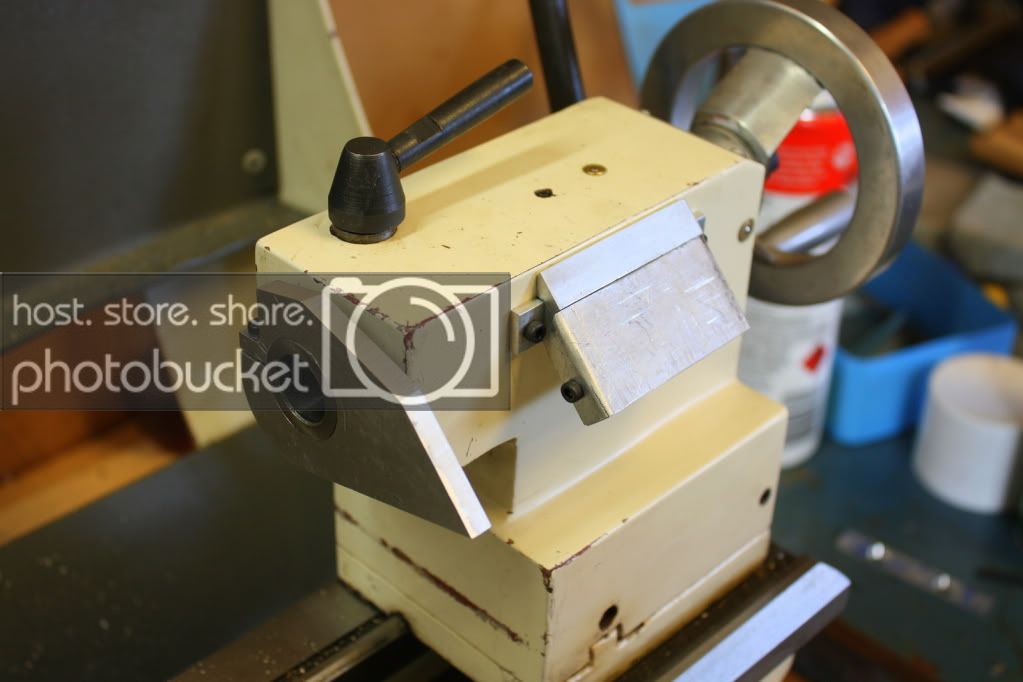
Ideally I would have liked the DRO to flat on top of the tailstock, but this is made impossible by the tailstock locking knob and the oiling point on top.
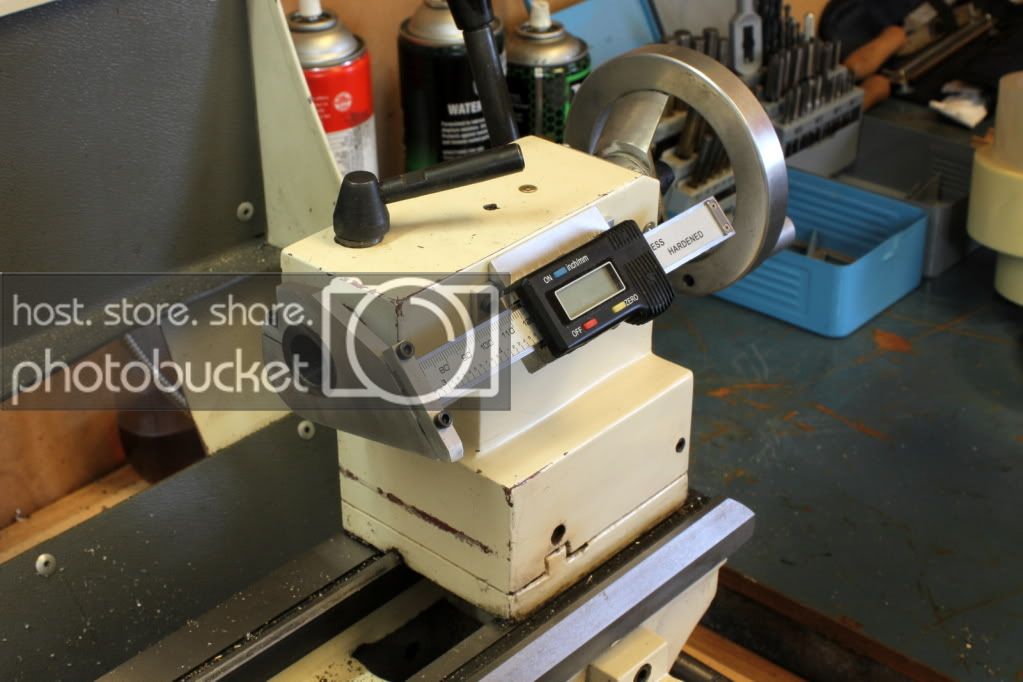
So I opted to go for the approach in the above link, but used a 45deg angle.

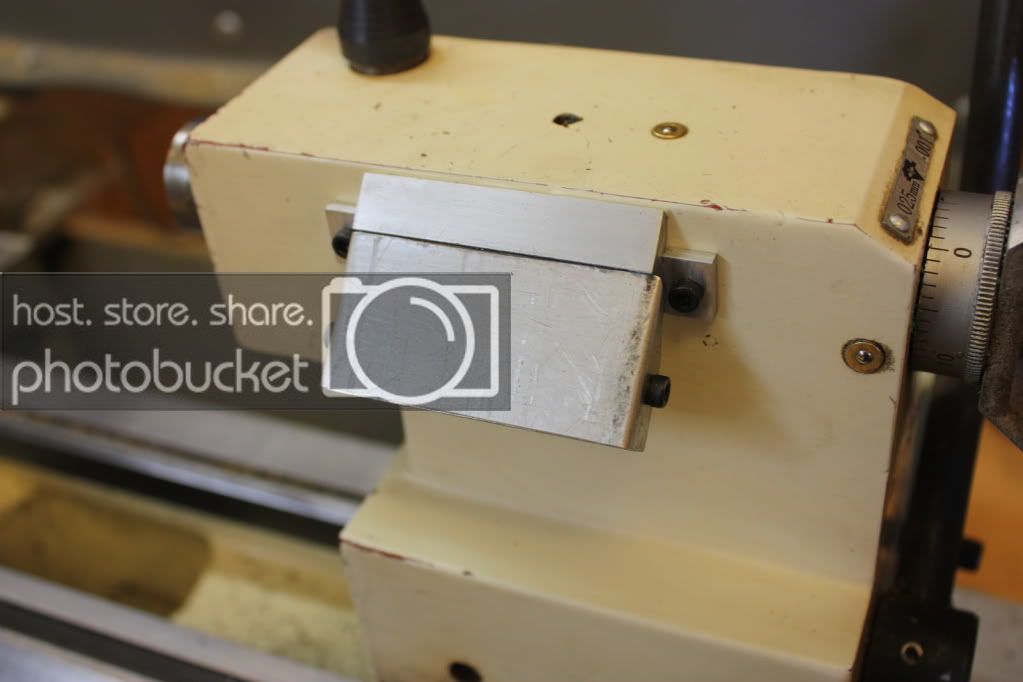
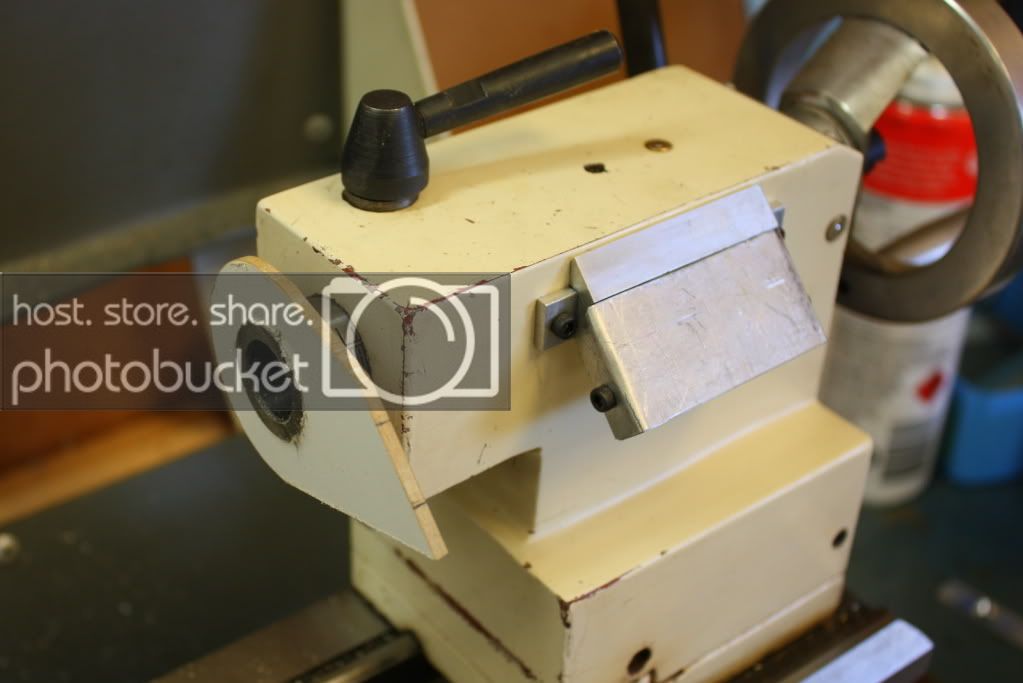
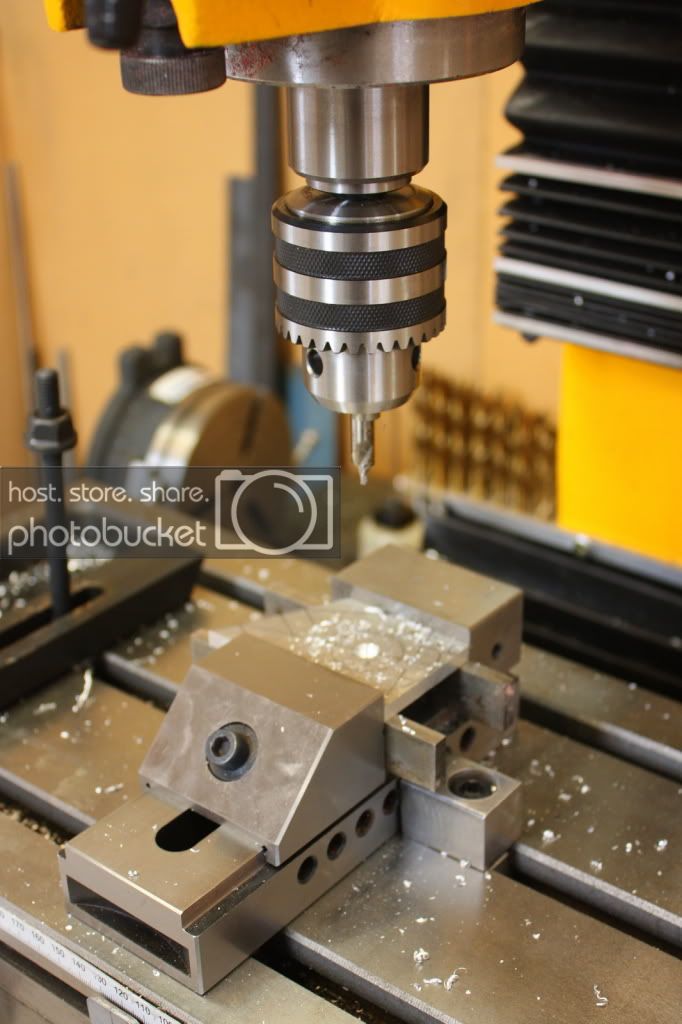
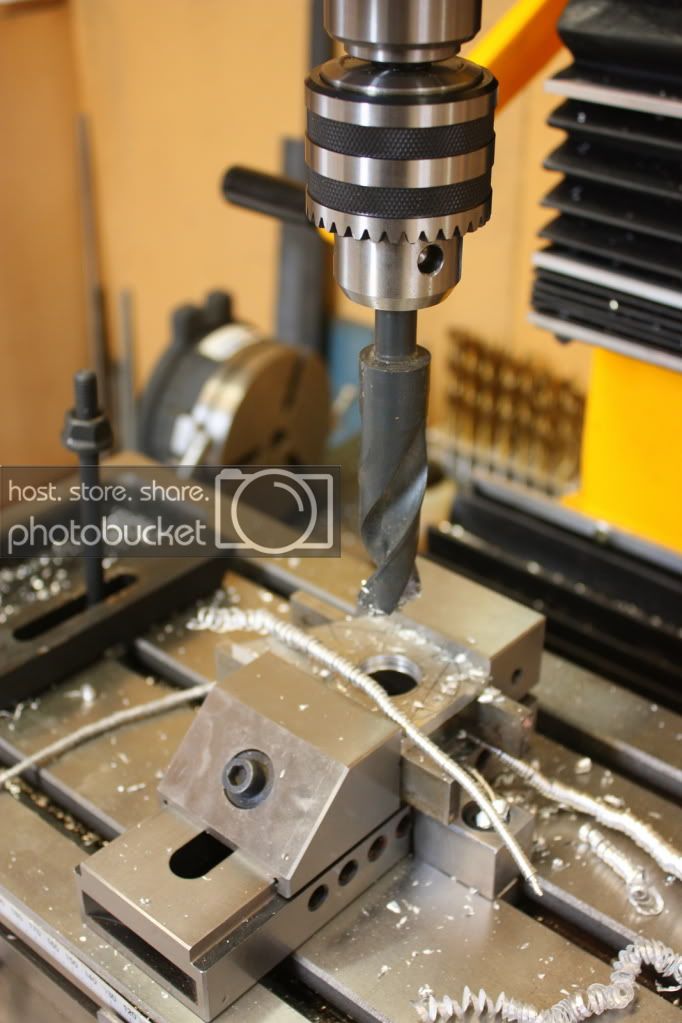
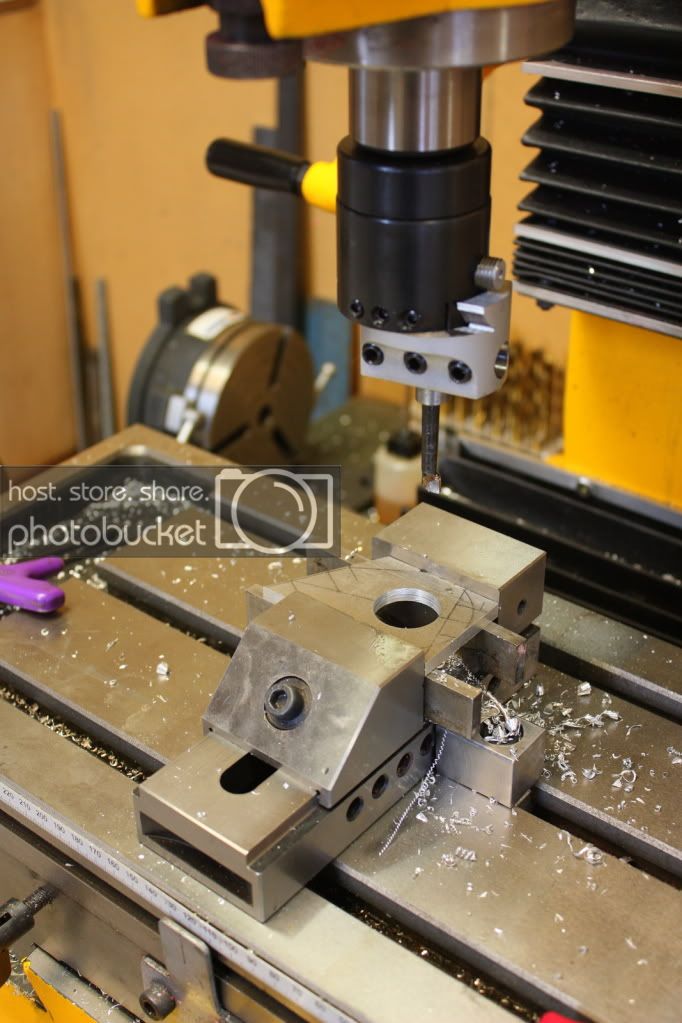
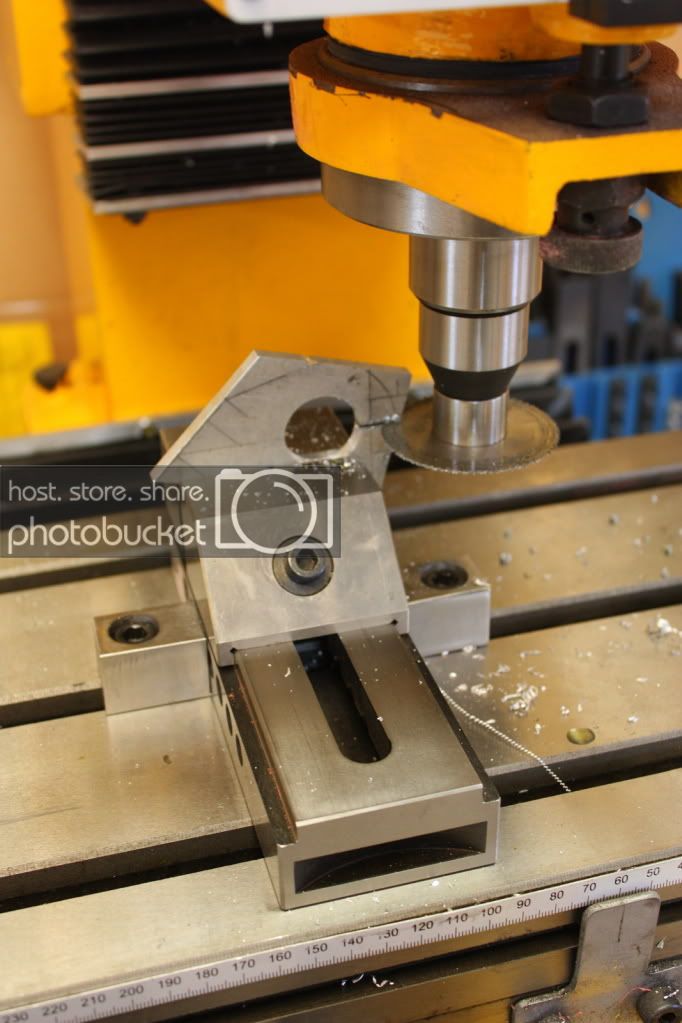

I wanted to be able to remove the DRO easily, so bent up a piece of aluminium to fit on top of the bracket.

Because of the angles involved I opted to make a template out of some 3mm MDF first.

This proved to be an easy approach and gave some precise measurments, time well spent.

Once the template was made and the pattern transferred to some 6mm aluminium, I could start on making the 26mm hole for the tailstock quill.

Most of the metal was removed with a 7/8" drill, which proved rather quick.

The on to the 2" borng head, first time I had used this tool, and what a great tool this is and so easy to dial precise adjustments to the hole diameter.


On to the slitting saw to make a clamp section.
Last edited:

