Scooley01
Member
I'm starting to become a lot less satisfied with my sharpening. I've been doing it freehand because that's all I have...I'm considering getting a jig.
Anyone familiar with the Wolverine jig? I know it's pretty popular and supposedly works well...I'm just wondering how much set-up is involved. I read the instructions for it online, and it mentions it being necessary to mount it (along with your grinder) so that they don't move in relation to each other...my shop space is very (Very very) limited, so I'm not sure what I would mount it to.
Anyone familiar with the Wolverine jig? I know it's pretty popular and supposedly works well...I'm just wondering how much set-up is involved. I read the instructions for it online, and it mentions it being necessary to mount it (along with your grinder) so that they don't move in relation to each other...my shop space is very (Very very) limited, so I'm not sure what I would mount it to.
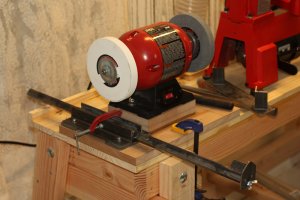
") what I was told it has to do with the proper height from the center line of the wheel axle to the base for the proper geometry for the jigs to hold the tools. You can have everything mount to the board and then that can be moved around the shop. The holders and the grinder remains in line and the proper distances, all the time.
what I was told it has to do with the proper height from the center line of the wheel axle to the base for the proper geometry for the jigs to hold the tools. You can have everything mount to the board and then that can be moved around the shop. The holders and the grinder remains in line and the proper distances, all the time.