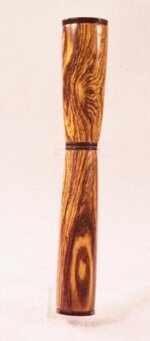
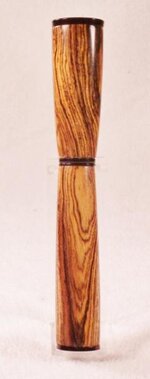
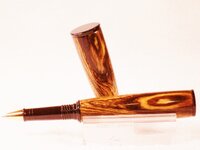
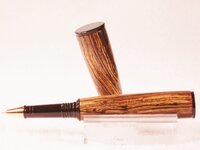
:bananen_smilies051: Congrats to all !! You are all correct in one form or another. John T has the closest explaination of how it was done. Having seen several of these kits made up at a show last month, I didn't like the look or feel of the pens. I purchased several kits to see if I could do something with them. I changed the design to about a 60/40 ratio, with the large end being the cap instead of the hand piece. Now it fits much better in the hand, and looks more proportional when open. You can't just reverse the bushings ( if you bought them ) because the two tubes are different sizes. So my choise was to use standard bushings or turn on centers. I used bushing to fit the tubes and a calipers for the blank size. All four ends are different sizes. You need a 5 1/2" X 1" blank for this pen also, because the larger cap is 3/4" and the length of the pen is over 5"s. The alterations, besides the size of the end caps and them being reversed, were as follows. The large end cap with the small tube had to be super glued to the short blank. Remove the spring before you glue it on. The small cap needed to have the large part of the tube removed and filed flat, it's all one brass piece, then Super glued to the long blank. The middle fittings go in as designed. Place the spring in the long tube, screw on the nib section, and your ready to go. Make sure your grain lines up before you press in the coupler. I think the original design, when open, looks like a wooden stake used to slay vampires, and is very uncomfortable to hold. But than again I keep a lei of garlic hanging in the kitchen. As John T said, it is a desk pen and will stand on it's end upright. It is a great platform to start with however, and would lend itself to segmenting quite well ! I did this redo to show the newer turners that you don't have to conform to the style or size of the kit you purchased, but can add your own twist to the design. Thanks for your input and comments. Jim S