Hi all,
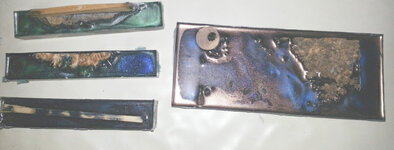
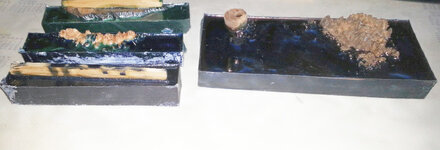
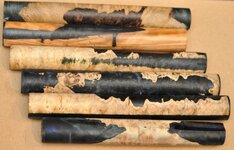
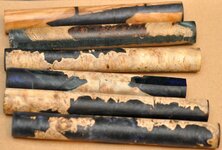
The first time I made a casting with worthless wood and Urethane resin, the brand "Smooth-On" Crystal Clear 200.
Tomorrow I'll post new pics with turned blanks.
PS: some shims were glued during the casting process.
Even though I can see lots of "strange" things poking out of the resin:biggrin::wink::wink

you will get better at floating prevention)
, the whole process is not that difficult to do and the most important thing is the excitement built up until you have then cut and turned or square and varnished to show what you've got.
Colors mixes and effects are a little harder to achieve but a little practice and you will learn what works.
There are 2 things that I strongly recommend to those wanting to cast;
*- 1
Do you resin mixes and pours at the end of your working day,
and leave it alone..!
This will allow for an overnight pressurization (for those using the pressure pot), it will make you want to get up in the morning and be all excited about what you got in the pot and make the day more interesting...!
*-
2 Never put the molds in the oven/microwave to finish setting the surface stickiness or general resin hardness...!
Doing so, you are simple transforming your resin into a very brittle material that will cause you all sorts of problems when turning so, after the molds are removed from the pot, if there is a surface stickiness, put the molds outside in the sun, or if the weather is not favorable, put them in a warm environment, either your shed or house until that soft surface has dried, then you are ready to go...!
Looking forwards to see how they come out...!
Cheers
George