
Roy_Quast
Member
2 router bits, 2 hold down clamps and some scrap wood to make a new jig.....$75.00.
1 blank of ebony, 1 sheet of brass and a little CA glue....$30.00.
Making a blank that I was told "could not be made".........
PRICELESS
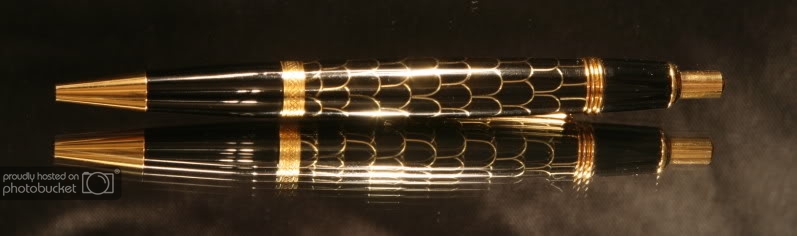
What do you think?
Ti gold click sierra, .010 brass and ebony.
Roy
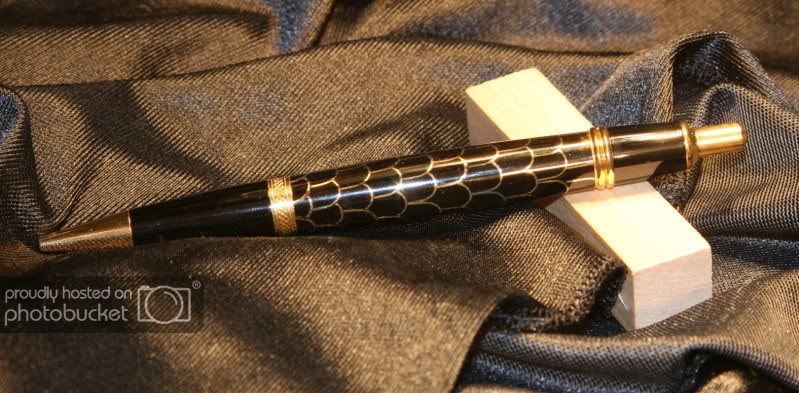
1 blank of ebony, 1 sheet of brass and a little CA glue....$30.00.
Making a blank that I was told "could not be made".........
PRICELESS
What do you think?
Ti gold click sierra, .010 brass and ebony.
Roy
")