sorcerertd
Member
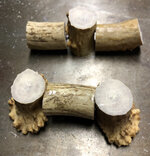
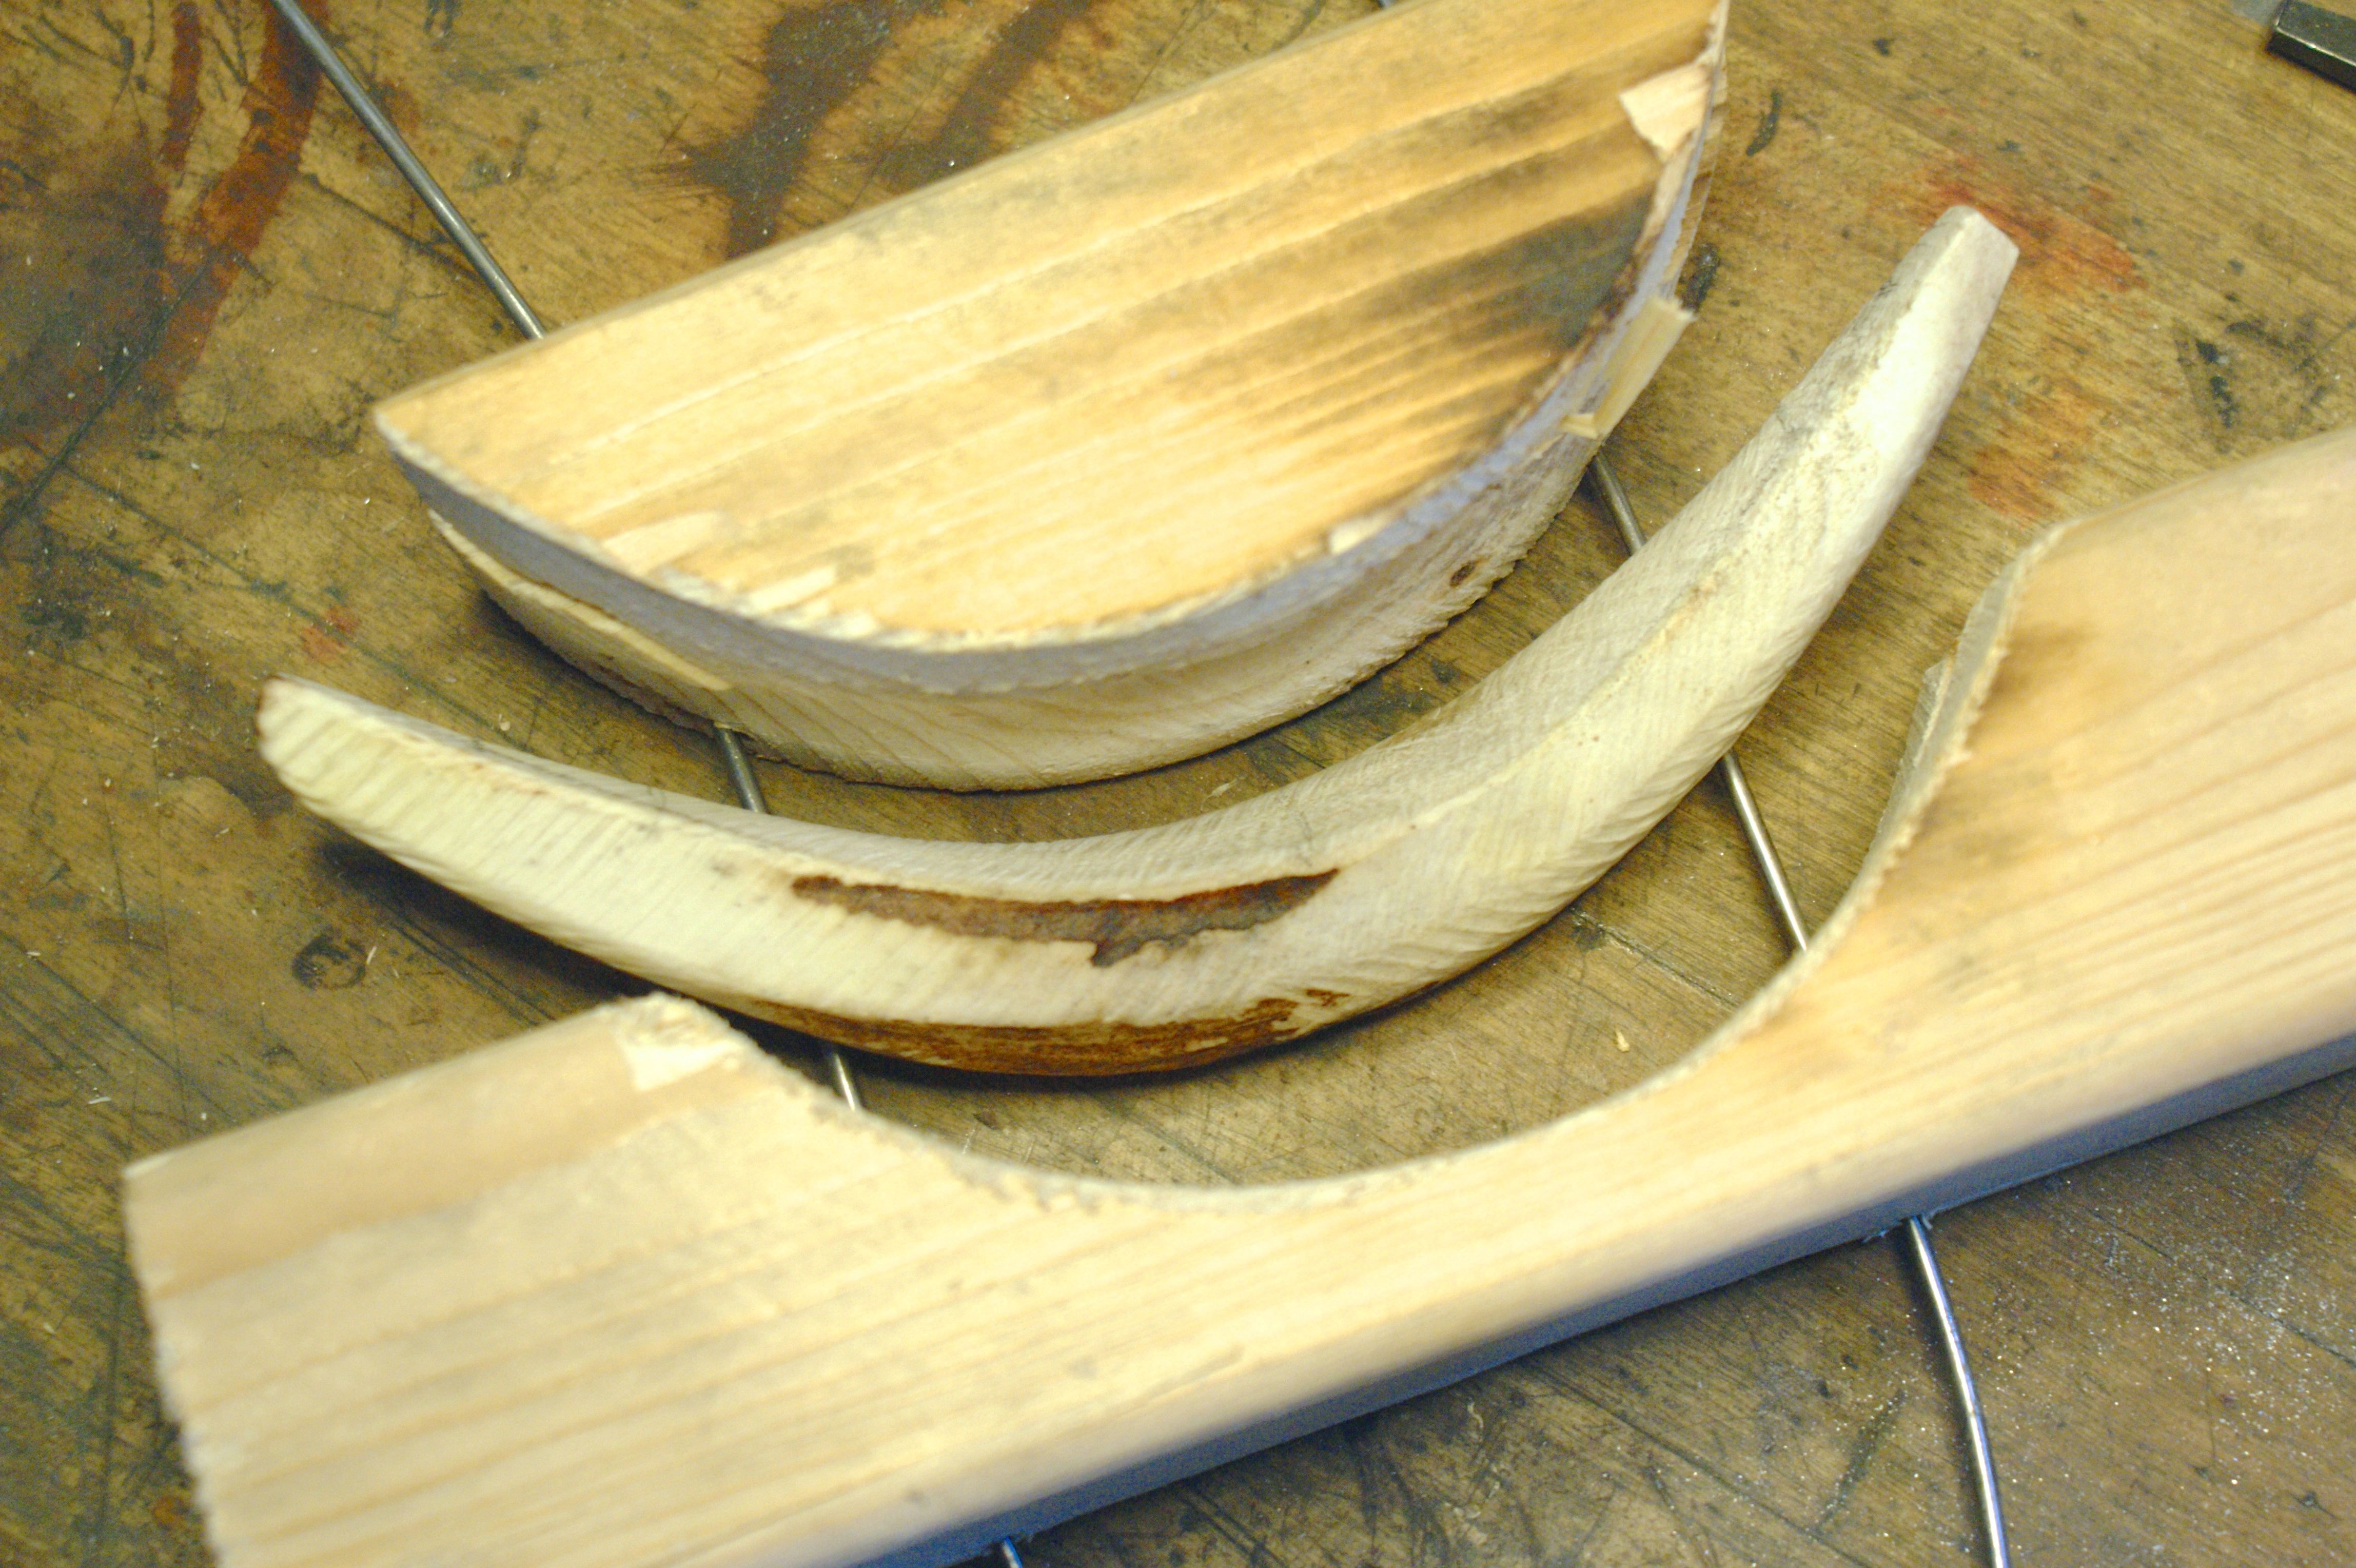
Hi all! A friend gave me an antler shed he found yesterday. I don't know how long it was sitting, but it's in good shape. I've read up on drilling, turning, and safety, but wasn't sure if I could just dive right in or if it needed to be "seasoned" somehow. Also, I'm thinking I should glue up with epoxy vs Gorilla poly glue due to the foam filling in any pores and potentially showing through on the final product. What's your experience been with it?