I wanted to try something different with cap threads and here is what I've come up with so far today. If I don't wreck it, then I'll finish it tomorrow
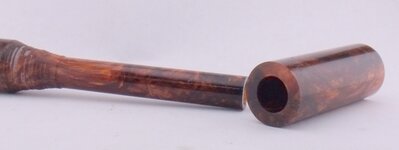
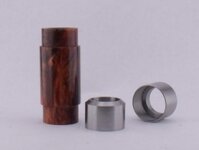
Pic 1 shows two pieces of PR. The hole and the outside diameter are a nice slip fit.
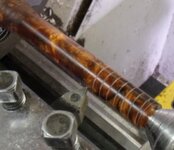
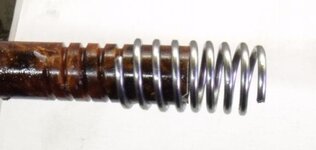
Pic 2 shows the first of dozens of cuts done with the lathe gears set to do a 3.5mm pitch. These were done with the lathe off and by cranking the leadscrew. Because of the high gearing, it may be easier to turn the chuck, but be warned, never alternate or you will discover all about backlash.:redface: DAMHIKT
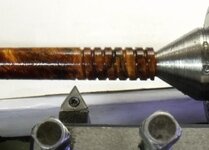
Pic 3 is the finished male threads. I did the same with the female threads for the cap. Took over two hours to thread both!!
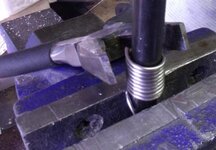
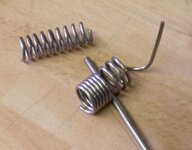
Pic 4 is of a transfer punch which is slightly smaller than the pen body. I wrapped a 1.5mm stainless welding rod around the punch and kept it tight and even with a pair of pliers. These are cheap pliers that I filed the grip off of the jaws.
Pic 5 is spreading the coils to suit.
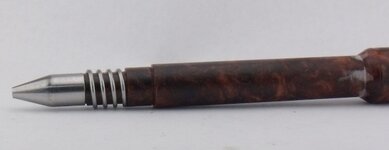
Pic 6 is a trial fit.
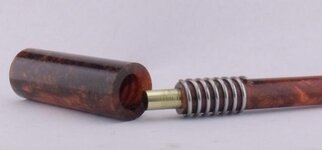
Pic 7 is the thread fitted and a brass tube installed. The brass will be threaded to take a nib.
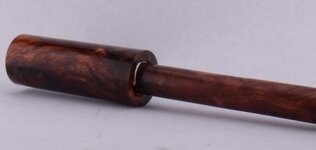
Pic 8 is the body screwed into the cap.
I'll turn it down and add trim rings etc once I figure out how to make it look decent......unless I break it first:biggrin:
The coil threads will also act as a 'grip' for the pen.
Pic 1 shows two pieces of PR. The hole and the outside diameter are a nice slip fit.
Pic 2 shows the first of dozens of cuts done with the lathe gears set to do a 3.5mm pitch. These were done with the lathe off and by cranking the leadscrew. Because of the high gearing, it may be easier to turn the chuck, but be warned, never alternate or you will discover all about backlash.:redface: DAMHIKT
Pic 3 is the finished male threads. I did the same with the female threads for the cap. Took over two hours to thread both!!
Pic 4 is of a transfer punch which is slightly smaller than the pen body. I wrapped a 1.5mm stainless welding rod around the punch and kept it tight and even with a pair of pliers. These are cheap pliers that I filed the grip off of the jaws.
Pic 5 is spreading the coils to suit.
Pic 6 is a trial fit.
Pic 7 is the thread fitted and a brass tube installed. The brass will be threaded to take a nib.
Pic 8 is the body screwed into the cap.
I'll turn it down and add trim rings etc once I figure out how to make it look decent......unless I break it first:biggrin:
The coil threads will also act as a 'grip' for the pen.