monophoto
Member
Let me preface my thoughts by saying that I don't sell stoppers. Instead, I give them away – whenever we go to someone's home for a party or dinner and take a bottle of wine, I also take along a stopper. So my objective in making them is to have fun.
1. Plated vs stainless vs silicone vs cork – lots of options to choose from. I ruled out cork because I'm not sure they can be cleaned adequately between use – cork seems to soak up wine (especially, red wine). I have used plated metal stoppers – they initially look nice, but eventually, wine does attack the plating. That leaves stainless steel and the silicone sleeve and dowel design. A big differentiator is price – stainless steel stoppers are really nice, but they are about five times as expensive as silicone sleeves. I tend to use far more of the silicone sleeve design, but I do keep some Ruth Niles stainless steel shoppers for special occasions. But if I were to make them for sale, I would probably favor stainless.
2. Dimensions – pretty much anything goes, but it is possible for stoppers to be too big. I think 3-4" is about as tall as I want to go – anything beyond that looks strange. And if the overall height of the bottle and stopper is too tall, that increases the risk of inadvertently tipping over a bottle of wine. Likewise, the diameter needs to be reasonable – typically 1-2".
3. Tooling – You really don't need special tooling. I use a mandrel that screws onto my lathe spindle, and I have a second (shop-made) mandrel that I use if I need to finish a stopper on the lathe. But a 3/8-16 bolt held in a Jacobs chuck, or a shop-made screw chuck would work just fine.
3. Design considerations
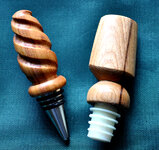
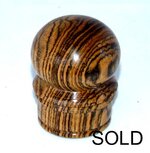
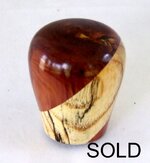
- · A big no-no is to have a pointed top. When you insert a stopper into a bottle, you tend to press down with your hand, and a pointed top hurts. So the top must be either flat or rounded.
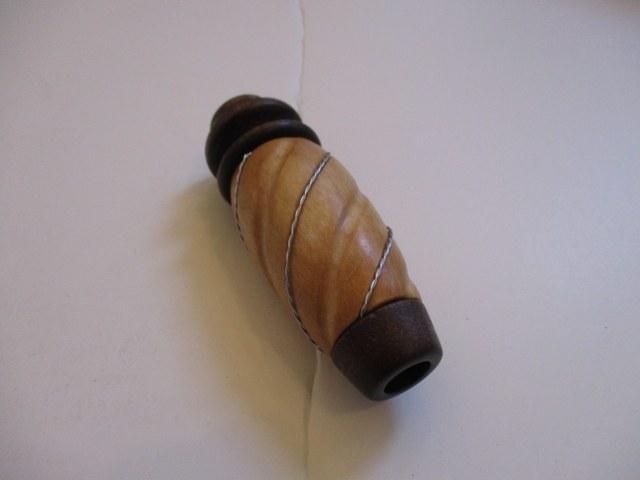
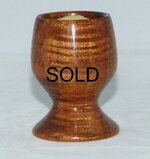
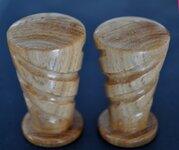
- · I've done simple round turnings, turnings with captive rings, turnings involving segmented wood, and multi-axis turnings. Because I make them for fun and to give away, I can afford to spend as much time as I want on each one. Obviously, however, if I were selling them I would tend to think more in terms of production efficiency.
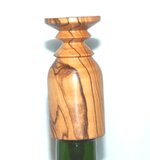
- · I prefer to have a recess on the bottom of the turning so that the seam between the turning and the stopper (and bottle top) is hidden behind the lower edge of the turning, but this does take time to do and could be a concern for a production turner.
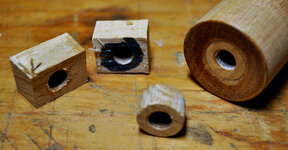
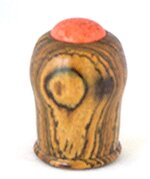
- · An interesting specialty is to do an inverted stopper in which the steel or silicon stopper is contained inside the turning, and the turning then comes down over the top of the wine bottle. This design is ideal for white wines that have to be refrigerated – because the top of the turning only needs to be thick enough to contain and hide the thing that attached the stopper to the turning (the threaded stud or the dowel), the inverted design can be much shorter than a standard design, and therefore requires less head-room in the refrigerator.
- · Most of the stoppers I've made in the last couple of years have three coats of a shop-made wipe-on varnish, and then are buffed and waxed. Wipe-on poly is also a very good finish for wine stoppers.
- · I've also used pure tung oil on a few stoppers.
- · I would not use shellac or a shellac-based friction polish out of concern that the alcohol in wine could affect the finish.