jjjaworski
Member
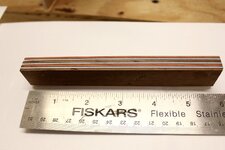
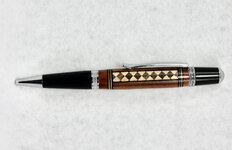
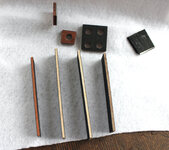
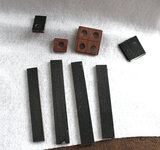
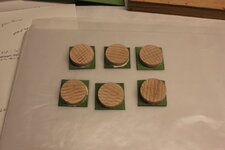
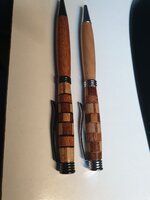
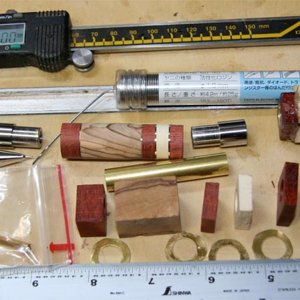
I was wondering how segment's drill holes in veneer spaces when building a blank on the tube. I wanted to try this method of building to get smithy when adding end caps to a segmented central section.
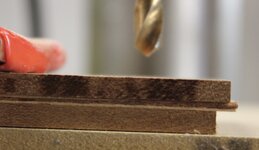
I have seen one method in a segmenting video where a brass tube is used in a drill press. The inside of the tube is shaped to get a knife edge at the end of the tube so it cuts cleanly.
Any other methods that I might try before botching up too much veneer.
Thanks for any suggestions.
Jim
I have seen one method in a segmenting video where a brass tube is used in a drill press. The inside of the tube is shaped to get a knife edge at the end of the tube so it cuts cleanly.
Any other methods that I might try before botching up too much veneer.
Thanks for any suggestions.
Jim