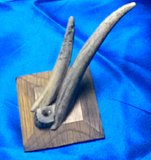
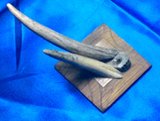
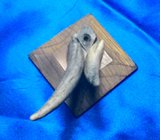
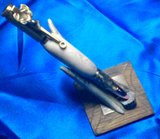
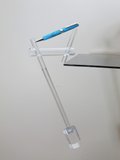
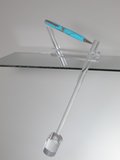
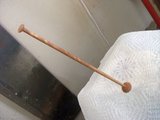
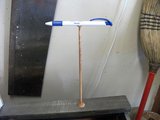
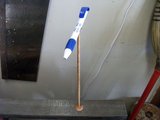
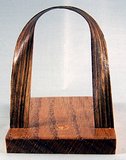
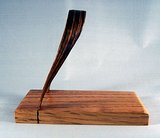
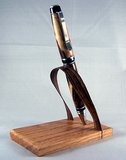
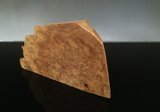
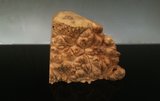
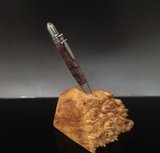
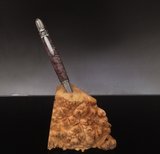
Pen Stand 2
Materials used are: Superglue, Oak, Deer Antler.
Tools used: 1/8th inch drill bit, 3/8ths inch drill bit, cordless drill, vise, hacksaw, 120-grit 1 inch x 30 inch sanding belt on HFT Central Machinery Belt/Disc combo sander, 2 inch buffing wheels mounted to the same sander (in place of the disc), white buffing rouge, and the good old fashioned eyeball.
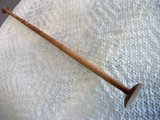
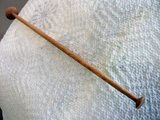
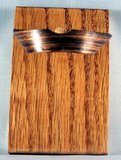
I took a small piece of leftover oak stock from the side of a dresser drawer that got scrapped and cut a rough square off of it. Used the sander with 120 grit belt to grind the bevels by eye. I made sure to sand with the grain to minimize sanding marks. Afterwards, I added a little white rouge to my buffing wheels that are mounted on the side of the sander in place of the 5 inch disc sander, and I buffed the wood directly from 120 grit. This left a lot of black particulate all over the wood from previous metalworking buffing jobs, but aging the appearance of the wood was part of the intent, so this was acceptable. The wooden base of the stand is now complete.
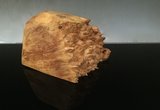
I took some antler tines left over from doing some Deer Hunter pens and selected 2 tines that bent in opposite directions. Used the vice and hacksaw to get appropriate sized sections. I also selected from my scrap box a small scrap of antler that was cut in the shape of a wedge. This was the cutout section between two actual pen blanks in order to give me a dead on spot to place my drill for drilling the blank. I sanded the surface and ground off two flats on either side to give room for the tines to mount close in. I drilled through the top to the bottom of the wedge a 1/8th inch hole to give myself a "glue application hole" and I countersunk that hole with the 3/8ths bit to give the nib of the pen a place to "seat" on the surface of the wedge. The entire wedge was then buffed the same as the oak base.
The antler tines were then ground so as to somewhat mate up with the section of antler wedge and roughly run parallel to each other at about the same angle. I ground a bit, then checked angle and eyeballed it. I then buffed the antler tines the same as the oak and the antler wedge. The metal particulates from the buffing wheel help to age the appearance of the antler tines as well.
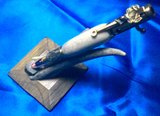
Superglue was applied into the hole in the wedge to seat it in a corner of the oak board, and then superglue was dabbed on the locations I determined that the antler tines would sit. 20 minutes was allowed for the drying/curing process before photographs were taken. Entire project took approx 1 hour from start to photographs.
The pen included in the pictures is a PSI Deer Hunter Bolt Action pen in Deer Antler (Antique Brass)
