Orange Camo Kitless #1 in progress

Signed-In Members Don't See This Ad

InvisibleMan

Member
Joined
Feb 13, 2011
Messages
716
Location
San Jose, CA
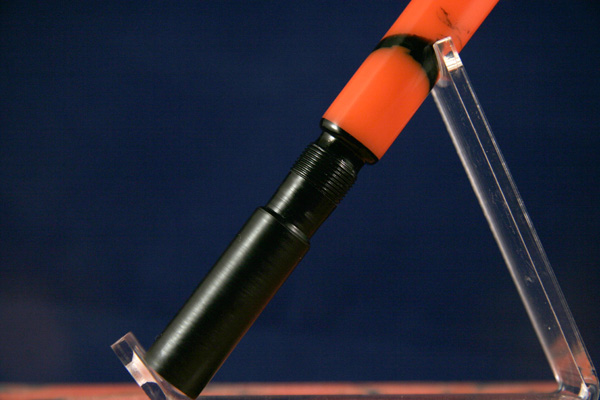
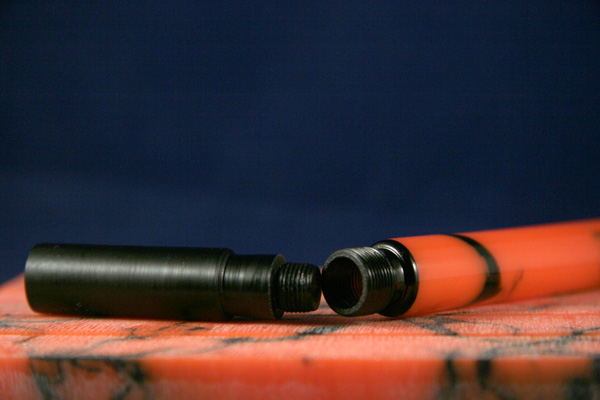
Just a thread for my first kitless pen.....in progress:biggrin:. Actually, I wanted a pic now, because when I get back from coaching baseball practice, I'm going to break it trying to tap for the section. I smoothed out the back of the cap threads and I think it's too thin. Going to be touchy:eek:

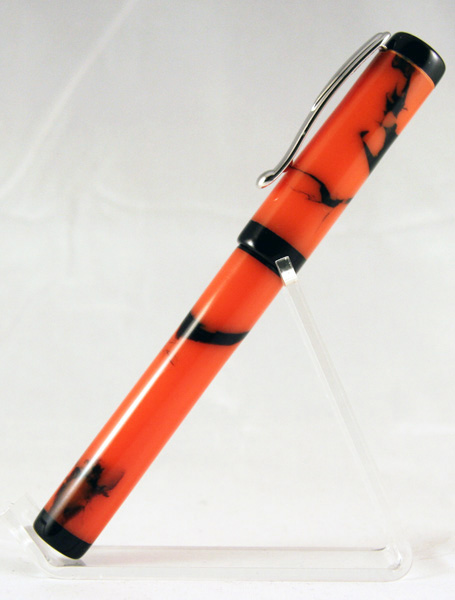
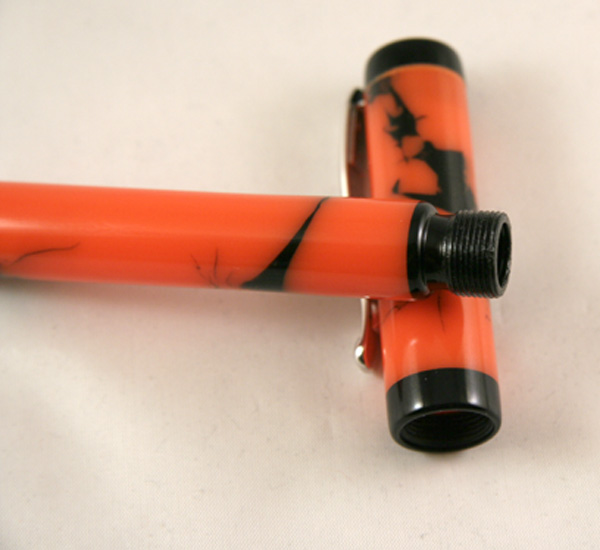
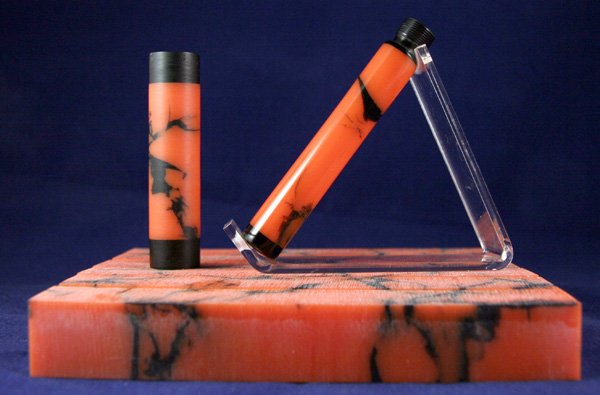
This is my Orange Camo PR.

1_Orange_Camo_Marble.jpg
 
Signed-In Members Don't See This Ad
Woot! The pen survives! So far:smile:.

I managed to tap the section threads into the body of the pen, and started on the section itself. The threads have been cut, but it still needs to be drilled and shaped. I have drills on order for that part of the project, so it'll wait until they arrive. In the mean time, I have the cap to sort out. I haven't decided whether I want to part off the top black finial so I can reconfigure for a clip or not.

Here's my section in progress. The threads are impossible to keep clean for a photo. This is fun:biggrin:.

1_Orange_Camo_Marble_Section_1.jpg


1_Orange_Camo_Marble_Section_2.jpg
 
Thanks, Guys! If anybody needs a fountain pen for filling out a deer tag in the field, I've got the goods:biggrin:

I've decided pens need clips, so I'm going to take the cap finial off tonight and make a new one. My clips I've ordered shouldn't be here until well past my patience breaking point, so I'll rip off a Jr. Gent or Jr. Statesman kit. Maybe a cigar. I have a polished (I think? The silver colored one) Bock #5 nib, so I'll go with a rhodium clip. Would gold look better on this blank? Not sure. Black Ti would be great, but I haven't seen a black Ti nib before.

Hopefully I can drill out the section over the weekend and be done with my first kitless pen! Very exciting. I'm also excited to see the rest of these blanks in action. I picked the runt out of the litter because I was pretty sure I'd destroy it, but it looks pretty good after all. The rest should be really nice, hopefully.

Lyle
 
OK, the cap is done. I did take a Jr. Statesman clip off a pen I don't like. I think it works well, although the ring may be a touch too large for this pen. The recess is a little wide and the walls a little thin around it. You may be able to see the color is slightly light right at the seam with the cap finial.

I need to find a way to shape and finish entire parts of the pen at the same time. I had both the cap and body of the pen going half at a time with my collets. The result is some slight rippling when I run my fingers along the pen. Not noticeable by eye though.

I also got thread happy. The cap takes 10.5 turns to screw down all the way. Can I part half of them off without problems at this point?

Anybody see anything else to work on?

Section is next and last. Hopefully I'll get my drill bits tomorrow:biggrin:

1_Orange_Camo_Marble_Cap_Done_redo.jpg


1_Orange_Camo_Marble_Cap_Done_2.jpg
 
Last edited:
Nice looking pen Lyle, but I have to ask, don't these types of pens break easier then a kit pen does? I've heard somewhere along the line that they did, and I was just wondering if there was any truth to it or not? If so, how easy are they to break, and why? Thanks
Len "lucky2"
 
Nice looking pen Lyle, but I have to ask, don't these types of pens break easier then a kit pen does? I've heard somewhere along the line that they did, and I was just wondering if there was any truth to it or not? If so, how easy are they to break, and why? Thanks
Len "lucky2"

Thanks, Len. This is my first kitless pen ever, so I have no experience. I wouldn't think they'd break any easier than a component pen with normal use though. Maybe others will chime in.

I will say that the cap screws down nice and tight, though. Much more secure feeling than any kit pen I've ever made.
 
Last edited:
Some of my students have dropped acrylic and PR pens at school. 3 feet onto concrete. Yikes! So far no cracks or casualties.

The easiest way to finish the barrel and cap all at once is to turn the whole thing at once. Put the blank in your 4 jaw chuck, drill it out, thread the inside, turn it down, thread the outside (unless it's a cap), part the piece off, and you're done. Well, you should sand and polish it before parting it off.

I think that's pretty much it. :)

That's exactly what I was thinking of doing. Actually, the 4 jaw chuck might work better than the collet chuck doing it that way. Hmm. Experiment time.

Either way, I definitely can leave more material for whichever chuck to hold onto. I started with way too little material this time. I did get the pen done with one orange blank though, but not worth the loss in quality.

The REALLY hard part for the next pen is deciding which blank to use. I also want to give a kitless go with my wood plaid segmented blank design. I'll need more taps and dies for that one though. I'll need PR sleeves to thread, lots of fun stuff.:smile:
 
Back
Top Bottom