mmayo
Member
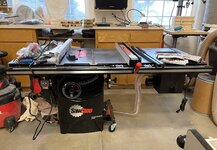
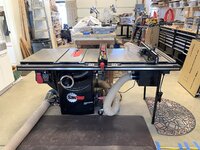
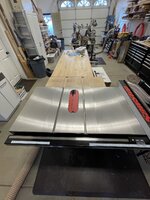
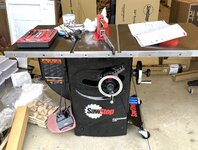
Yesterday I put together my new SawStop table saw. The three cast iron inserts were very heavy which is now good since they are bolted in place. I opted for the router table extension with dust collection. Next week the router lift arrives to complete the system. So far every was superb quality. It will definitely be an upgrade from my Delta contractors saw that has served me well. The photo shows the saw early yesterday as I start the build.
I have an suv filled with heavy cardboard and styrofoam to take to our transfer station for recycling.
I have an suv filled with heavy cardboard and styrofoam to take to our transfer station for recycling.
Attachments
Last edited: