
TerryDowning
Member
Several months ago, while on the way back to work, a tree removal company was removing some maple trees from an apartment complex. I wound up with an 18" section of trunk, that the tree guy was willing to halve for me on the spot. Most of the other trunk sections and larger limbs were already claimed by a guy looking for firewood, and he did not want to share (what a waste).
Anyways, I don't own a chain saw (yet) so I sealed the ends and let this sit until I would have the time to work on it with hand saws. In late June, I had some time and it wasn't too hot yet, so I went at preparing a blank for turning. Trimmed the length to approximately square, marked the center, drew as large a circle as I could, then cut the corners off so I could get it on my lathe.
I did the basic turning on July 10th, placed it in a brown paper bag with some of the shavings and let it sit for 2 months. I took it out and used a Jam chuck to turn the tenon round again.
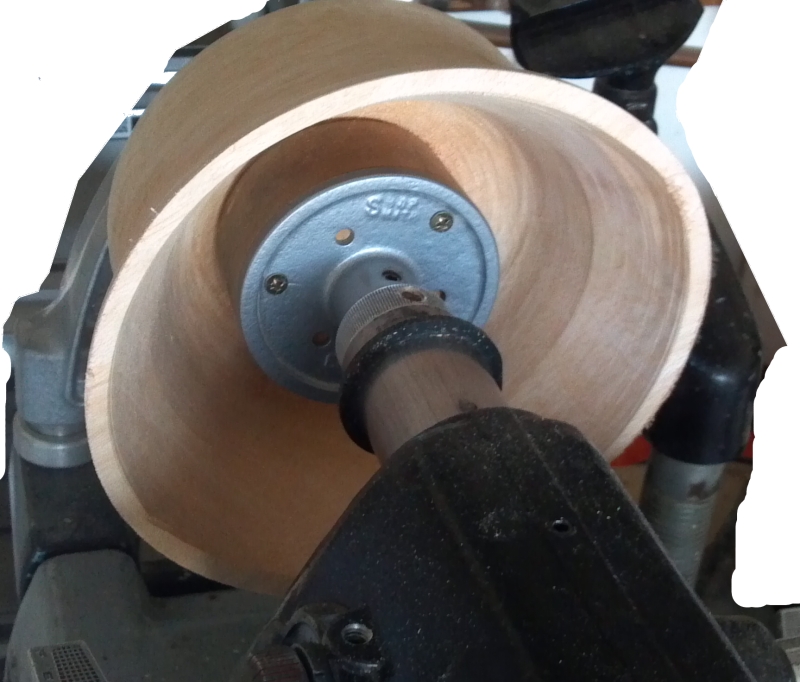
I didn't leave enough meat on the side walls to turn the whole bowl round again, so I just trued up and rounded the bottom portion. I'll do things differently with the next bowl. I'll either turn it to finish dimensions, let it warp naturally and then true the bottom and apply the finish when finished drying, or leave enough meat on the sides to make it concentric and finish when dry. I had to spend a lot of time with a 40 girt skew at very low speed to remove the tool marks from the first turning, then some with 60 grit, progressively sanding through the grits until I go to 220.
Once I got to 220 and could not see any more tool or sanding marks, I applied the first coat of General Finishes "Wood Turner's Finish", I like this finish, it's easy to apply and leaves a nice glossy finish. One issue though, if you have never used a water based finish, this one will raise the grain. the next time out, I'll raise the grain first with some water sand smooth then start applying finish. I had to sand at 150 and 220 after the first application, 220 after the second, 320 after the third and 400 after the 4th and 5th applications. It was a hot day (about 100 degrees or so and the finish dried quickly between applications (10-15 minues or so). After the final sanding, I let it stand for 1 hour or so and finished it off by buffing with Tripoli and white diamond compounds.
Comments and Critiques are welcome.
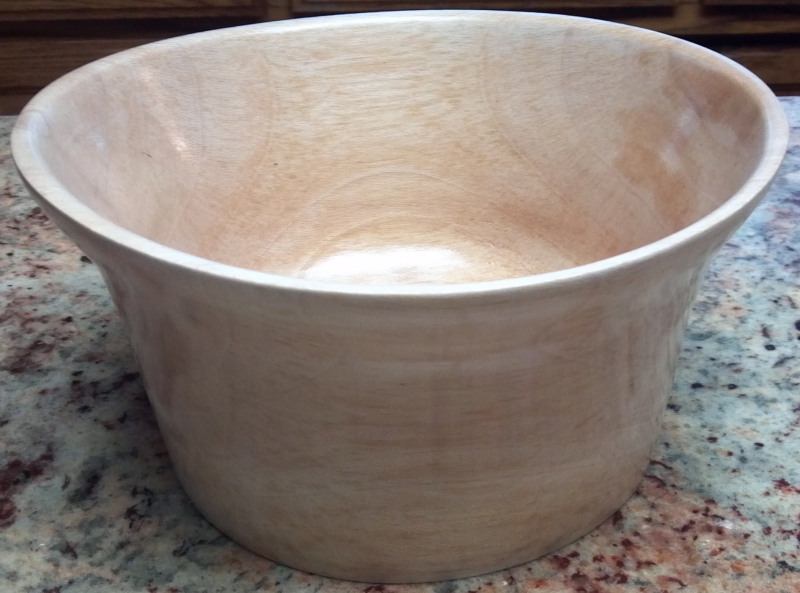
Finished bowl is approximatel 11" diameter (top rim) x 6" tall
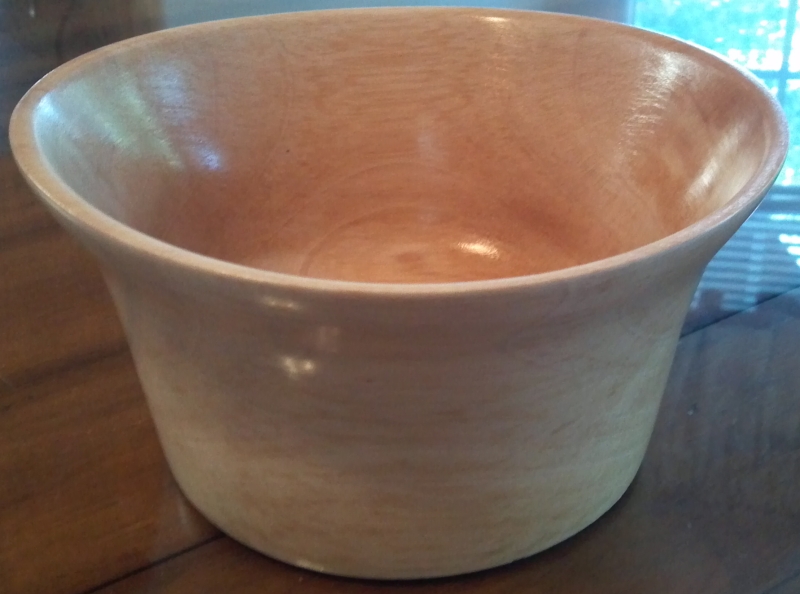
same bowl with differnt lighting. It's amazing to me how lighting effects appearance.
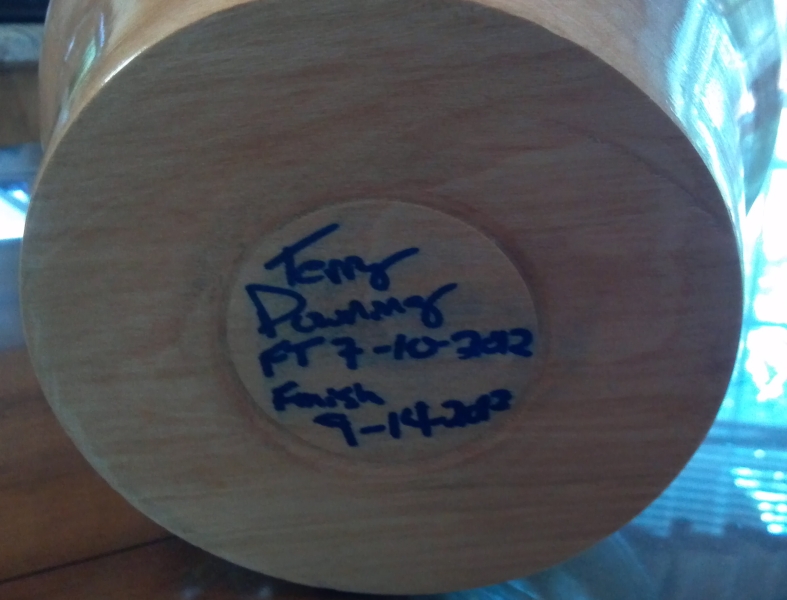
Signed and Sealed
I don't yet know what I'm going to do with this bowl, whether it will be a new dust collector, a gift, salad bowl, fruit bowl, or whatever. We'll see...
Anyways, I don't own a chain saw (yet) so I sealed the ends and let this sit until I would have the time to work on it with hand saws. In late June, I had some time and it wasn't too hot yet, so I went at preparing a blank for turning. Trimmed the length to approximately square, marked the center, drew as large a circle as I could, then cut the corners off so I could get it on my lathe.
I did the basic turning on July 10th, placed it in a brown paper bag with some of the shavings and let it sit for 2 months. I took it out and used a Jam chuck to turn the tenon round again.
I didn't leave enough meat on the side walls to turn the whole bowl round again, so I just trued up and rounded the bottom portion. I'll do things differently with the next bowl. I'll either turn it to finish dimensions, let it warp naturally and then true the bottom and apply the finish when finished drying, or leave enough meat on the sides to make it concentric and finish when dry. I had to spend a lot of time with a 40 girt skew at very low speed to remove the tool marks from the first turning, then some with 60 grit, progressively sanding through the grits until I go to 220.
Once I got to 220 and could not see any more tool or sanding marks, I applied the first coat of General Finishes "Wood Turner's Finish", I like this finish, it's easy to apply and leaves a nice glossy finish. One issue though, if you have never used a water based finish, this one will raise the grain. the next time out, I'll raise the grain first with some water sand smooth then start applying finish. I had to sand at 150 and 220 after the first application, 220 after the second, 320 after the third and 400 after the 4th and 5th applications. It was a hot day (about 100 degrees or so and the finish dried quickly between applications (10-15 minues or so). After the final sanding, I let it stand for 1 hour or so and finished it off by buffing with Tripoli and white diamond compounds.
Comments and Critiques are welcome.
Finished bowl is approximatel 11" diameter (top rim) x 6" tall
same bowl with differnt lighting. It's amazing to me how lighting effects appearance.
Signed and Sealed
I don't yet know what I'm going to do with this bowl, whether it will be a new dust collector, a gift, salad bowl, fruit bowl, or whatever. We'll see...