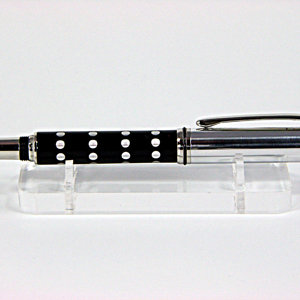
In my continued quest to try and create retro/vintage styled pens, I've been researching the design styles of the 60s, 70s, and 80s, and in some cases even the 20s (as there some really nice designs that came out of the 20s). Circles are often a popular design element, especially from the 60s, and I've been wondering how to integrate them into a custom blank design.
Solid circles seem to be fairly strait forward. I picked up a plug cutter set from Harbor Freight, which makes it a little easier to cut out solid cores to place into the full pen blanks.
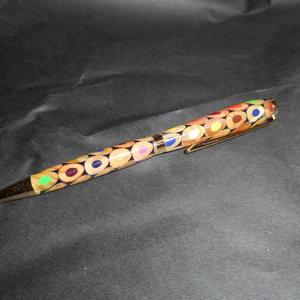
I'm now wondering if it is possible to create open circles, rings...maybe out of simple tubes? I suspect I could find white and black plastic tubes of some kind, but...what about other colors? I am also wondering if it would be possible to cut holes in a solid blank of the right size that such tubes could be sungly fit into. I think the snug fit is likely to be the biggest problem.
Solid circles seem to be fairly strait forward. I picked up a plug cutter set from Harbor Freight, which makes it a little easier to cut out solid cores to place into the full pen blanks.
I'm now wondering if it is possible to create open circles, rings...maybe out of simple tubes? I suspect I could find white and black plastic tubes of some kind, but...what about other colors? I am also wondering if it would be possible to cut holes in a solid blank of the right size that such tubes could be sungly fit into. I think the snug fit is likely to be the biggest problem.