
Charlie69
Member
- Joined
- Apr 12, 2013
- Messages
- 189
All the goodies I needed to start working on fountain pens arrived by Friday last week so I set out to make my 1st one. If these photos help someone who is curious about making Fountain Pens on a wood lathe that's great. Equally as important are tips from the folks who have made a few of these. Comments, suggestions and questions are welcome.
I set the camera up on a tripod next to me and took tons of photos. Hope this is OK with the moderators. We don't get a lot of action in the FP forum so I figured it won't hurt to add a little content:wink:.
The pen isn't finished yet so this is a work in progress. I'll update with more photos asap. I skipped photos for a lot of the steps in making the pen, my apologies
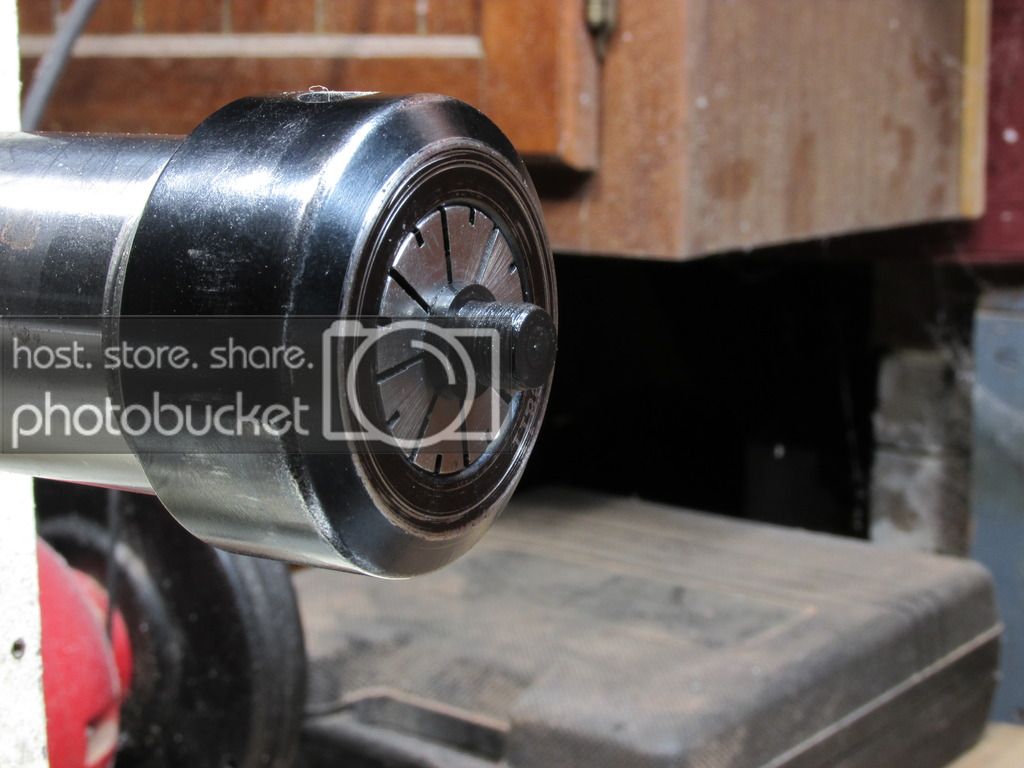
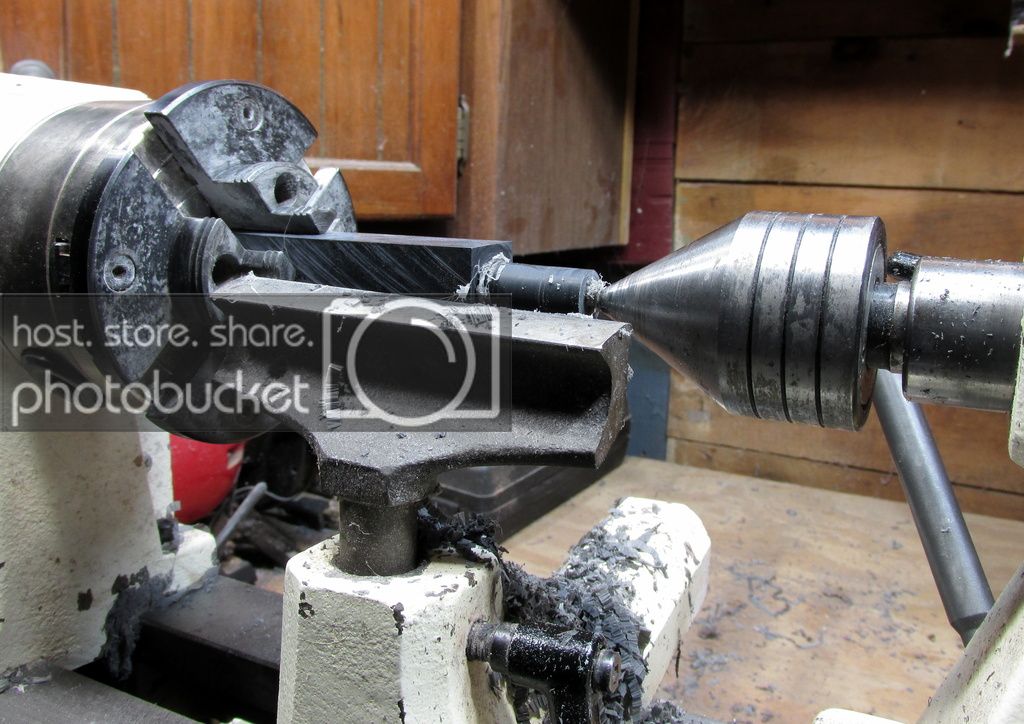
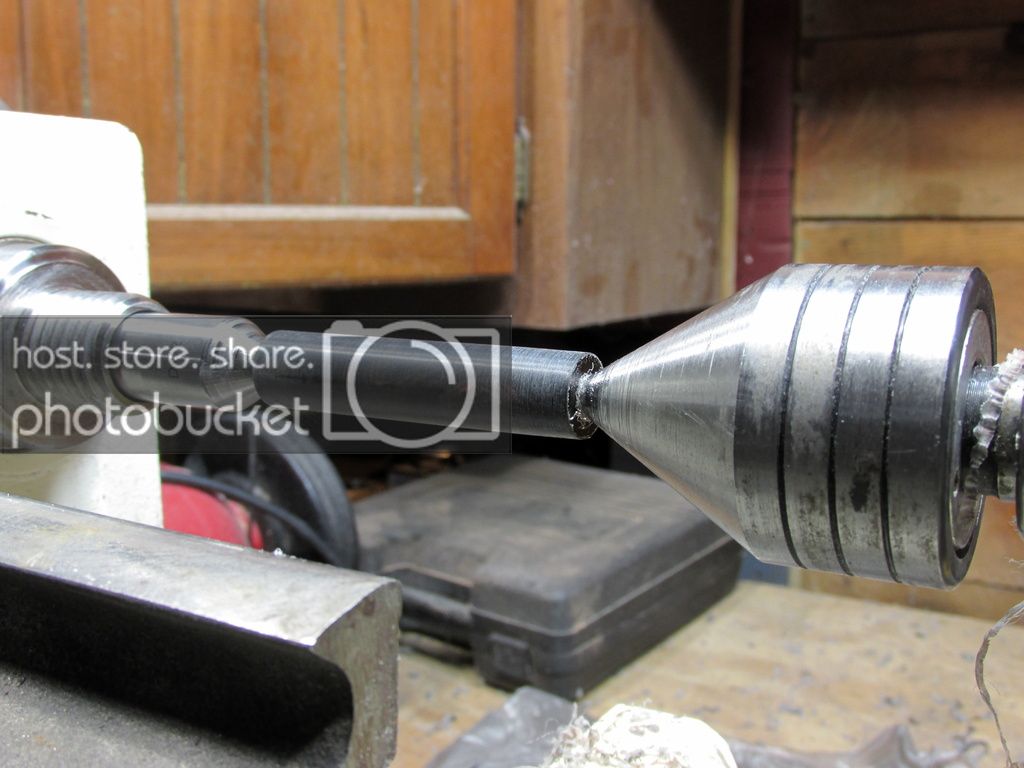
Started by turning the blank round.

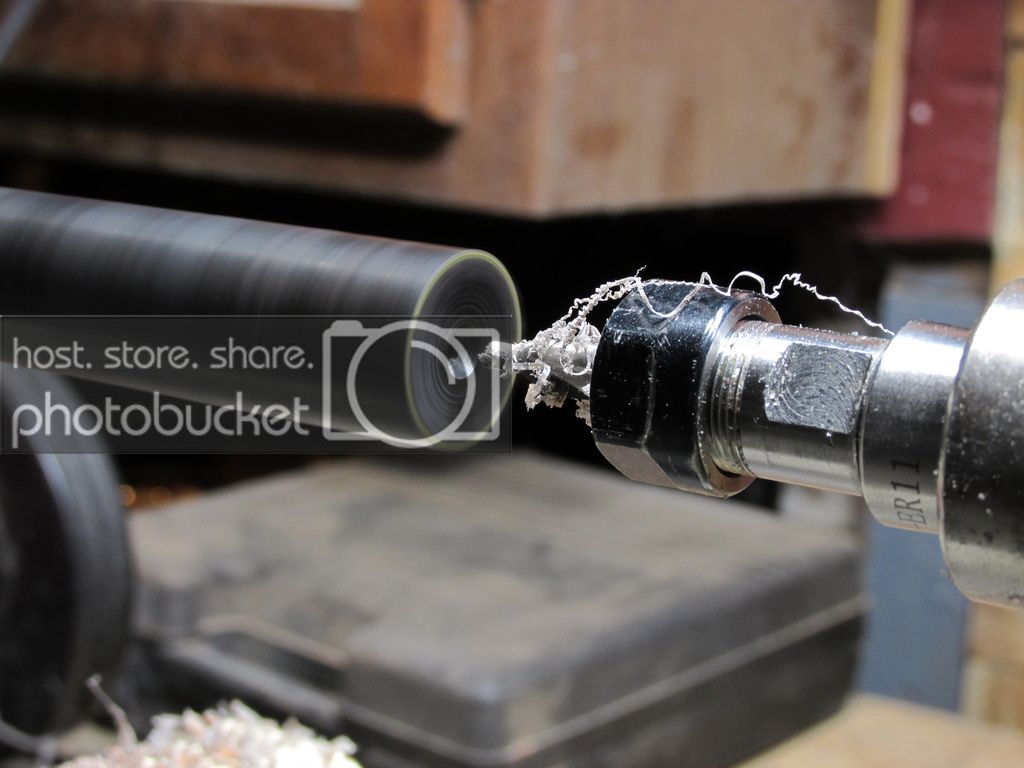
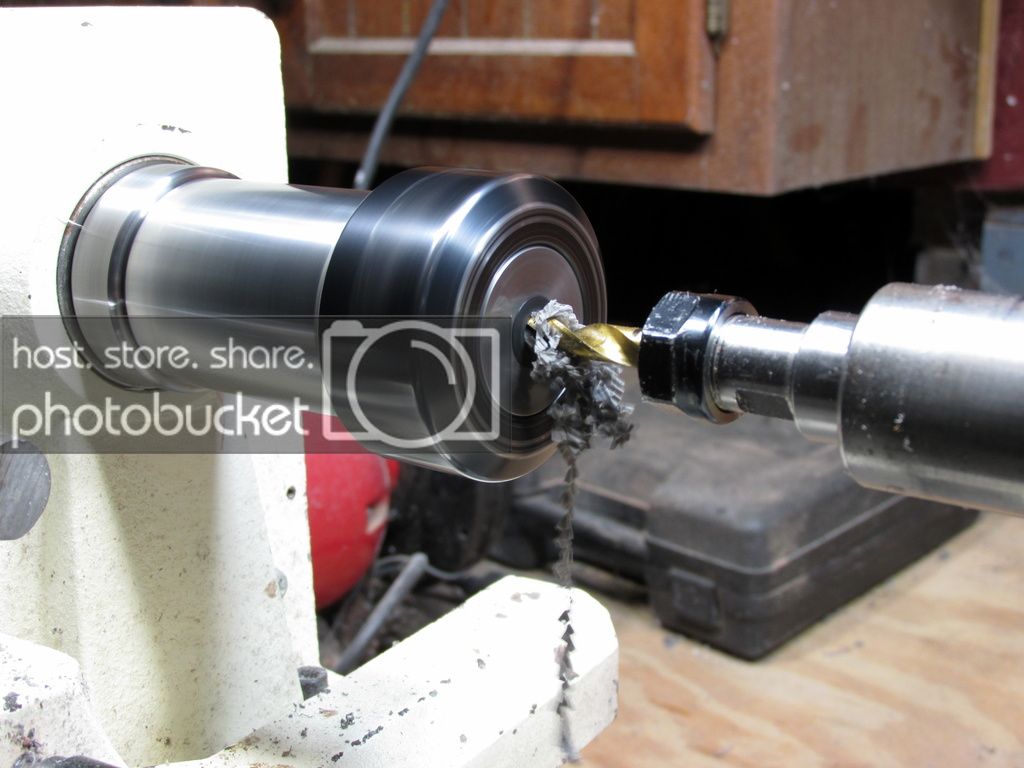
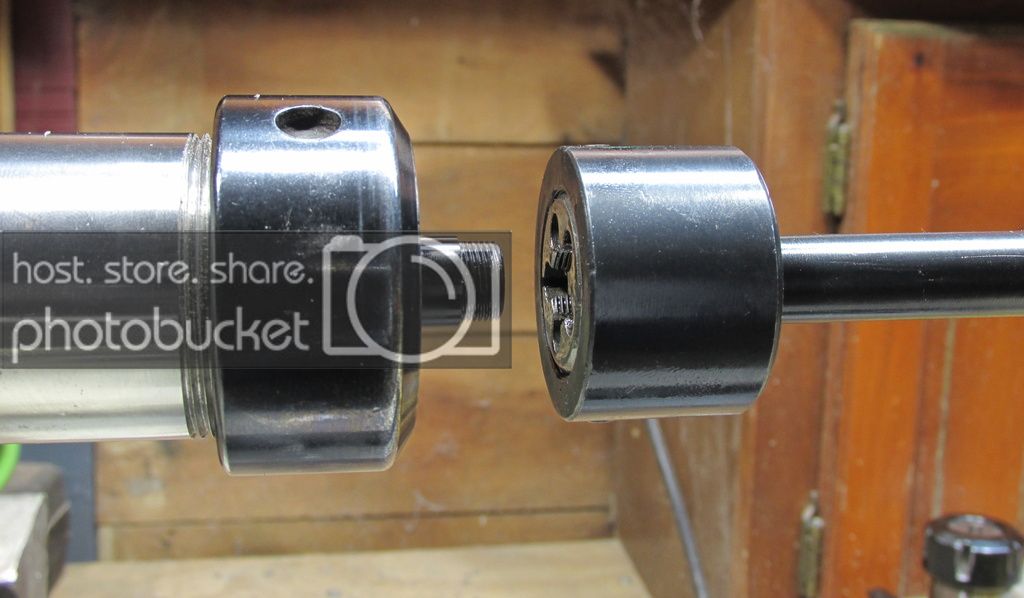
Drilling centers on each end of the blank.
9x.75 section to body threads.
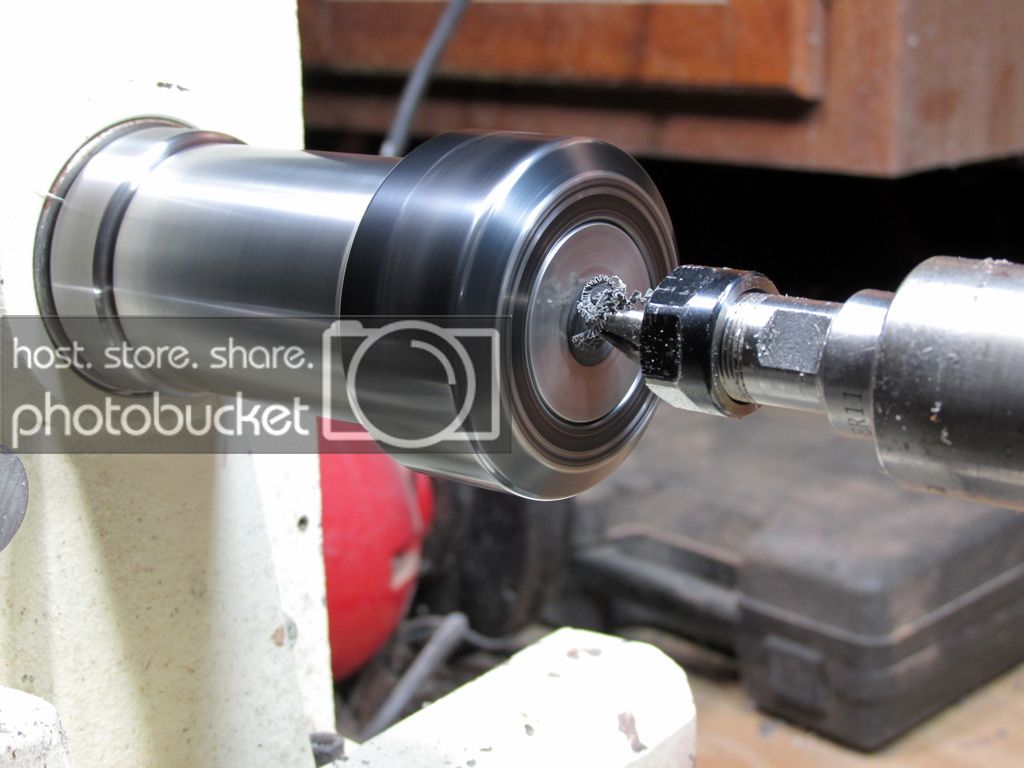
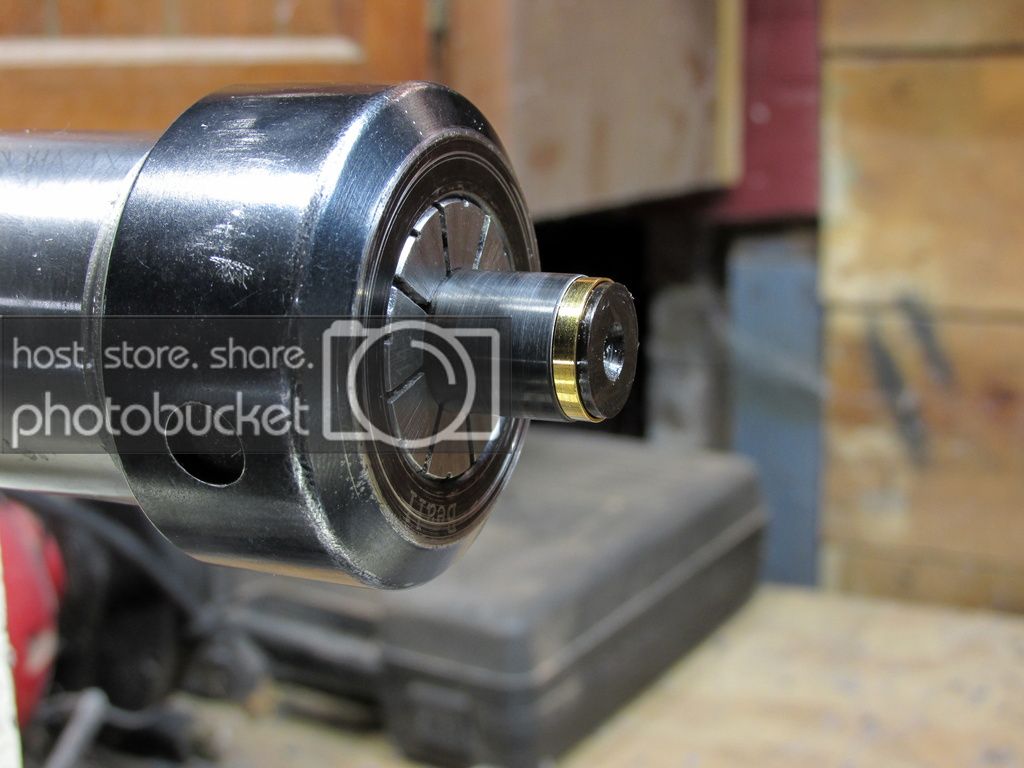
Center drilling section....I've made a handful of kitless roller balls so I didn't think a fp section would be much different (harder to do). Wow! I screwed 2 up before I finally got it right. Those measurements are critical!! (unless there is another way to make sections)
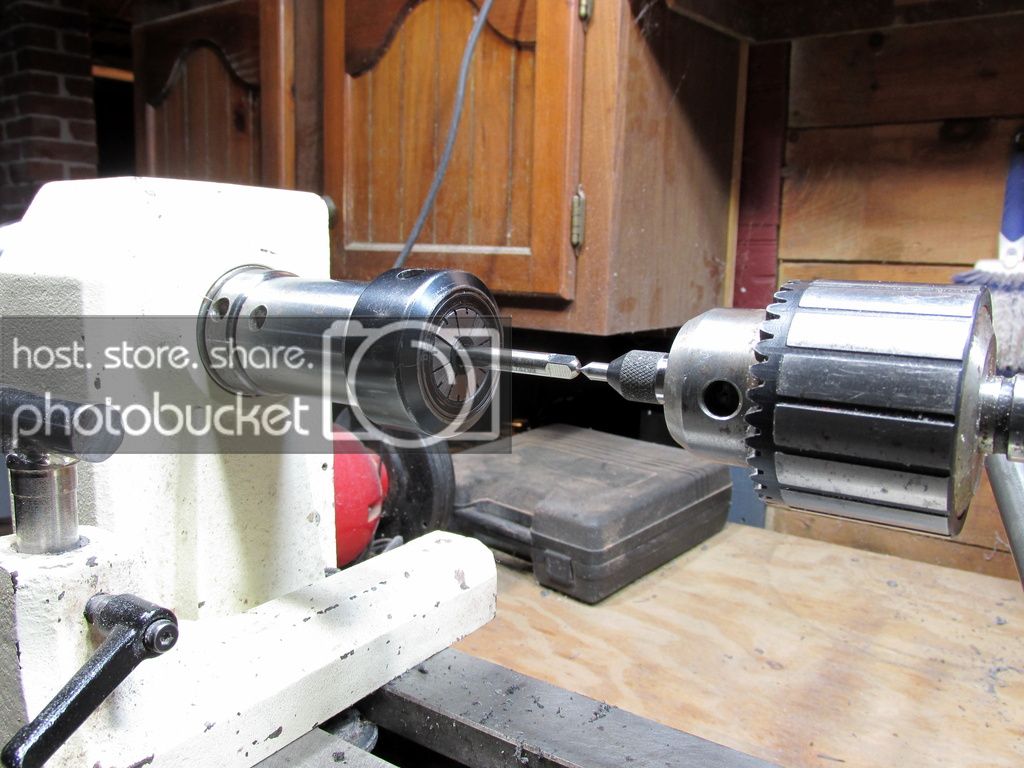
B bit for 6.5x.5 tap. Schmidt#5 nib/housing
Tapping section. Don't know why there is no dimple in a 6.5x.5 tap:bulgy-eyes:
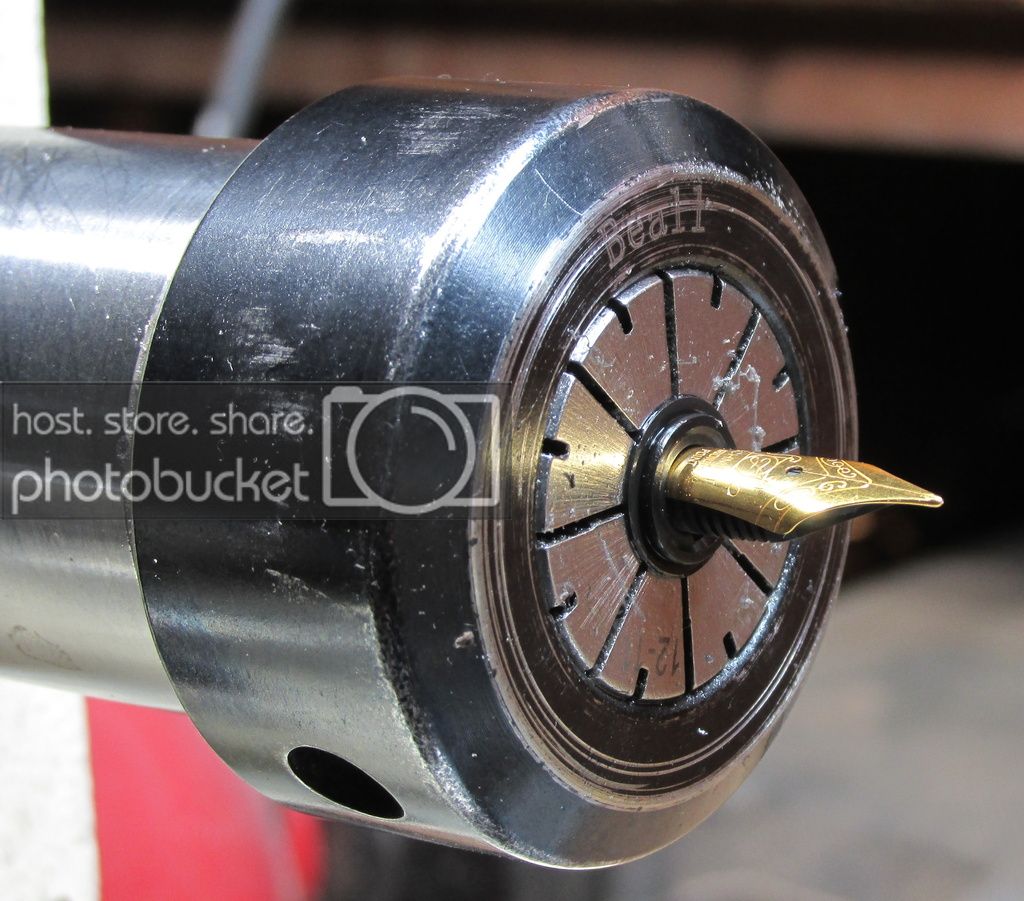
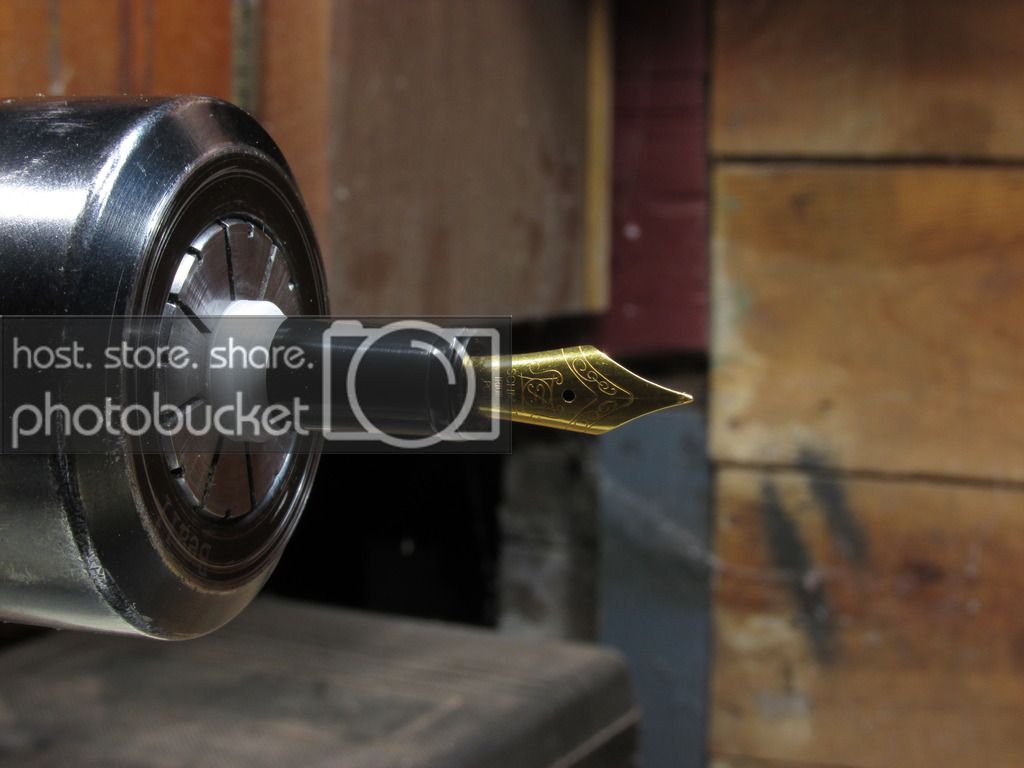
housing fits!
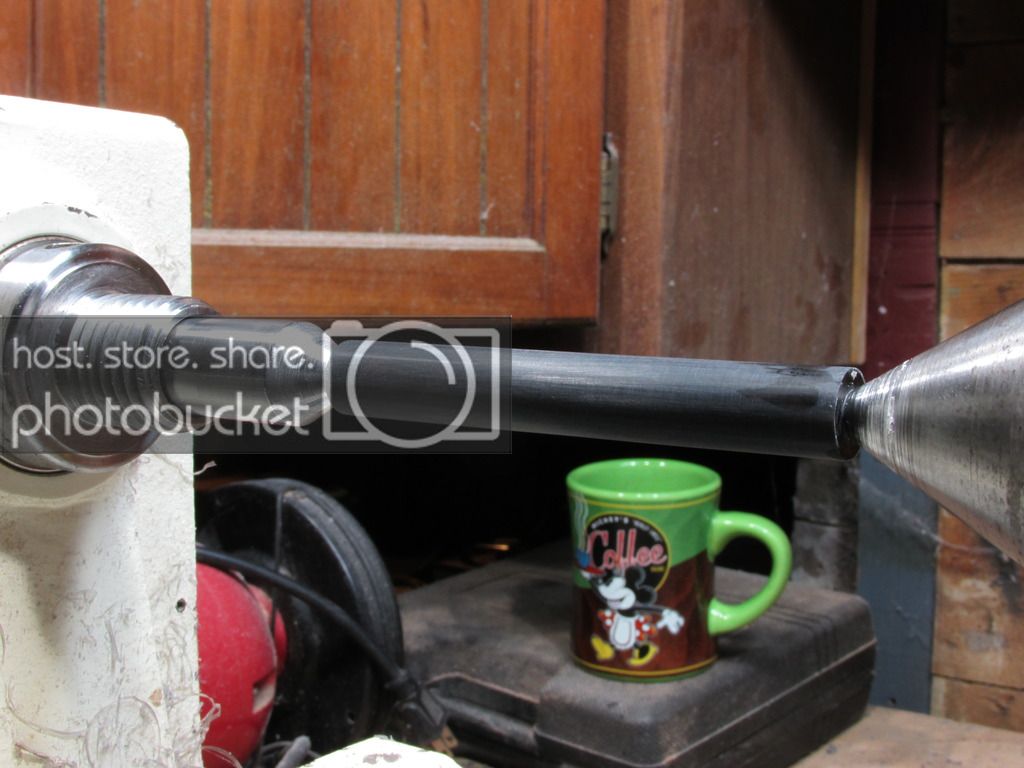
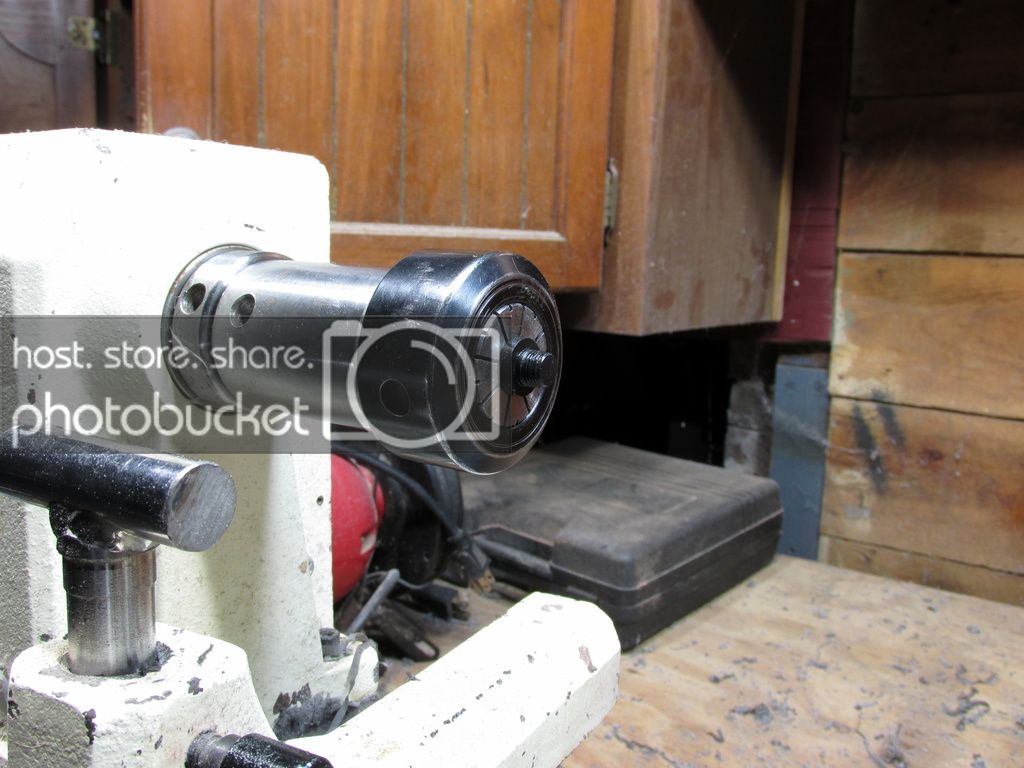
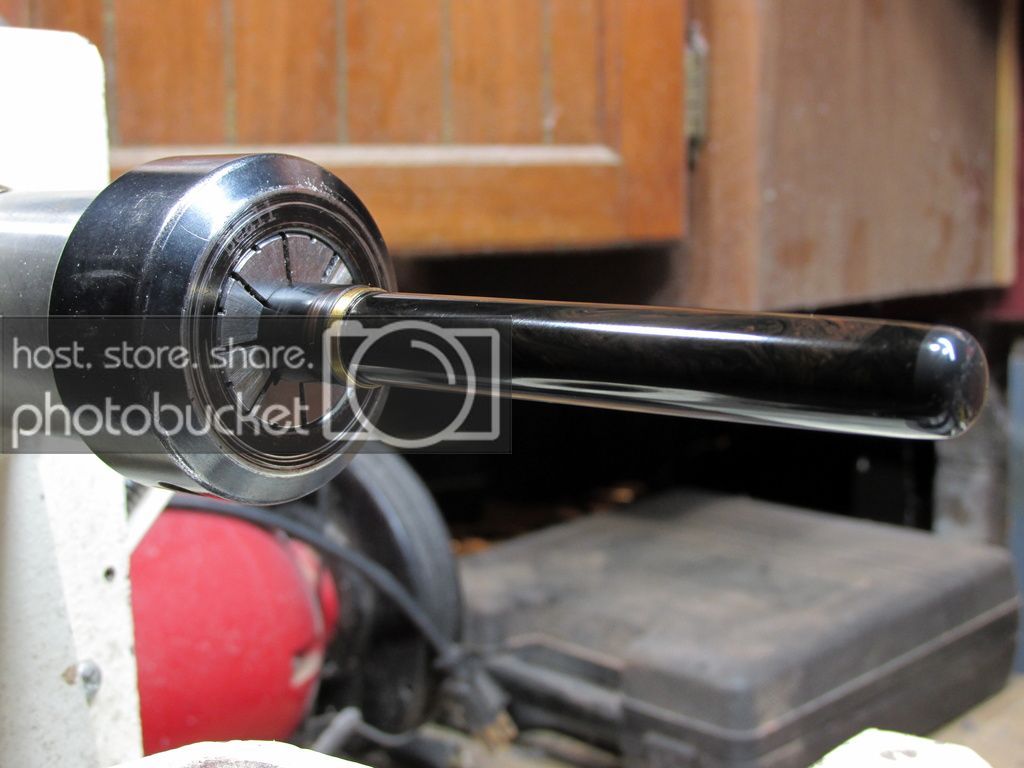
Turn section on mandrel.
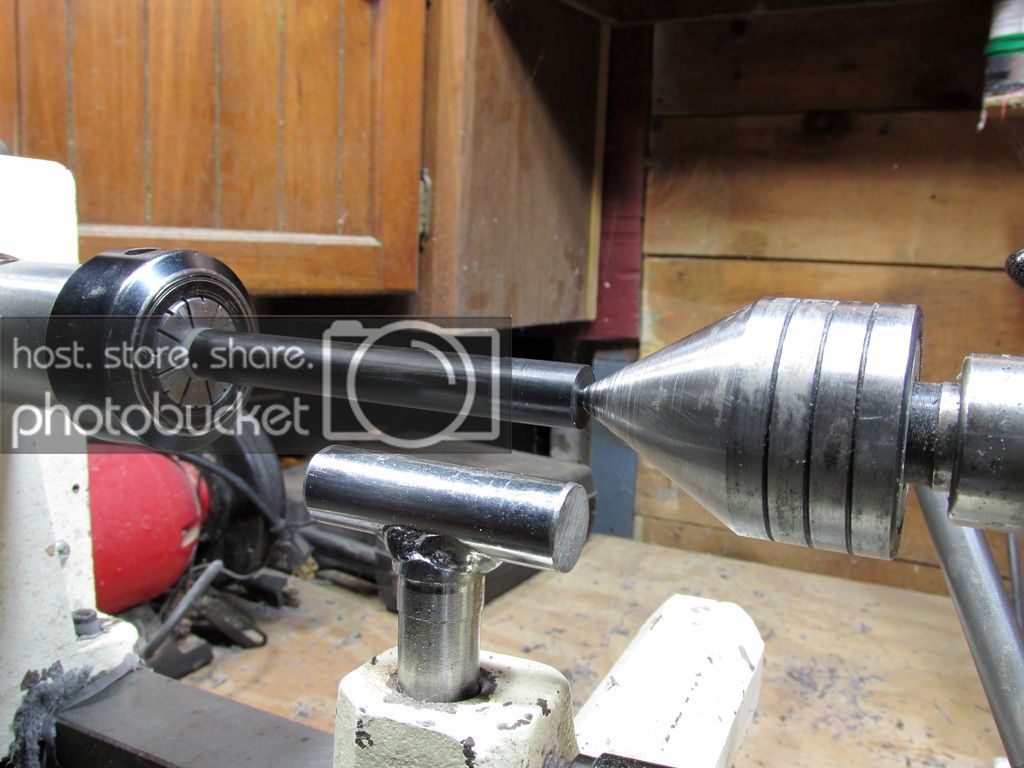
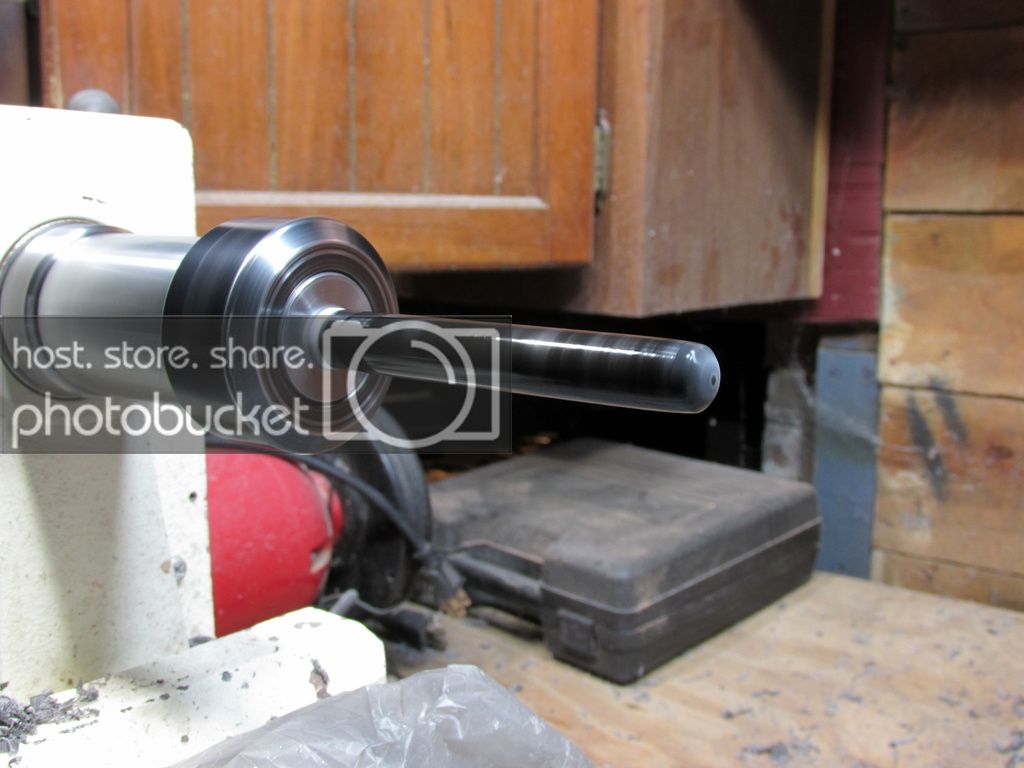
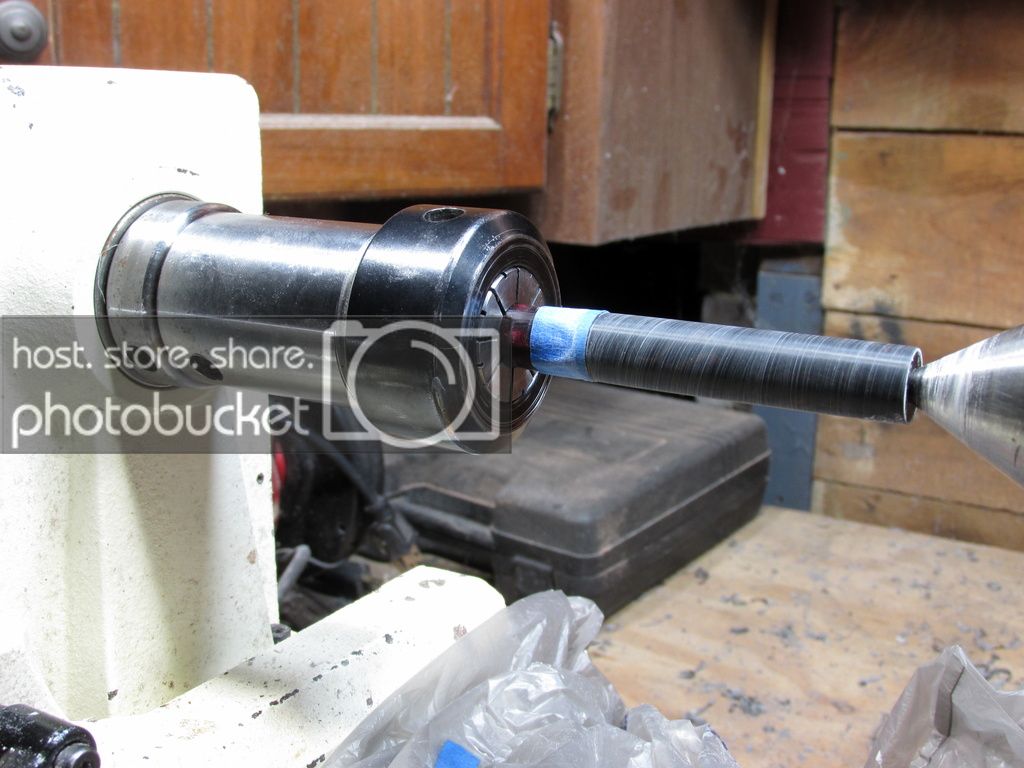
turn pen body close to O.D. needed
turn tenon to 10.98mm & cut 11mm threads.
8.25mm bit for 9x.75 tap
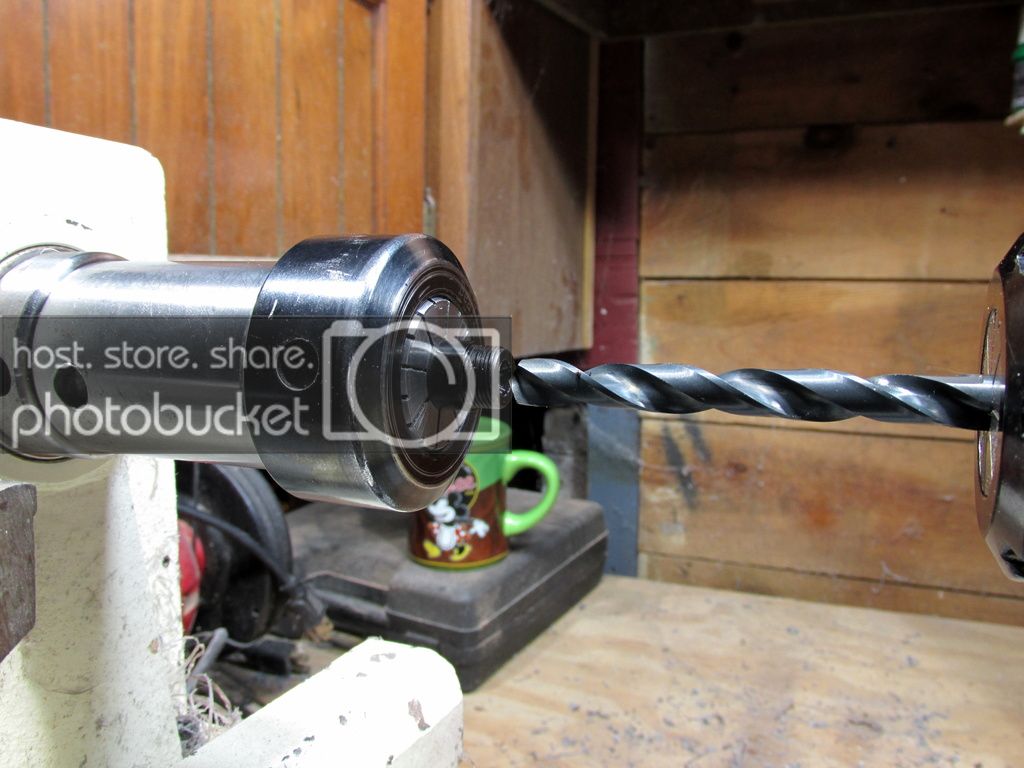
In action
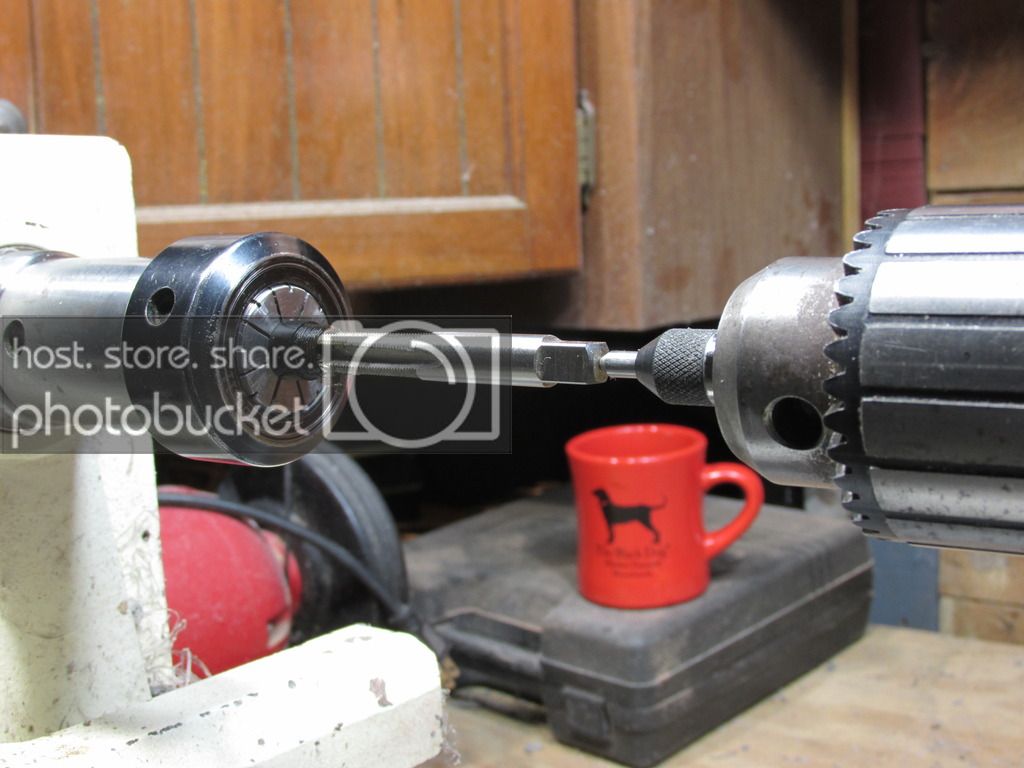
Tapping section to body 9x.75 threads with tap guide. I like this tap guide! Makes tapping threads so easy.
Checking fit

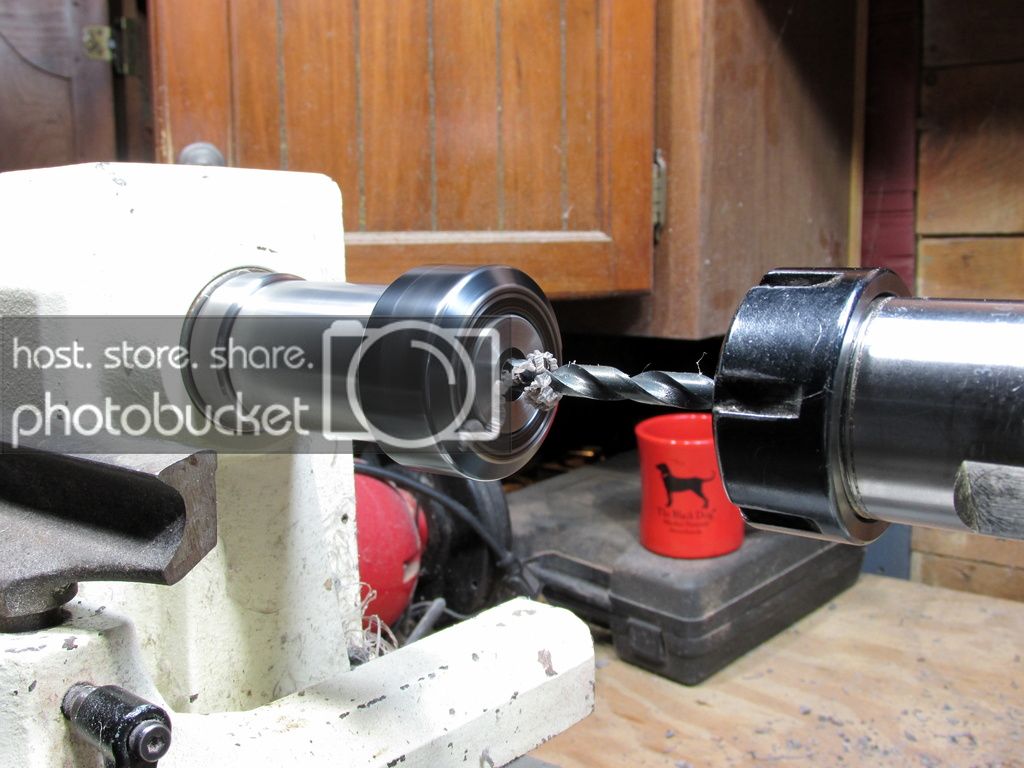
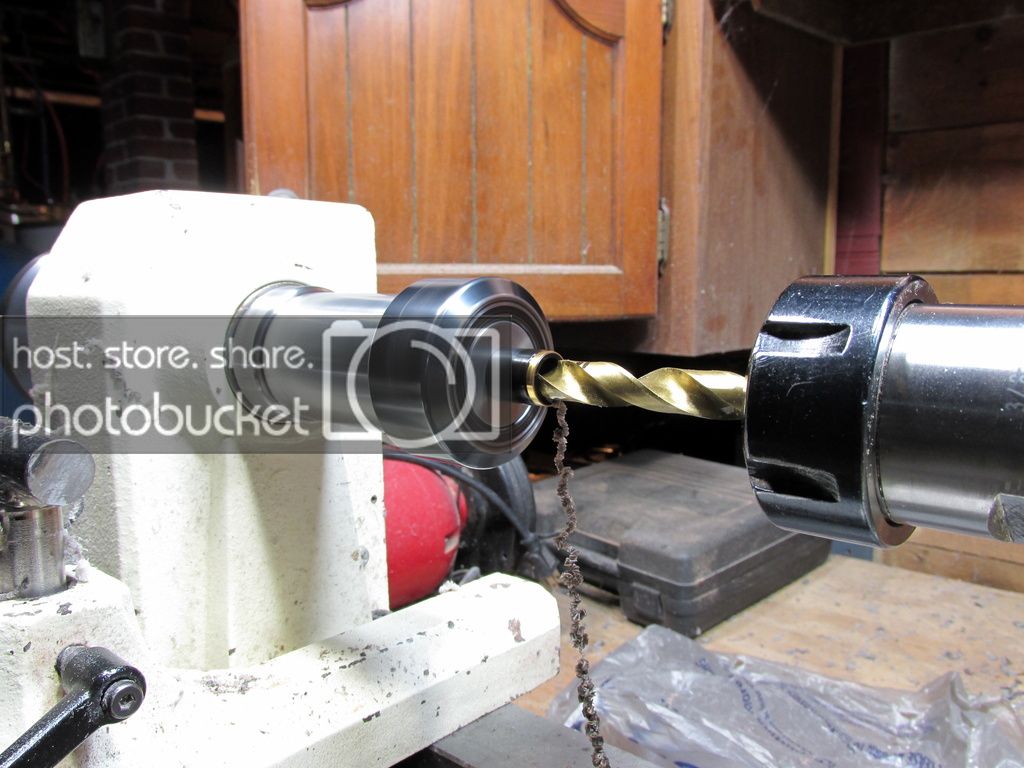
5/16 bit for converter.

turning alumilite for finial
Finial threaded 8x.75
set up to turn finial and body.
Wet sanding.
turn cap blank close to O.D.
Couldn't resist a gold ring even though it's plated and it'll be a huge pita later when I turn the blank to final o.d...In hind sight I should have turn the blank 1st then fitted the ring. I don't know
Got a little hairy drilling the cap!! I was waiting for the crack!
Tapped cap and checking for fit. Ugh see that awful gray finial. The alumilite turned out to be on the gray side of black I later turned another finial out of the Acrylic Cumberland the body is made with. Not fun:frown:
Set up to gently turn and sand the cap. The blue tape is to protect the gold plated ring from scratches. I worked slow and careful to avoid scratching the ring. It mast have taken me an hour to turn and sand the cap.
That's it for now. I've filed the groove for a clip, turned another finial for the body and and just need to do some buffing. Pen Has already been inked and used:biggrin: More pics later on.
I set the camera up on a tripod next to me and took tons of photos. Hope this is OK with the moderators. We don't get a lot of action in the FP forum so I figured it won't hurt to add a little content:wink:.
The pen isn't finished yet so this is a work in progress. I'll update with more photos asap. I skipped photos for a lot of the steps in making the pen, my apologies
Started by turning the blank round.

Drilling centers on each end of the blank.

9x.75 section to body threads.

Center drilling section....I've made a handful of kitless roller balls so I didn't think a fp section would be much different (harder to do). Wow! I screwed 2 up before I finally got it right. Those measurements are critical!! (unless there is another way to make sections)

B bit for 6.5x.5 tap. Schmidt#5 nib/housing

Tapping section. Don't know why there is no dimple in a 6.5x.5 tap:bulgy-eyes:

housing fits!

Turn section on mandrel.

turn pen body close to O.D. needed

turn tenon to 10.98mm & cut 11mm threads.

8.25mm bit for 9x.75 tap

In action

Tapping section to body 9x.75 threads with tap guide. I like this tap guide! Makes tapping threads so easy.

Checking fit

5/16 bit for converter.

turning alumilite for finial

Finial threaded 8x.75

set up to turn finial and body.

Wet sanding.

turn cap blank close to O.D.

Couldn't resist a gold ring even though it's plated and it'll be a huge pita later when I turn the blank to final o.d...In hind sight I should have turn the blank 1st then fitted the ring. I don't know

Got a little hairy drilling the cap!! I was waiting for the crack!

Tapped cap and checking for fit. Ugh see that awful gray finial. The alumilite turned out to be on the gray side of black
I later turned another finial out of the Acrylic Cumberland the body is made with. Not fun:frown:
Set up to gently turn and sand the cap. The blue tape is to protect the gold plated ring from scratches. I worked slow and careful to avoid scratching the ring. It mast have taken me an hour to turn and sand the cap.

That's it for now. I've filed the groove for a clip, turned another finial for the body and and just need to do some buffing. Pen Has already been inked and used:biggrin: More pics later on.
Last edited:


