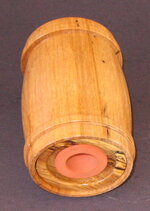
The body is Oak, top and bottom spalted Oak only 3 1/2 "high and about 2 ½" at widest at sides top and bottom 2 ¼"" . I was asked to make some more of these, one shown just to get me back into how to do them.
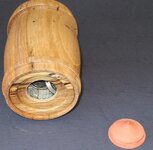
Can use any wood you have available. I prefer blank be 3" or more in diameter. Length not a problem because can reverse the blanks to drill and thin wall thickness with spindle gouge. I do leave a lip top and bottom for support and gluing.
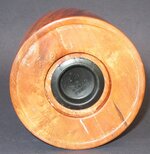
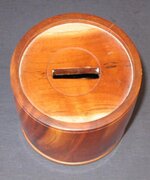
When first starting making these used brass coin slots and little brass nails to attach over opening in top. I was not smart enough to install brass coin slot before gluing top in bank. So nail and glue on before gluing into bank. Brass coin slots hide a lot of sins. Cannot find where bought them, prices have gone up a bunch. I like the red rubber over the black plastic plugs, easier to make bottoms.
Photo of penny bank is first one made back in 1994. Used Cherry wood measures 4 ½" diameter x 3 ½" high. I owned a drill chuck, everything done on faceplates and waste blocks. Used a wood chisel to cut the coin slot. The white stuff you see is pumice used to finish the finish.