Third pendant...

Signed-In Members Don't See This Ad
See more from Skye

Skye

Member
Joined
Jan 3, 2006
Messages
3,487
Location
Rock Hill, SC
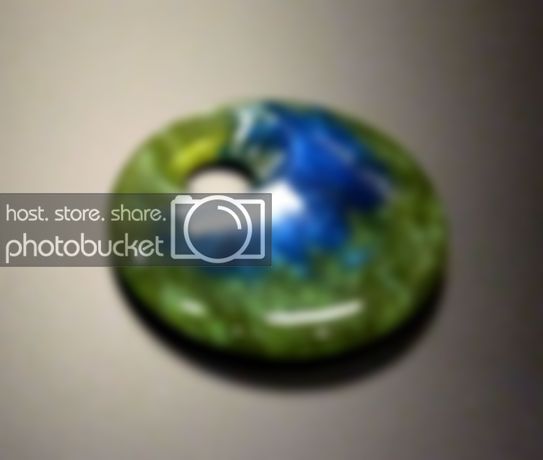
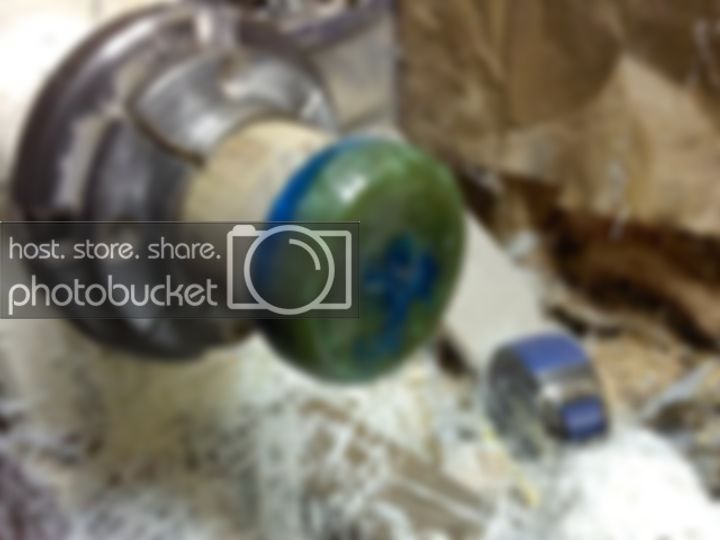
Nothing too special. One I made for my kid's teacher. She requested green and blue so I mixed up a batch of PR. I've got some sanding lines in it around the hole, ones who barely show to the naked eye without proper lighting and zoom (for people who say they're not there when I say their pen has sanding lines) so luckily they're almost invisible. Oh, and in case anyone is wondering, I made this with only one waste block with a whole in the center mounted in a 4 jaw, a drill chuck, a live center and 3 pieces of double sided tape.

IMG_3722b.jpg
 
Signed-In Members Don't See This Ad

SonOfMartin

Member
Joined
Jun 18, 2009
Messages
131
Location
Hershey, PA
I am curious about your jig to make the pendant. I am finding that there are as many ways to make a pendant as there are turners. Would you mind posting a photo(s) of your method?
 

Skye

Member
Joined
Jan 3, 2006
Messages
3,487
Location
Rock Hill, SC
I'm at work now and don't have access to more photos but I've got this one:

chuck.jpg


The blank is held on by 3M double sided foam tape. The 'jig' (for lack of a better word) is just a piece of wood (Vitate). It's got a flat face, maybe 1.5" in diameter with a hole drilled in the center slightly larger than the hole I drill through the pendants.

Put tape on the jig, stick blank to chuck, snug up live center with a small square of wood to keep from cracking the blank.

Turn down to approx diameter.

Move away block and tailstock, turn down face concave and polish.

Remove blank, fresh tape on, flip blank over, press on firmly with tailstock and block.

Move away tailstock again and turn a convex face, then polish.

Now, break it off the jig and drop it down so it's off center, using fresh tape.

Bring the tailstock in and drill the hole.

Turn the area around the hole, polish, done.
 
Top Bottom