
Robert111
Member
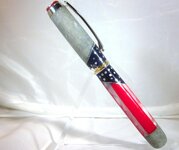
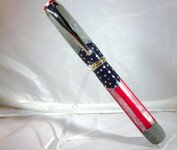
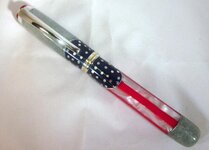
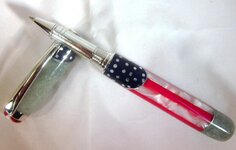
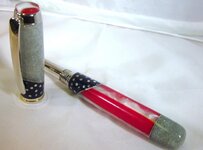
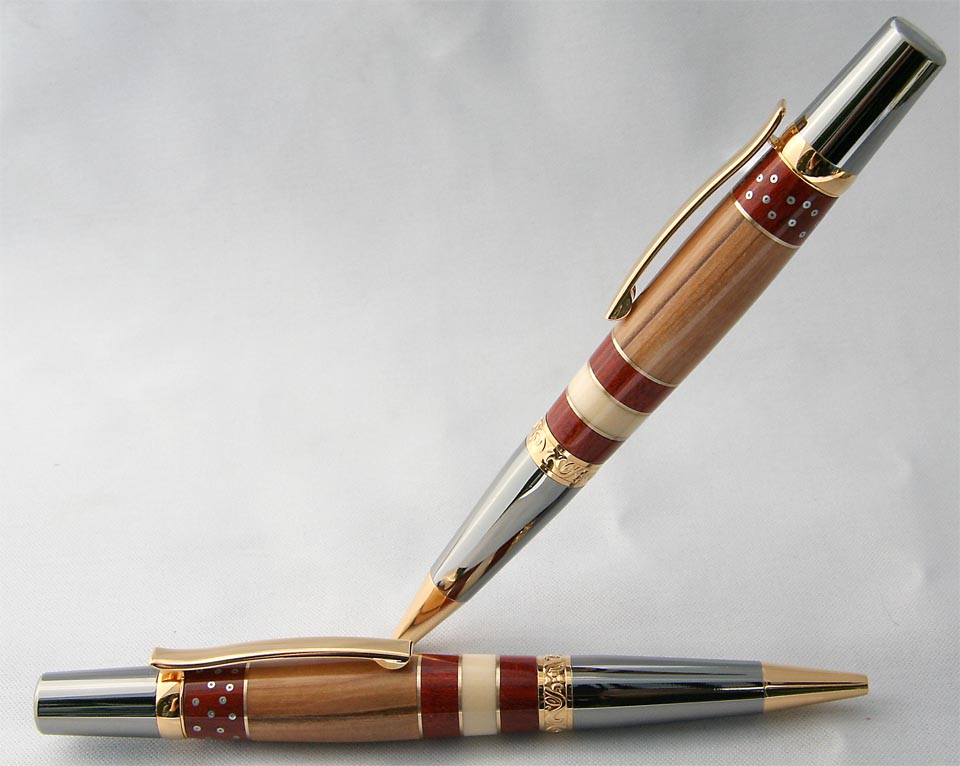
This was one of those crazy ideas that I pursued because I just happened to have all the right material on the shelf. I started think about it as a NY Giants pen and quickly shifted to a flag theme.
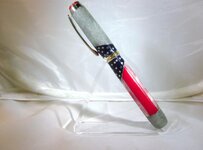
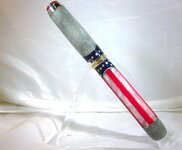
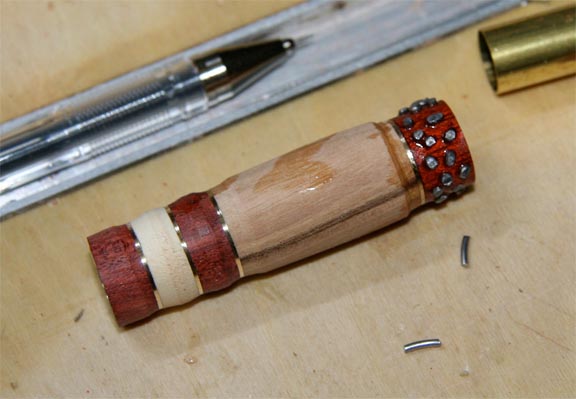
The closed end was an afterthought and because I didn't start out making it a closed end, I drilled it wrong and had no material to work with to give it nice lines--so there it is--a baseball bat!
The "stars" are just randomly placed in the blue field, not because I didn't want to set them in a perfect pattern, but because I've never learned to index with my lathe. I need to read up on that. Anyone know of a good tutorial?
The kit a Jr Gent II, of course, and I finished it with CA just as if it were wood in hopes it would help keep it together. I'm afraid that the bottom segment (the afterthought) might part company with the rest of the pen.
Comments and suggestions are welcome and appreciated.
