RyanNJ
Member
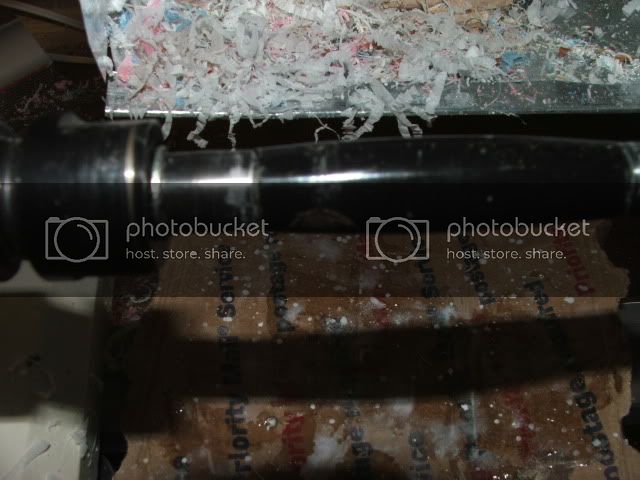
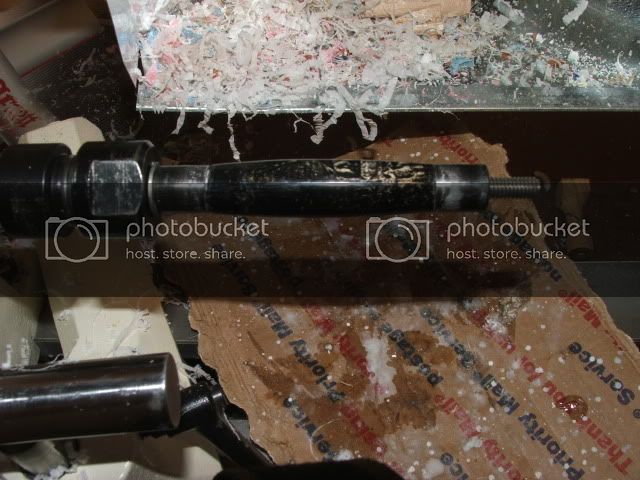
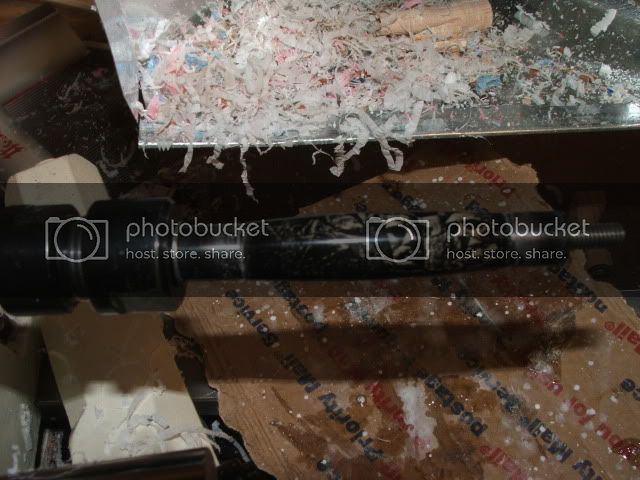
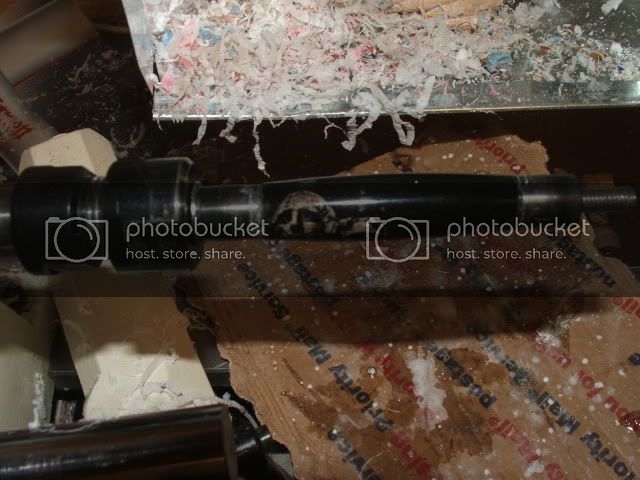
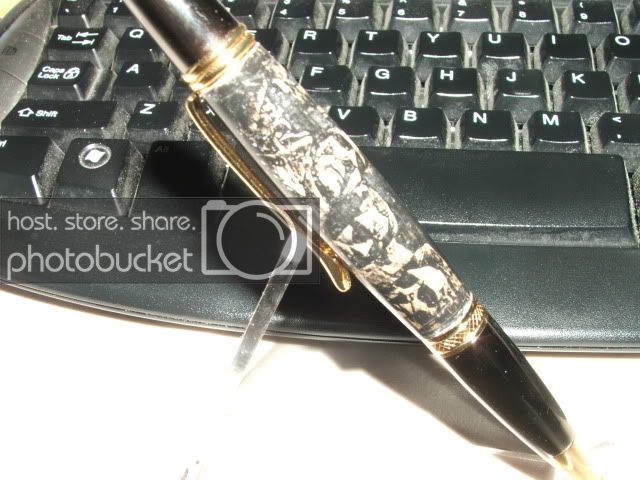
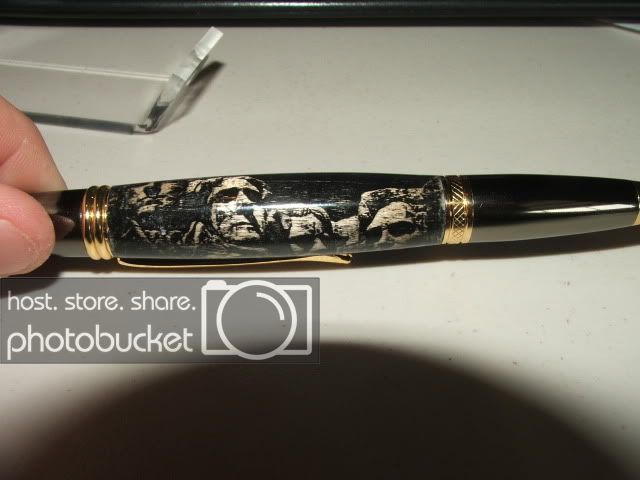
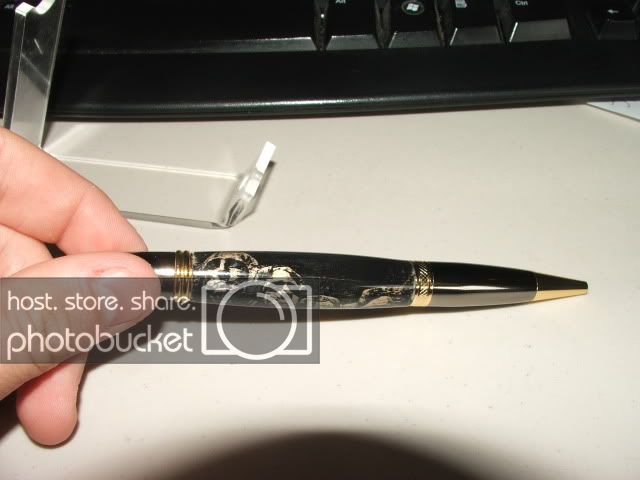
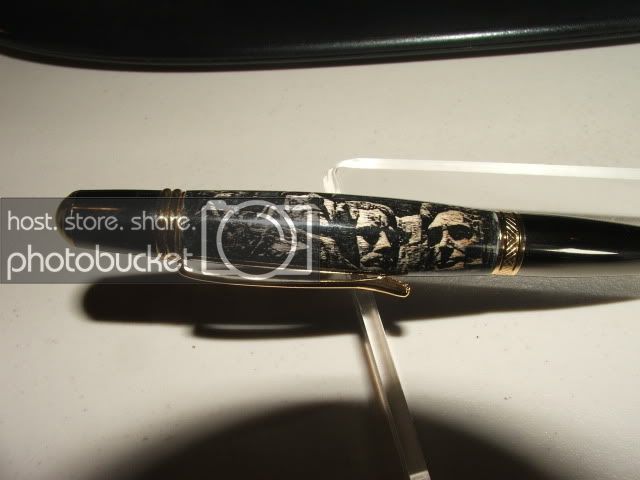
I just received the Creative Dimensions Mt. Rushmore Blank I ordered and I was wondering how i can get it to be similar to
http://www.penturners.org/forum/attachment.php?attachmentid=27479&d=1269884375
I really like the black but i am not sure what i can use to dye/paint the wood.
Also should i just pour on thin coats of CA and build them up or is there something else i can do to finish this
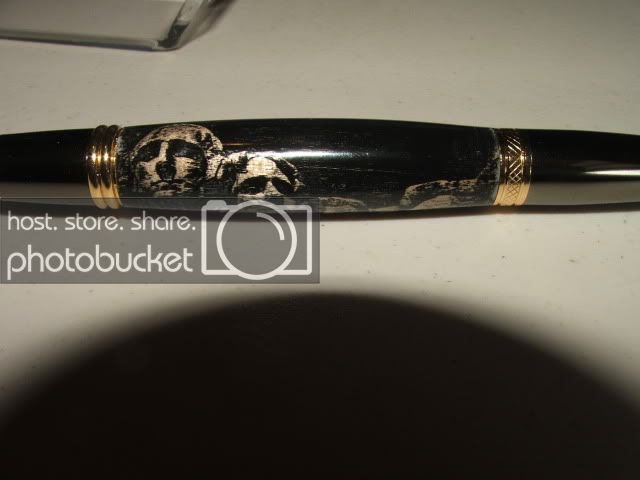
http://www.penturners.org/forum/attachment.php?attachmentid=27479&d=1269884375
I really like the black but i am not sure what i can use to dye/paint the wood.
Also should i just pour on thin coats of CA and build them up or is there something else i can do to finish this