Raleigh Demo Pen

Signed-In Members Don't See This Ad
See more from Brooks803

Brooks803

Member
Joined
Sep 13, 2009
Messages
5,632
Location
Aiken, South Carolina
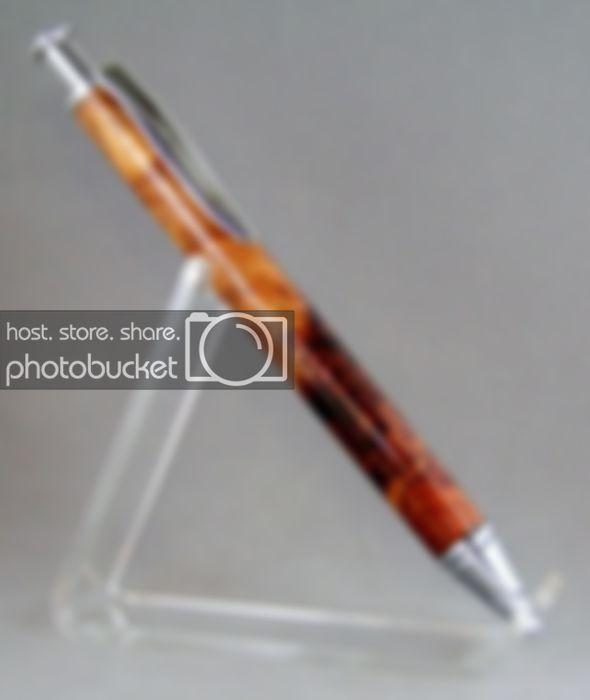
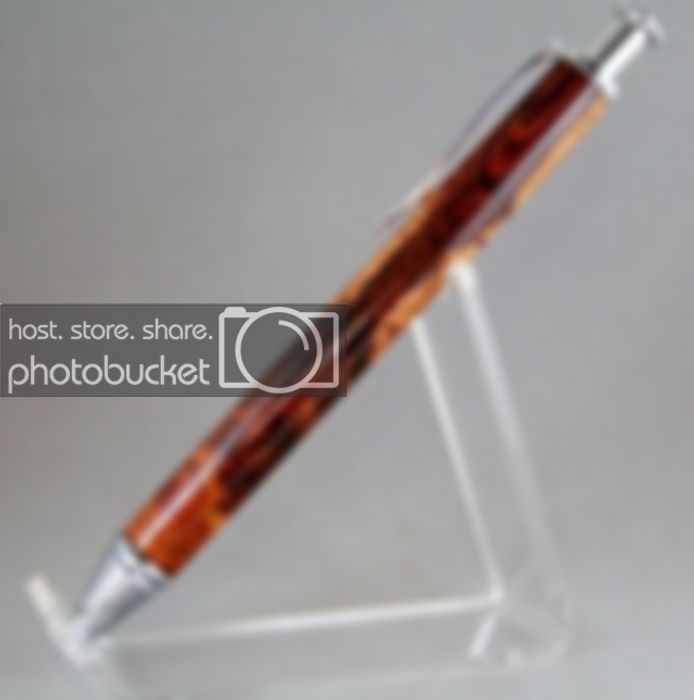
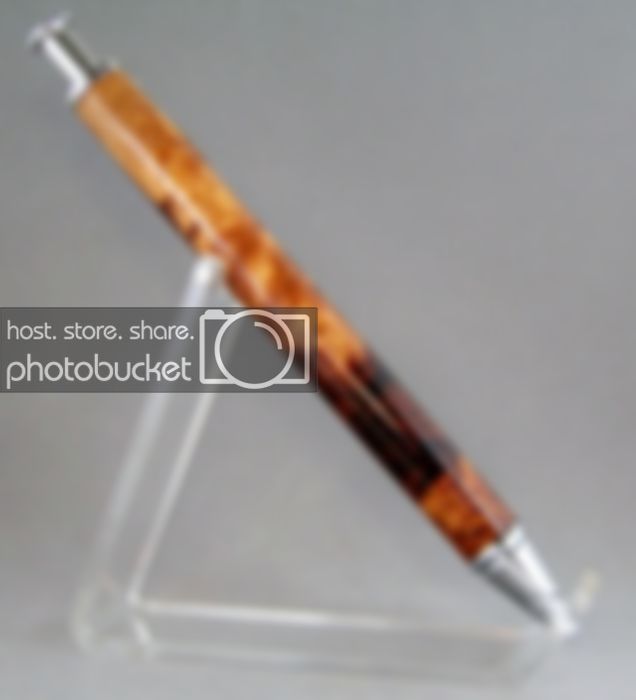
Yesterday I took a drive up to NC to attend the 1st IAP chapter meeting. Since I was making the time to go up there I offered to do a demo. CA finish seemed to be a good one to show. To do it though I actually had to turn some WOOD:confused::confused::confused: (Just for you Russell :highfive: :biggrin:) So I dusted off my box of the good stuff and pulled out this nice piece of HRB. Rough turned it the night before and took it up to NC. For the demo I showed how I do my CA fill for the little voids in the burl and how I use DNA to clean off any sanding dust as well as oils from the wood itself. Applied my CA finish, MM to 12000, polished with PlastX and here we are. Since I went with a Long Click I went ahead and took it a step further and modified it to fit a cigar nib. Hope yall like it bc I really do! Thanks for looking!

100_3116590x700.jpg
100_3119694x700.jpg
100_3132636x700.jpg
 
Signed-In Members Don't See This Ad

Leviblue

Local Chapter Leader
Joined
Mar 27, 2011
Messages
646
Location
Holly Springs, NC
The photos are great, but I will have say the pen looks awesome in person.
Oh by the way, it is made of wood!

Nice job!
 

BSea

Member
Joined
Dec 28, 2009
Messages
4,628
Location
Little Rock, Arkansas
Before I read the post I thought "WOW, that cast looks just like wood!" :eek:

Great job as usual. I have to make one of those with a cigar nib soon.
 

Russell Eaton

Member
Joined
Sep 9, 2009
Messages
788
Location
Stockbridge GA.
Hey Brooks, I will PM you with my address since you said "It was for Russell". Seriously it looks GREAT. How was it to turn wood and smell the sawdust? Good job again. Russell
 

Brooks803

Member
Joined
Sep 13, 2009
Messages
5,632
Location
Aiken, South Carolina
That's really I MUST OWN THAT nice. The burl looks I MUST OWN THAT ideal on the body of the pen. Glad you I MUST OWN THAT got to turn some lumber!

:hypnotized::hypnotized::hypnotized::hypnotized::hypnotized::hypnotized::hypnotized::hypnotized::hypnotized::hypnotized::hypnotized::hypnotized::hypnotized::present::present::present::present::present::cool::devil::biggrin:

Hey Brooks, I will PM you with my address since you said "It was for Russell". Seriously it looks GREAT. How was it to turn wood and smell the sawdust? Good job again. Russell

Lol...Thanks Russell. It actually smelled great :)doctor:) almost a sweet smell to it. I've got an amboyna one I'm working on now....the wood bug bit me I think :beat-up:
 

gawdelpus

Passed Away May 11, 2015
In Memoriam
Joined
Jan 10, 2009
Messages
183
Location
Gold coast AU
Very nice indeed :) For all our hunting around for different things to make into pens, it's still hard to beat "mother Natures" art work , I have just spent about 4 hrs trying to wrestle a piece of NZ Fernwood onto a set of tubes ,waiting for glue to dry now hehe. Cheers John :biggrin:
 

dandpmorales

Member
Joined
Mar 2, 2009
Messages
14
Location
Cary, NC
Awesome pen. It was great meeting you. Thanks for taking the time to come out and share your knowledge and experience. Hope to see you again soon.
 

spilperson

Member
Joined
Aug 24, 2010
Messages
57
Location
Laplace, Louisiana
Very beatiful pen. I really like the gloss of the finish. Can i ask how many coats of CA you used? Did you do anything else after the plastic polish, like other buffing? I have really been struggling to get that high gloss on CA. Thanks in advance!
 

Brooks803

Member
Joined
Sep 13, 2009
Messages
5,632
Location
Aiken, South Carolina
Very beatiful pen. I really like the gloss of the finish. Can i ask how many coats of CA you used? Did you do anything else after the plastic polish, like other buffing? I have really been struggling to get that high gloss on CA. Thanks in advance!

Thanks!
Here's how I did it from start to "finish":tongue:

I started with 240grit sandpaper, once I had the blank smooth I wiped it down with a paper towel with some DNA (denatured alcohol) to clean the dust. Then I did 1 coat of thin CA and quickly proceeded to resand with 240 to create a CA slurry that would fill in any voids. After EVERY grit of both sandpaper and MM I stopped the lathe to cross sand and then wiped down the blank with a paper towel. I moved from 240, 320, to 400. After 400 I wiped the blank with DNA again to clean the blank (this helps alot with oily woods). Then I used Mylands Cellulose Sanding Sealer (applied with the lathe on). Let that dry for a few minutes. Then I start my CA finish. First I'll do 2 coats of thin CA to seal the blank. After each coat I give a quick spray of CA accelerator. Then I switch to medium CA. For this blank I think I did 8-10 coats of medium CA, also using accelerator between each coat and not sanding between coats. After my last coat of CA I'll sand everthing smooth with 400 DRY sandpaper. I'll check the blank for any high or low spots (shiny spots). If I do have low spots I'll apply a few more coats of CA. After sanding with 400 dry I'll let the blank sit overnight to offgas. After the offgas period I'll then start WETsanding with micromesh beginning with 1500 all the way to 12000. Cross sanding between EVERY grit and also wiping down the blank after each grit. After 12000 I'll apply a coat of plastic polish. McGuires PlastX is my favorite and has worked the best for me thus far. And that's it, no buffing, no renwax or anything.

Hope that helps! If I need to clarify anything just let know!
 
Last edited:
Top Bottom