
woody350ep
Member
I couldn't help myself. I gotta show off what I have up to this point. This should save on the extreme amount of pics on the final project later
It is glued up from Birdseye Maple and Afzelia Burl.
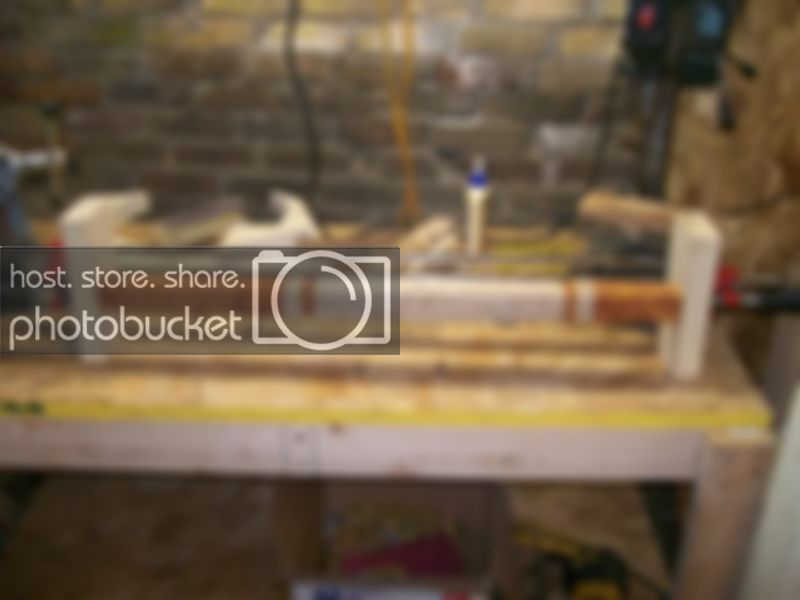
This is the last section of glue up, bringing it all together. The shorter section of Afzelia is the bottom of the cue
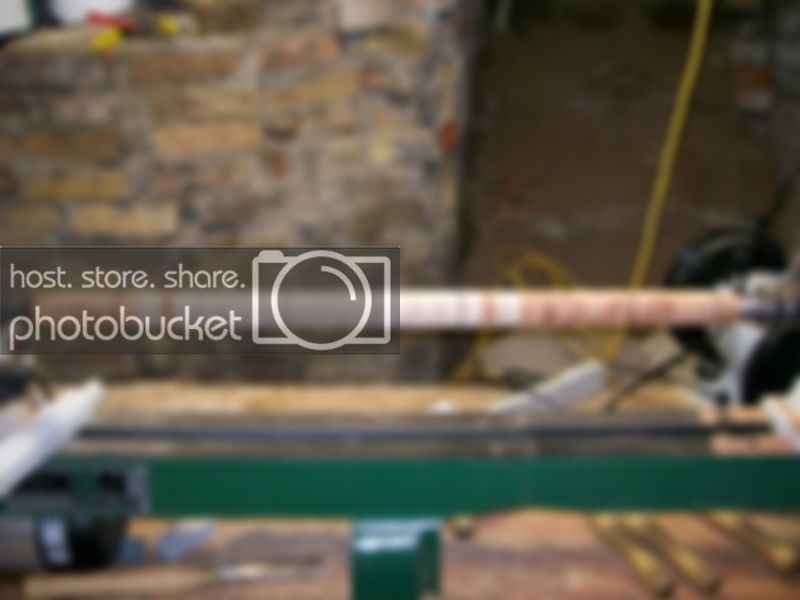
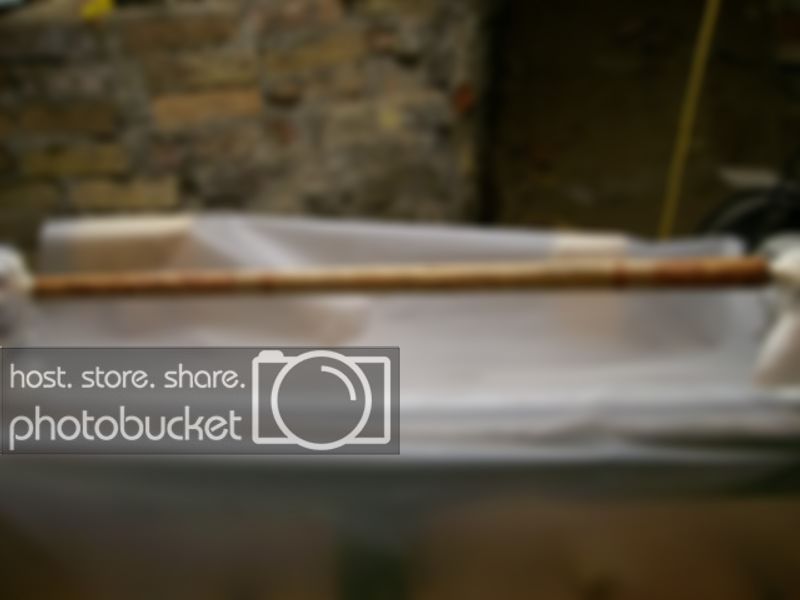
Here it is roughed out and with my taper lines on it for my reference. They are every 3-1/8"
Here you can see how I rough sized it. I broke the taper down into 8 sections and used my digital calipers to get the proper size, then sized the screw calipers and transferred that measurement to the cue as I parted down to size.
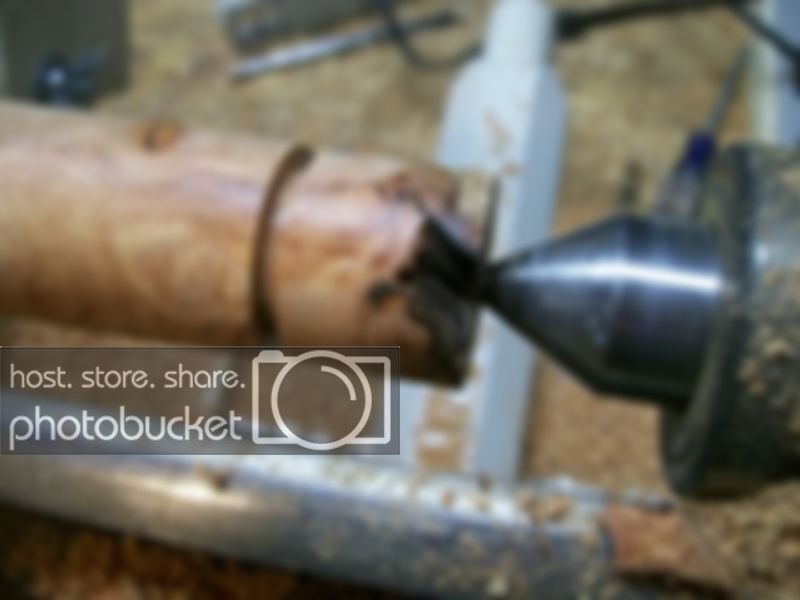
Here is my only blow out of the whole project so far (I have JUST a little left to do on the shaft). I played this up as major to the guy I am making it for and made him very nervous. But, in all actuality, I expected this to happen and wasn't worried. This was eventually turned down to a tenon 5/8" with another tenon 1/2"x1/4" for the collar, which will cover the whole thing. Note where the blowout landed in the lower right of the pic lol. I spent a few minutes looking for it and then said oh well, it's going to be turned down anyhow. Then I saw it as I was going to continue, so I glued it back in to prevent further chipping.
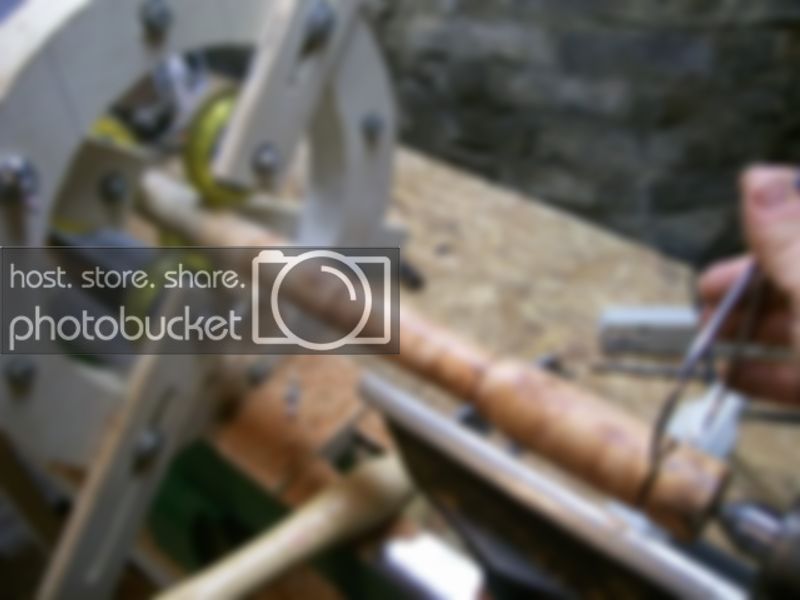
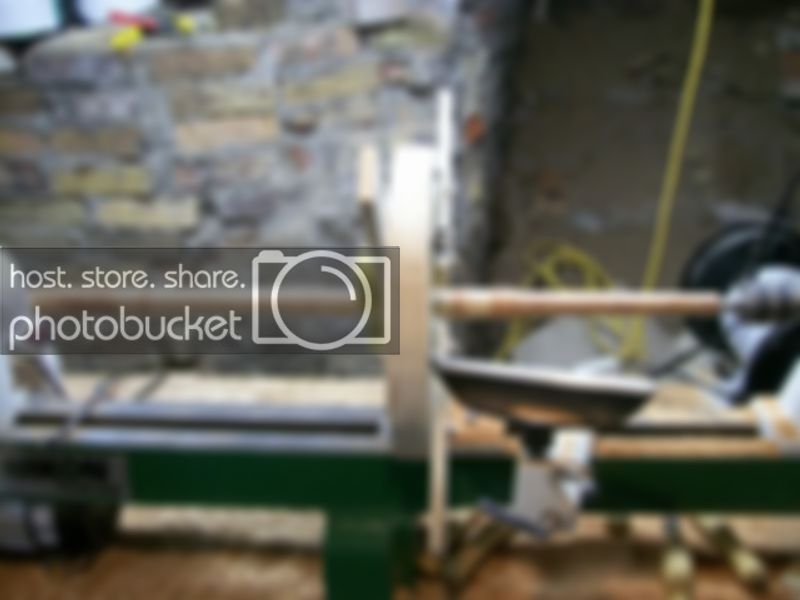
Here you can see the right hand side has been turned to final size. I took this picture for my reference on the steady rest I made for this project. I have been wanting to make one for a while, but this project demanded that it be done.
This is drilling the end of the butt for the weight bolts and the rubber stopper at the bottom.
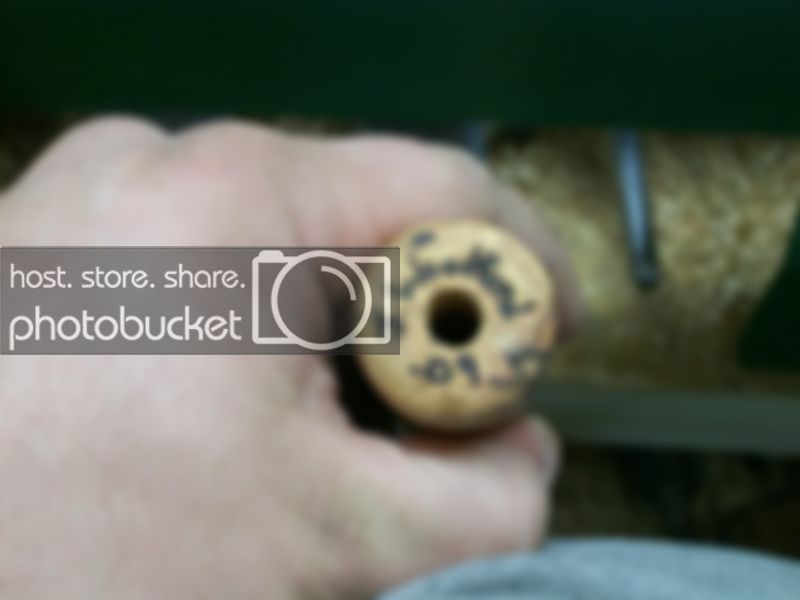
Of course, I had to sign my name on it. This will be covered by the rubber stopper, but visible if need be")
Set up and got everything covered to protect from overspray. Ready for first coat of lacquer here. The blank was sanded with wet/dry to 1200.

And here it is with the first coat of lacquer applied. It is already starting to pop.
So as far as tools go, for this project I have purchased a MT2 Drill chuck, 25mm jaws for my chuck, a lathe bed extension, some calipers, and I'm sure there is something else that I can't think of right now. I also got 2 dies and 4 taps. All I paid for was the bed extension, and I will be receiving compensation for the cue when it is finished also.
I made the steady for the cost of a 1/4 sheet of ply, some glue, and a few wingnuts. I think it would've totaled about $7-8. The rest I had or "found". It worked wonders though. I watched the whip with it on and with it off, and it was astounding how it helped out.
BTW, how do you like my dungeon workshop?
It is glued up from Birdseye Maple and Afzelia Burl.
This is the last section of glue up, bringing it all together. The shorter section of Afzelia is the bottom of the cue
Here it is roughed out and with my taper lines on it for my reference. They are every 3-1/8"
Here you can see how I rough sized it. I broke the taper down into 8 sections and used my digital calipers to get the proper size, then sized the screw calipers and transferred that measurement to the cue as I parted down to size.
Here is my only blow out of the whole project so far (I have JUST a little left to do on the shaft). I played this up as major to the guy I am making it for and made him very nervous. But, in all actuality, I expected this to happen and wasn't worried. This was eventually turned down to a tenon 5/8" with another tenon 1/2"x1/4" for the collar, which will cover the whole thing. Note where the blowout landed in the lower right of the pic lol. I spent a few minutes looking for it and then said oh well, it's going to be turned down anyhow. Then I saw it as I was going to continue, so I glued it back in to prevent further chipping.
Here you can see the right hand side has been turned to final size. I took this picture for my reference on the steady rest I made for this project. I have been wanting to make one for a while, but this project demanded that it be done.
This is drilling the end of the butt for the weight bolts and the rubber stopper at the bottom.
Of course, I had to sign my name on it. This will be covered by the rubber stopper, but visible if need be
Set up and got everything covered to protect from overspray. Ready for first coat of lacquer here. The blank was sanded with wet/dry to 1200.
And here it is with the first coat of lacquer applied. It is already starting to pop.
So as far as tools go, for this project I have purchased a MT2 Drill chuck, 25mm jaws for my chuck, a lathe bed extension, some calipers, and I'm sure there is something else that I can't think of right now. I also got 2 dies and 4 taps. All I paid for was the bed extension, and I will be receiving compensation for the cue when it is finished also.
I made the steady for the cost of a 1/4 sheet of ply, some glue, and a few wingnuts. I think it would've totaled about $7-8. The rest I had or "found". It worked wonders though. I watched the whip with it on and with it off, and it was astounding how it helped out.
BTW, how do you like my dungeon workshop?