Number Three Is For ME...

Signed-In Members Don't See This Ad
See more from JD Combs Sr

JD Combs Sr

Member
Joined
Jan 30, 2010
Messages
767
Location
Owingsville, KY
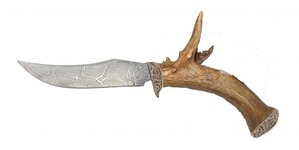
You may have seen my 1st knife, it's not noted as such in the original thread but I call it "Beauty" as opposed to my 2nd knife which was posted as the "Beast". If you saw one you probably looked at both. In any case here is #3. I made it from a blade that was originally purchased for the Beast but it had a couple slight defects on it that I didn't want to give to the customer that commissioned the Beast. The blade is still very serviceable so I used it to make a knife for myself. Take a look and let me know what you think.

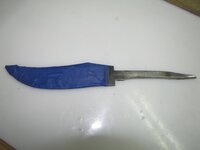
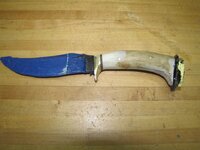
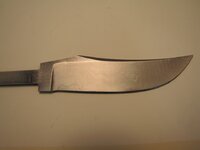
Here is a pic of the most obvious of the defects. It is some slight separation or de-lamination of a layer in the Damascus steel. Look at the wavy line at the lower left of the blade portion. The other defect starts about the center of the blade and is evident from there to the right but is harder to see. There is a series of grinding "waves" in the steel as if the blade was chattering slightly while being ground.
AssemblyProc (2).jpg

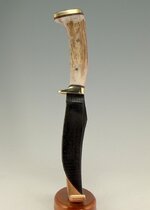
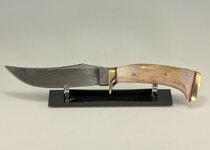
Given the defects this is how it turned out. Using one of my pen stands to display it vertically.
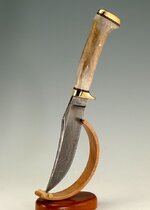
IMG_2220_19_1_Detail.jpg

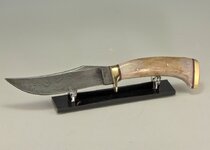
A horizontal view
IMG_2229_8_30_Detail.jpg

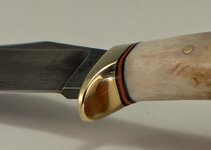
A close up of the finger guard.
IMG_2238_7_9_Detail.jpg

Top view, note the dog leg:biggrin: in the antler handle.
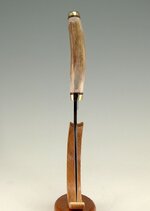
IMG_2241_0_2_Detail.jpg

Hold off commenting for a moment, I will continue the thread in the next post. Got a bunch of pics of my process.
 
Signed-In Members Don't See This Ad

JD Combs Sr

Member
Joined
Jan 30, 2010
Messages
767
Location
Owingsville, KY
Number 3 Is For Me Continued.

This is the defect side although they are not that evident.
IMG_2235_4_6_Detail.jpg

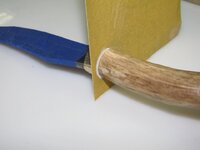
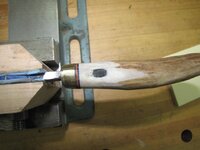
An in process pic showing fitting up the finger guard and matching up the antler.
IMG_2198.jpg

The finger guard and pommel were cut from a 5/16"x1"x12" piece of 360 brass bar.
IMG_2199.jpg

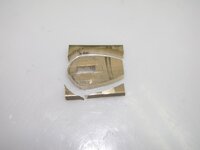
The method I used to match the end of the hollowed antler with the guard.
IMG_2200.jpg

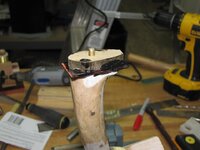
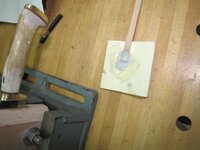
The pommel being attached with colored spacers between it and the antler
IMG_2210.jpg

Had to shape the straight tang with a little curve to keep it inside the antler curve. The tang was then epoxied into the guard/antler handle with blackened epoxy.
IMG_2192.jpg

Here it is with a little preliminary grinding on the finger guard after the epoxy glue had cured.
IMG_2211.jpg

Had a small thin spot in the top of the antler, dremeled it out some and filled the hole with clear epoxy and antler saw dust.
IMG_2213.jpg IMG_2215.jpg

After some final grinding and polishing I had a fairly nice looking, IMHO, show and tell knife, one I can show potential customers, pointing out my skills and defects I look for.

IMG_2226_5_7_Detail.jpg

As always C&C is welcomed and appreciated.
 

JD Combs Sr

Member
Joined
Jan 30, 2010
Messages
767
Location
Owingsville, KY
Knife looks great! Really like the step by step pics showing the stages of progress.
Thanks for the comments Billy. I notice that I did leave out one step, the tang was drilled with 1/4" holes and while still in the drill press the antler was slipped on and 1/8" holes for 1/8" brass pins was drilled through the antler using the tang holes to locate them. The larger tang holes filled with epoxy during the glue up so there is no play between the 1/8" pins and the 1/4" holes in the tang. Had to heat the tang to cherry red and air cool to soften it for drilling. First time I tried to drill it the bit just rolled up into a ball on the tip.:eek:

JD you have a real talent. I like this one the best of the three. It flows very nicely and looks extremely comfortable to hold. Well done.
Thanks Terry, appreciate the compliment. I like the flow of it myself and it is very comfortable in my hand. This one and the last one I did photo-shop versions of them to get an idea of what they might look like.


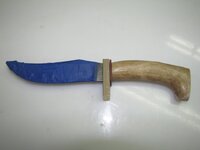
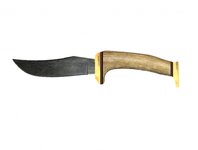
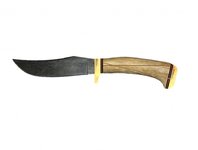
This was my original design for number 3. I posted it on a knife forum and asked for comments, it got some:redface:! I was wanting to keep the natural finger guard but that didn't fly too well, so I promised to flip it end for end.
IMG_2071b.jpg

Posted this one later, much better received.:biggrin: Plus the knife came out very close to it. BTW the dark tan lines just indicate where the center line of the tang might go in the two scenarios.
IMG_2071c.jpg

This was the initial photo-shop design for number 2. It came out real close.
Beast1.jpg

Again guys, thanks for looking and posting and thanks to everyone that gave them a "Like".
 
Last edited:
Top Bottom