
OZturner
Member
View in Gallery
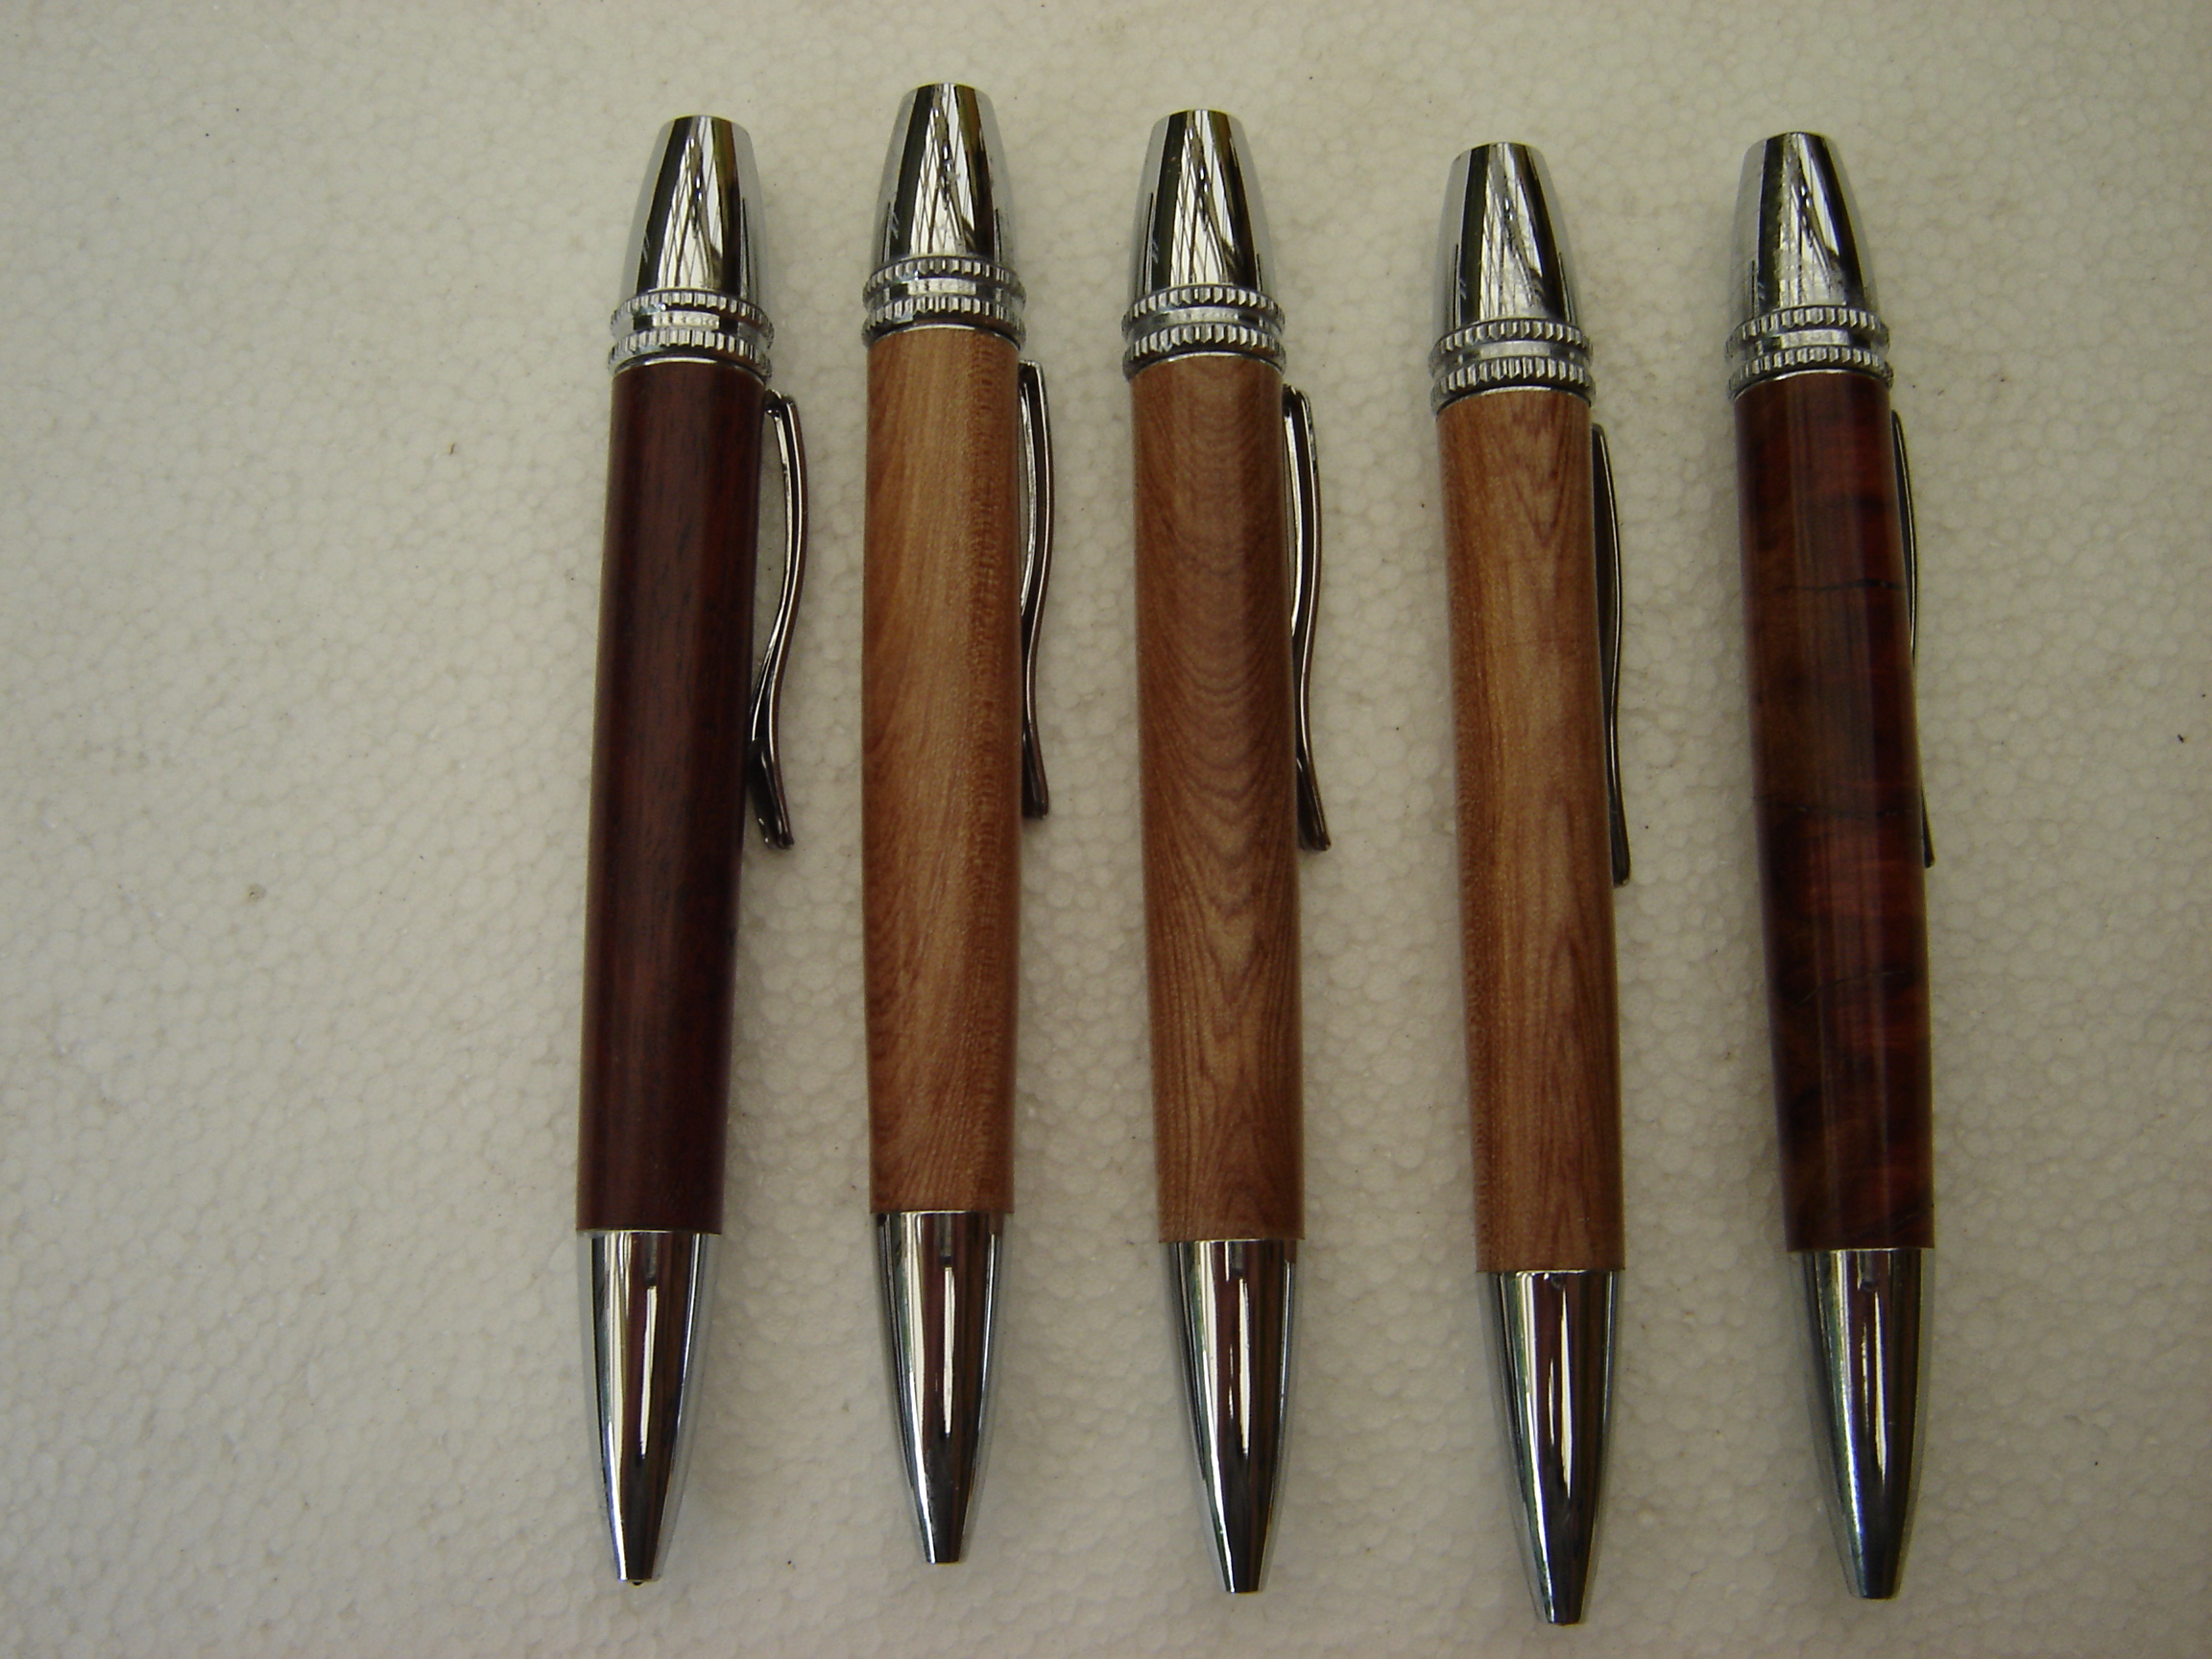
My New Low Cost Offering
Our Men's Shed, last year for the Older children looked after by the various Charities that we Make and Donate Toys too for Christmas, we changed our Pens from the Traditional Slimline to the Chrome Polaris Ball Point Pen.
These were very well received, so we used Polaris again this year, and the Feed Back from the Charities has been very positive.
This led me to thinking, why should we continue with the Slimline.
Which is a much more difficult Pen to make, having two bodies, and turning to such a small diameter to match to the Nose Cone, the Center Band, and the Clip Cap.
The small diameter more readily creates tearing of the Blank Material from the Tube, and having so thin a Wall does not allow for much compromise in correcting errors.
Also we are expecting our trainee turners to work on that, which many like me consider the Slimline to be one of the more difficult Pens to make.
The Cost of the Chrome Slimline in Australia, is $AU2.50, while the Chrome Polaris is $AU5.00, that is twice the cost.
But for that extra $AU2.50, you have a Larger, Heavier, and more Robust Pen, and a Pen that uses the more Popular and Available "Parker Style" Refill.
The Pen also has a Single, Larger Body, so can Display the Blank more Easily.
The Blanks are drilled by 9.5mm that is 3/8" dia. Drill Bits.
The Turning of the Blank to 11.55mm i.e.0.455" at the Nib End, and to 13.6mm i.e. 0.535" at the Clip and Twist Knob.
From an assembly perspective, there are two Parts pressed into the Blank. The nib Coupler, and the Clip /Twist Mechanism Coupler.
Then the Twist Mechanism is pressed into the Clip Coupler.
You are given a Critical Dimension of 3.75" from the End of the Nib Coupler to the Top of the Twist Mechanism.
This Critical measurement is to ensure that the Refill will completely retract into the Nose Cone. Depending on what type of Press you have will determine how easy you will be able to achieve this Dimension Accurately.
I have overcome the difficulty for me, by using a concept expounded by Ed of Exotic Blanks, in one of his Excellent Youtube presentation, on how to avoid Drill Breakthrough, with Acrylic and Fragile Material Blanks.
In this presentation, Ed overcame the problem of "Breakthrough", by drilling the Blank, longer / deeper, than required, then cutting the Blank to the desired length with an allowance to square the Blank and Mill the end to display the Tube, after the Tube fitted and Cured.
Go To Gallery for picture of Gauge w/Blank
View in Gallery
He showed the making of a small Gauge for the Blank required.
I have adopted Ed's method for all my repetitive Pens, I firstly cut the end of the Blank square on the Drop Saw, then I drill the Blank, through the "squared" surface, to a depth beyond what is required for the Tube.
Once that is done, I then put the Blank, with the Squared Drilled face against the raised section of the Gauge, I then position the Blank and Gauge against the Blade of the Drop Saw to accurately locate the Blank and Gauge, then fasten the hold down, onto the Blank.
Then Cut the Blank.
Now the Blank is ready to have the Tube Fitted, Cemented and Cured, after which the Blank can have the Ends Milled and the Tube Edges exposed.
When the Blanks are turned and finished, and the components, namely the Nib Coupler and the Clip and Twist Mechanism Coupler (less the Twist Mechanism) pressed, then I position the Pen with the Twist Mechanism onto the Gauge, and place the Gauge and Pen against the press Ram, then actuate the press until the Gauge is in full compression against the Press Ram and Bed.
Fit the Refill and Spring into the Pen Body, then fit the Nose Cone.
Rotate Twist Mechanism and observe the full operation of the Refill. Then Fit the Twist End Knob.
Last edited:
