My first custom/componentless/kitless pen

Signed-In Members Don't See This Ad
See more from brownsfn2

brownsfn2

Member
Joined
Jun 23, 2011
Messages
1,574
Location
Plain City, OH
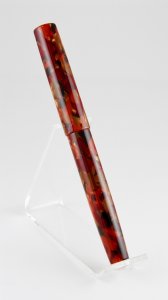
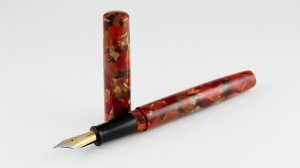
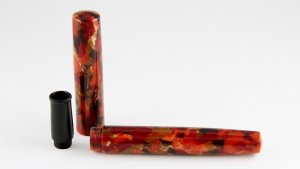
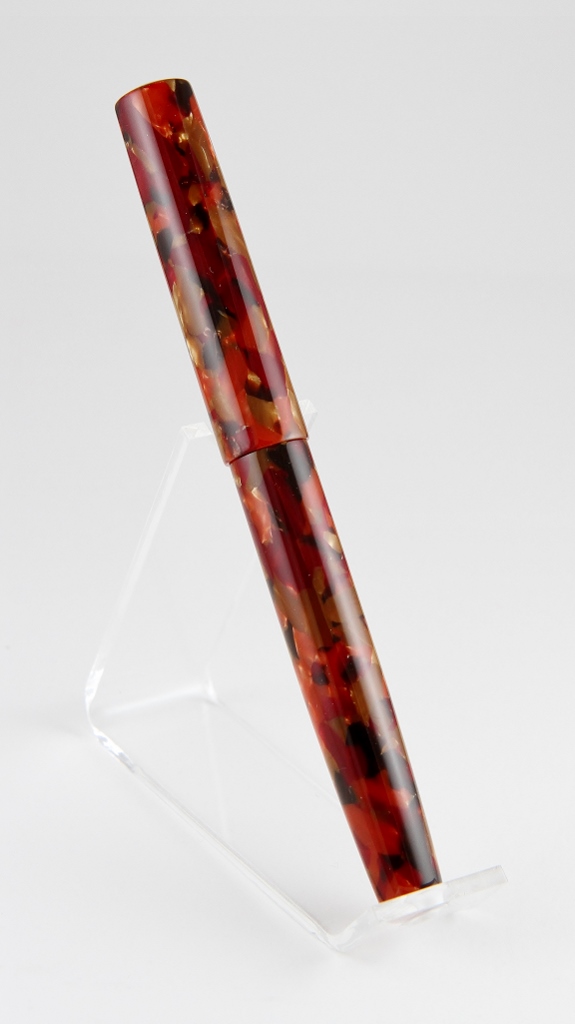
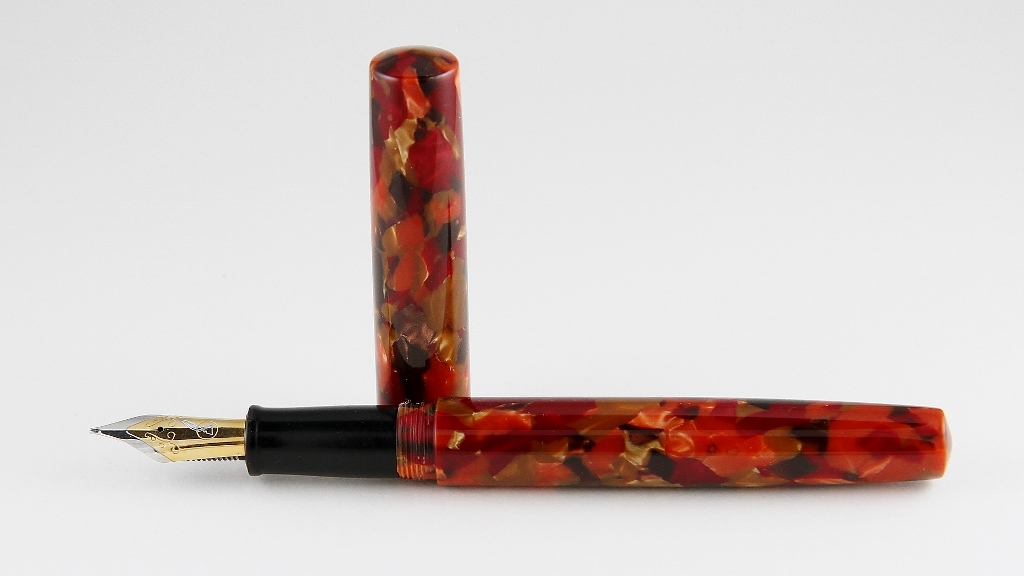
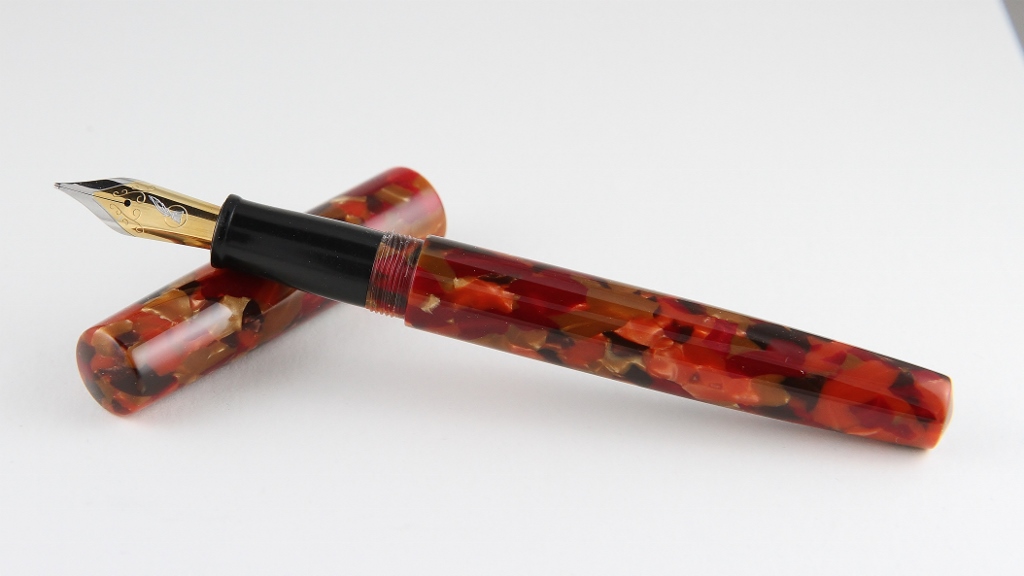
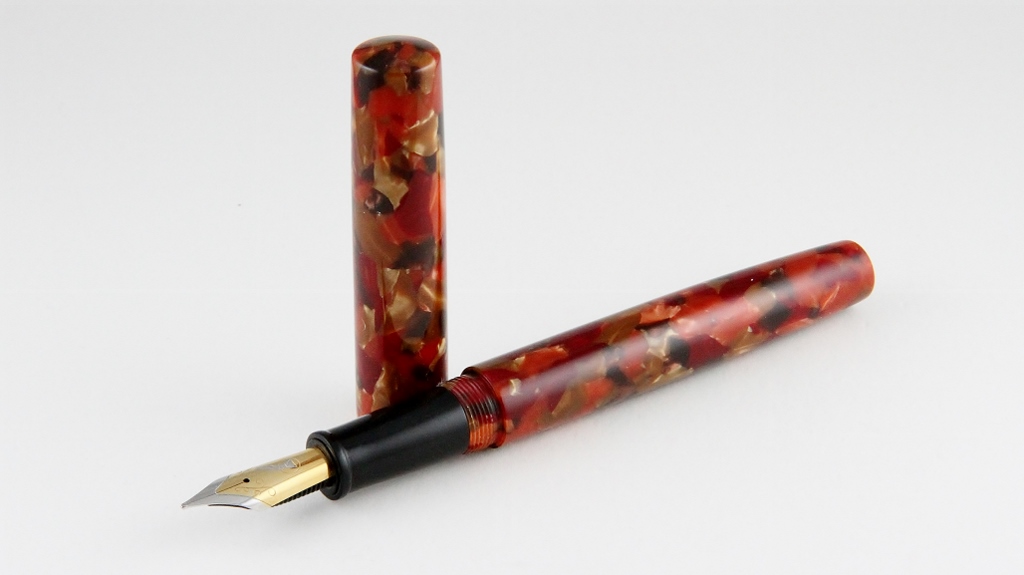
This was quite a fun learning experience. Honestly the body and cap seemed to go pretty well for a first timer. I did struggle with the section and it took me a while to get it right. This pen is made from Cebloplast and black ebonite for the section. It is a #6 heritance nib and a Bock housing/feed.

Here are my firsts in this build:

  • 1st use of collet chucks to turn an entire pen (before only turned finials)
  • First creation of section from start to finish (took me 6 tries)
  • Learned to make my own pin chucks for closed end turning
  • Threading on the body, cap, and housing

Things I wish I could improve:

  • Finish on the section - Something not right here. Pictures do not show it but could be a better finish.
  • Finish on pen cap and body - I did not allow myself enough room between the collet and the pen on the chuck to sand the ends effectively.
  • Finishing the threaded parts before they are threaded (Don't try to buff the threads after cutting) :)
  • Learn to shape the section better - I think there is room for improvement here
  • Add a different finial
  • Learn to add a clip

I practiced making the section several times on black Acetal rod (delrin) several times before realizing that the acetal is really hard to polish. Great for prototypes though. So I ordered black ebonite and that seemed to do better but I still was not happy with the finish. I did try making the section material from the Ceblolast pen body but after three tries and several breaks I gave up. If anyone has a favorite section material to use I would love to hear it.

For pen number two I plan to make one for the Kitless contest. I know there is not much time and I am still way too new to it but these contests are about challenging yourself. :)

Thanks for looking and any C&C is welcome!


View in Gallery


View in Gallery


View in Gallery


View in Gallery


View in Gallery
 
Signed-In Members Don't See This Ad

brownsfn2

Member
Joined
Jun 23, 2011
Messages
1,574
Location
Plain City, OH
Thanks for all the kind words guys. I am trying another one with different material now. Acrylic Acetate freebie from exotics. I had forgotten the smell when turning. :)
 

thewishman

Member
Joined
Mar 9, 2006
Messages
8,183
Location
Reynoldsburg, Ohio, USA.
Hey Ron, that is a very nice first one. After several different section materials, I've started using black acrylic (commercial) blanks. They thread and polish nicely. It was a tip from a much more experienced turner.
 

OZturner

Member
Joined
Aug 5, 2013
Messages
6,662
Location
Sydney. NSW. Australia
What an Excellent First Kitless Pen, Ron.
Superb Proportions, Lines and Profile,
Based on what I can see, Great Fit and Finish.
A pen to be Proud Of.
Congratulations,
Brian.
 

mredburn

IAP Activities Manager
Staff member
Joined
Jul 5, 2009
Messages
8,753
Location
Fort Myers FL
Thats a great pen. You can always try a solid black alumilite blanks for the front section. Ebonite is hard to polish but it can be done. For your thread area use a tooth brush with polishing compound on the lathe. Using a lubricant when you cut the threads even on plastics can help with how well they form and look.
Great Beginnings!
 

Brooks803

Member
Joined
Sep 13, 2009
Messages
5,632
Location
Aiken, South Carolina
Here are my firsts in this build:

  • 1st use of collet chucks to turn an entire pen (before only turned finials)
  • First creation of section from start to finish (took me 6 tries)
  • Learned to make my own pin chucks for closed end turning
You can also make your own threaded mandrels which are a bit more universal since they're not dependent on what drill sizes you use. I have some made from brass, aluminum, derlin, and alumilite and use them repeatedly.
  • Threading on the body, cap, and housing
Things I wish I could improve:

  • Finish on the section - Something not right here. Pictures do not show it but could be a better finish.
You're right. The pictures don't show it. If ebonite gets hot (while drilling, turning, or sanding) it doesn't polish as nicely. Also the type of ebonite are different to work with. German is nice, but I prefer the Japanese. I seem to get a better polish on it. One thing I found that REALLY helps is to use some EEE paste wax on your sandpaper while sanding. It really helps reduce the amount of scratches. Plus if you like satin finishes on ebonite you can just use it after your last grit (I stop at either 800 or 1000) and it'll have that silky look to it.
  • Finish on pen cap and body - I did not allow myself enough room between the collet and the pen on the chuck to sand the ends effectively.
Do you have a full collet set or just the PSI 5 it comes with? If you have the full set (I prefer MM) you can always chuck up the pen body itself (can wrap in painters tape if you worry) so you can polish every part of the pen.
  • Finishing the threaded parts before they are threaded (Don't try to buff the threads after cutting) :)
Yeah there's not really a way around this. You can do the polish and a toothbrush, but it doesn't do as good a job as polishing before. You can cheat a little and not go through the whole micro mesh and instead stop around 1000 grit if you have a buffing setup. Using a cutting oil (I use 3 in 1 oil) while cutting threads does help a lot!
  • Learn to shape the section better - I think there is room for improvement here
Room...yes. However, I really do like this shape. Just keep in mind your wall thicknesses so you don't end up paper thin to where a customer can crush it if they're heavy handed.
  • Add a different finial
  • Learn to add a clip
These last two go hand in hand. If you can add a different finial you can add a clip. All that's left would be to cut a relief to match the OD of the clip ring and cut that notch for the clip arm. Also keep in mind the ID of the clip ring and try to use a thread that's close to that ID so the clip doesn't have any wiggle room. Most of the clips I use range from 8mm to 10mm ID.

It's a beautiful pen Ron! You sure went all out material wise for your 1st custom pen. Can't say I blame you....I did my 1st completely out of PR. Talk about frustration and wanting to walk away!

I've added some comments inside your quote in red to try and keep things cohesive.
 

brownsfn2

Member
Joined
Jun 23, 2011
Messages
1,574
Location
Plain City, OH
Wow. Thanks for all the advice Jonathon! I appreciate it.

I did choose a difficult material for the first one. I hate Cebloplast now. :) Although I still have one rod left...
 
Top Bottom