Clear Acrylic - Jedi Pen Lord

Signed-In Members Don't See This Ad

johncrane

Member
Joined
Jan 17, 2006
Messages
9,658
Location
Melbourne, Victoria, Australia.
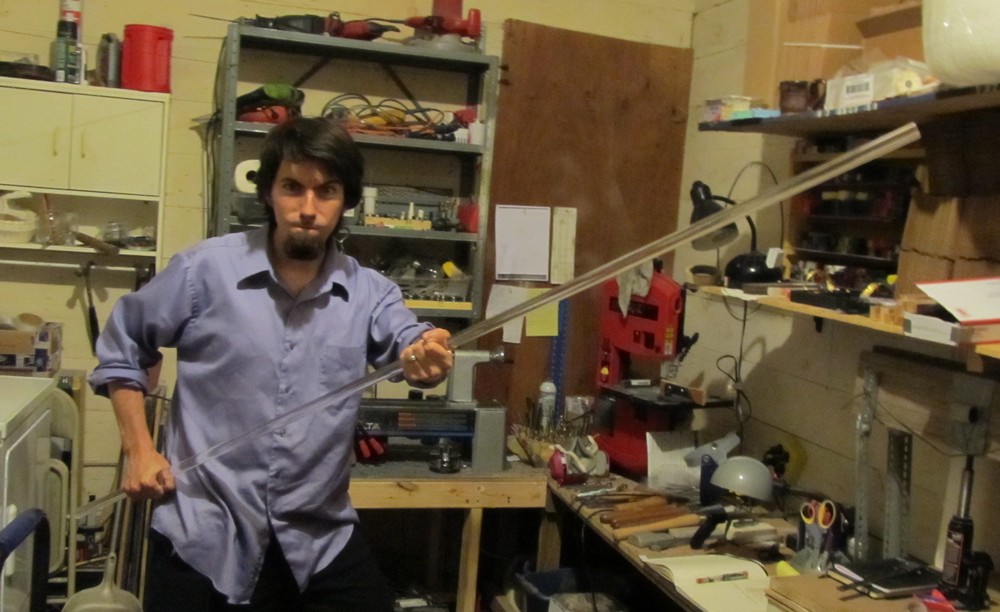
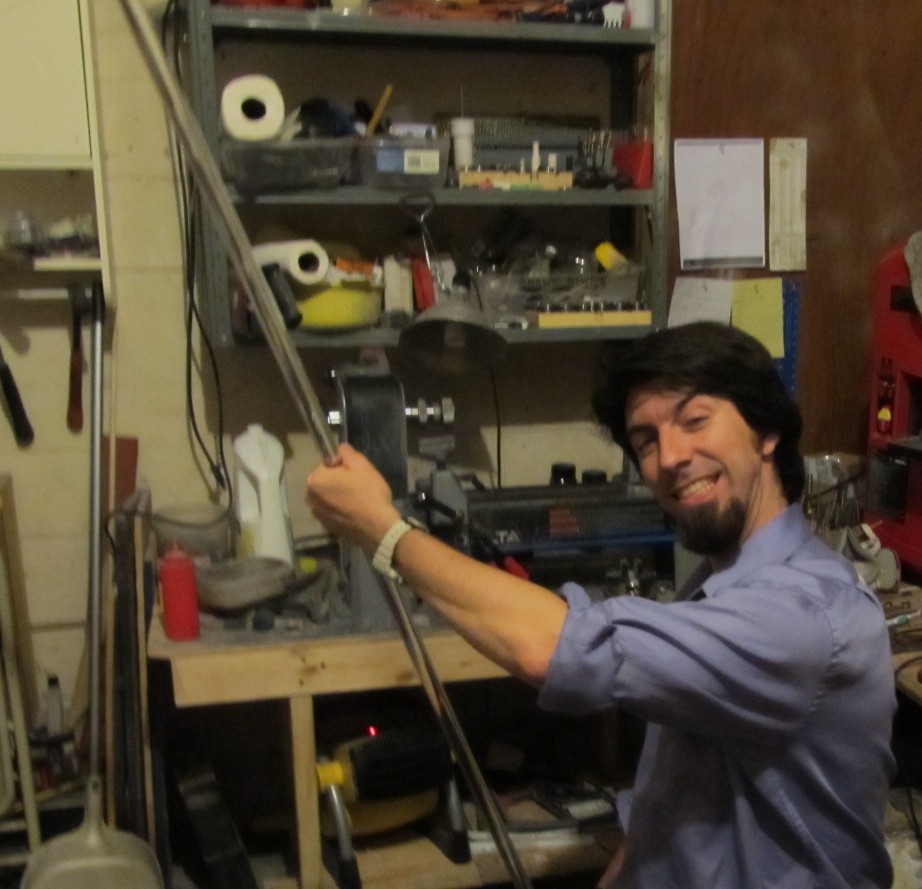
Last picture is best your showing off them pearly whites again :wink: i bought 3 rods in different sizes before xmas there cheap enough to buy the problem i see with them will be a lot of time spent clearing up the drilling marks,i can also see some very different and unique pens could be made,at the moment mine are collecting dust.:rolleyes::biggrin:
 
Last edited:

watch_art

Member
Joined
Dec 21, 2011
Messages
1,819
Location
hot springs, ar
I'm hoping slow and lots of pull backs, w/ lots of soapy water or oil will help avoid some of that. If that doesn't work out, I'm going to try the flame glaze technique that I read about somewhere. There's some plastics finishing company that polishes and finishes clear plastics to a crystal sheen. I used to do that at the sign company w/ plexy signs. We'd take a small propane torch and lightly hit the edges of signs and sort of melt the plastic smooth. Looked beautiful. I could do that w/ my pens and then thread afterwords. ??? Maybe?
 

Brooks803

Member
Joined
Sep 13, 2009
Messages
5,632
Location
Aiken, South Carolina

el_d

Member
Joined
Apr 26, 2007
Messages
3,368
Location
Lockhart, Tx, USA.
D-shwing...... Shwww, shwww

Its kinda hard spelling sound effects.
My boys want one now for Halloween, thanks a lot. :biggrin:
 

watch_art

Member
Joined
Dec 21, 2011
Messages
1,819
Location
hot springs, ar
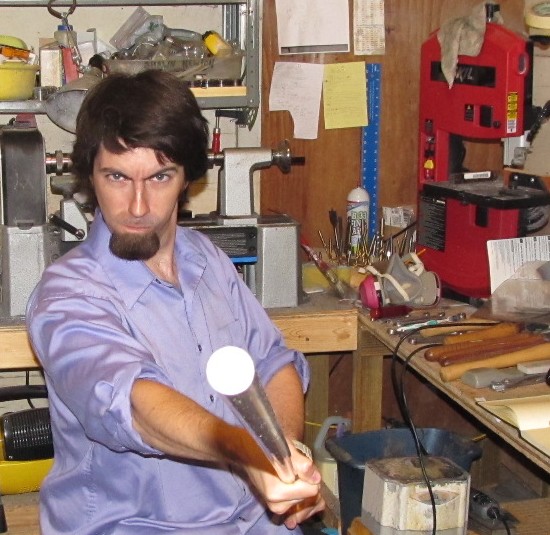
light saber

It was only $35 shipped for that long rod, so you could get that and cut it in half, then paint a black handle, or actually build something, and then put little battery powered LEDs in the base, and BAM! Light sabers. :biggrin:
 

el_d

Member
Joined
Apr 26, 2007
Messages
3,368
Location
Lockhart, Tx, USA.
It was only $35 shipped for that long rod, so you could get that and cut it in half, then paint a black handle, or actually build something, and then put little battery powered LEDs in the base, and BAM! Light sabers. :biggrin:

Nice!!

Where did you get it.
 

PR_Princess

Member
Joined
Jun 1, 2007
Messages
2,384
Location
Sturtevant WI, USA.
It was only $35 shipped for that long rod, so you could get that and cut it in half, then paint a black handle, or actually build something, and then put little battery powered LEDs in the base, and BAM! Light sabers. :biggrin:

Or.... what about do the same kinda thing but just make it pen sized?

Light saber fountain pen for the kids. :)
 

watch_art

Member
Joined
Dec 21, 2011
Messages
1,819
Location
hot springs, ar
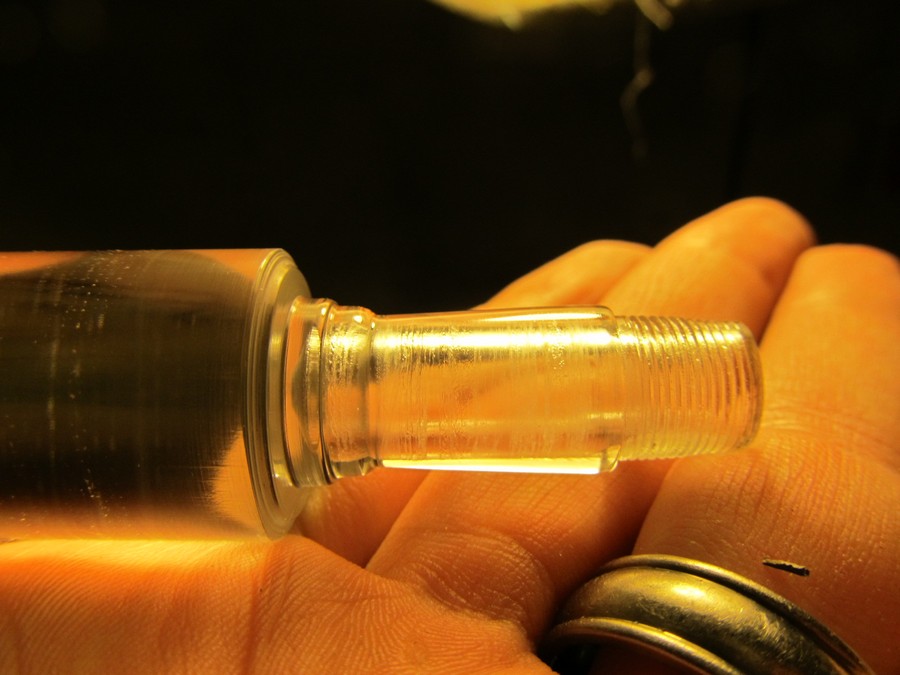
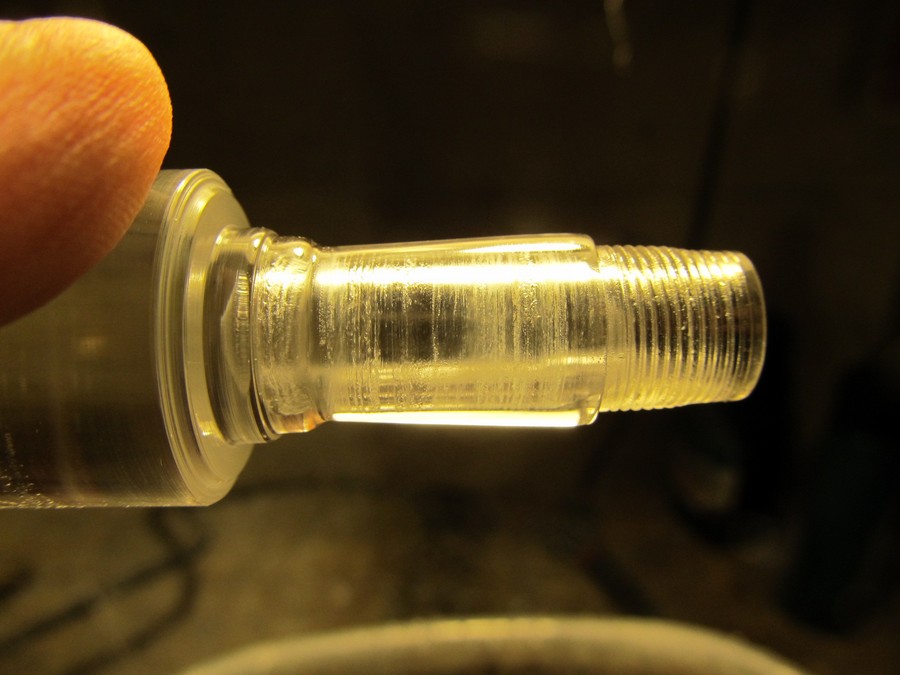
Wow this stuff is hard to turn. I put a new tip on my carbide tool to even touch it. It still bounces off a bit - which I haven't seen before. It's like the plastic melts and cools really fast and creates little bumps on the surface. I did get a nice looking section out of it, though. Started on a barrel last night but I'm a bit under the weather so only managed a little bit.

11x.75 mm threads, will take a #6 jowo.

1_clear1.JPG


1_clear2.JPG
 
Last edited:

Curly

Member
Joined
Nov 20, 2010
Messages
4,853
Location
Saskatoon SK., Canada.
Did you buy extruded or cast rods? Extruded is softer and doesn't like to get hot. Scraping tools, that includes carbide, generate more heat than a sharp cutting tool like a skew or gouge.

It also looks like you need to slow down the drilling and lubricate (cooking oil) frequently as the melting is apparent inside the section.

I have seen posted somewhere that boiling the extruded rod, held off the bottom of the pot, for a while changes the acrylic enough that it behaves more like cast rod. I haven't tried it yet.
 

watch_art

Member
Joined
Dec 21, 2011
Messages
1,819
Location
hot springs, ar
It's the extruded stuff - I couldn't afford cast to save my life. Yikes. I still need to learn to sharpen my gouges b/c they're dull as dirt. I did slow down and did use cooking oil - at about 750 rpm, I just think my bits are really dull. A couple of them out of the box didn't cut at all and when I tired sharpening by hand I found out I can't sharpen a bit to save my life either. :)
 

Curly

Member
Joined
Nov 20, 2010
Messages
4,853
Location
Saskatoon SK., Canada.
Slow your lathe to the slowest it will go. Like 100 to 300 rpm and feed the drill slow and pull it out quick to clear. Experiment to see what gives you the best results. If you get the drilling down on this stuff all the others will be easy.

Sent from my iPhone using Forum Runner because I can't reach my desktop!
 

watch_art

Member
Joined
Dec 21, 2011
Messages
1,819
Location
hot springs, ar


I have seen posted somewhere that boiling the extruded rod, held off the bottom of the pot, for a while changes the acrylic enough that it behaves more like cast rod. I haven't tried it yet.

extruded.... uuuugh....
I need to try the boiling trick b/c I just ruined a barrel after getting it all sanded and polished up. The material around the threads was quite brittle, and of course I didn't realize it, and I chipped off a good size chunk of the threads. I can fix it, but lordy what a pain after all that work. I need to learn to sharpen my gouges! :( That carbide tool just doesn't cut it. Hehehe... I made a pun.
 

TerryDowning

Member
Joined
Apr 27, 2011
Messages
520
Location
Newhall, CA
I need to learn to sharpen my gouges! :( That carbide tool just doesn't cut it. Hehehe... I made a pun.

Google it. Tons of ways to skin this cat. Find the method that works for you. I have learned that there is a cost/labor ratio involved.

Personally, I find that using stones (Oil, Water, Diamond) is the least expensive method for the long term. Middle ground for getting started as good stones aren't cheap but are still cheaper than slow speed grinder and various jigs. The trade off is in the labor. Getting the the right profile will definitely take longer using just stones. Once the profile is set though, maintaining the edge is actually quite easy. and overall there is less wear/metal removal from the chisels and almost no consumable cost. If you use oil stones, you will eventually need to buy oil.

Scary Sharp using sand paper is least expensive up front, but the consumable cost in sand paper can mount up. About the same labor trade off as Stones and again the consumable cost. This also very friendly to the long term life of the tool.

Various powered sharpening/grinding systems WS 3000, wolverine jig with grinder, slow speed grinder, disc/strip sanders etc. These cost the most up front and will wear the tool faster because they remove more material from the tool. Heat can also be an issue with powered grinding systems. These systems are faster and less labor intensive.

Again, experiment, find what works best for you, and then stick to it and master that skill. I use a strip sander for removing nicks and setting the profile if needed and then sharpen and hone using oil stones.

Ultimately sharpening is much like polishing a pen. Use successively finer abrasives to remove scratches and refine the edge. The finer that edge, the sharper your tool is. The hardest part is getting the initial profile and then you just follow that profile through the grits.

Using any tool is much more enjoyable when it is properly maintained.

Terry
 

Rich L

Member
Joined
Feb 1, 2012
Messages
263
Location
Centennial, CO
I've cut a lot of stuff in extruded clear acrylic and I find the parts come out just fine. Here are the machining specs I've used and for the record they are too slow compared to folks that do even more for a living. The reason is that I use speeds and feeds for metals so when I switch from a metal part to acrylic for prototypes and vice versa I don't have to change any settings or frame of mind. I use either neat low viscosity machining oil or WD40 but I always use something as a coolant. Diameter ranges from 1/4 inch to 5/8 inch.

1000RPM
Feed .003 per rev
DOC up to .040
Carbide inserts were used for turning and had .008 tool tip radius. These were inserts with honed edges and not even the sharp (type F) edges that you can get for aluminum, for example. Sharp solid carbide tools were used for internal boring and finishing - no problem. They don't scrape or rub - they cut. You either don't have the tool edge at centerline, you have negative rake, or looks like you're not getting enough cooling. You're getting heat deformation.

I have no trouble with finish and I have no trouble with any melting as long as coolant is present. Production outfits go a lot faster than this and with greater feed and DOC but they must use flood coolant. So, just keep the part wet with a spray from a WD40 bottle or some mist coolant mechanism you dream up. Keep it wet!

Proof of this technique lies in parts I've made with two kinds of threads on them plus cylindrical edges that taper to a consistent .005 thick. I use parts like this for cap barrel inserts that accept threaded sections.

Good luck.

Cheers,
Rich
 
Top Bottom