BeeAMaker
Member
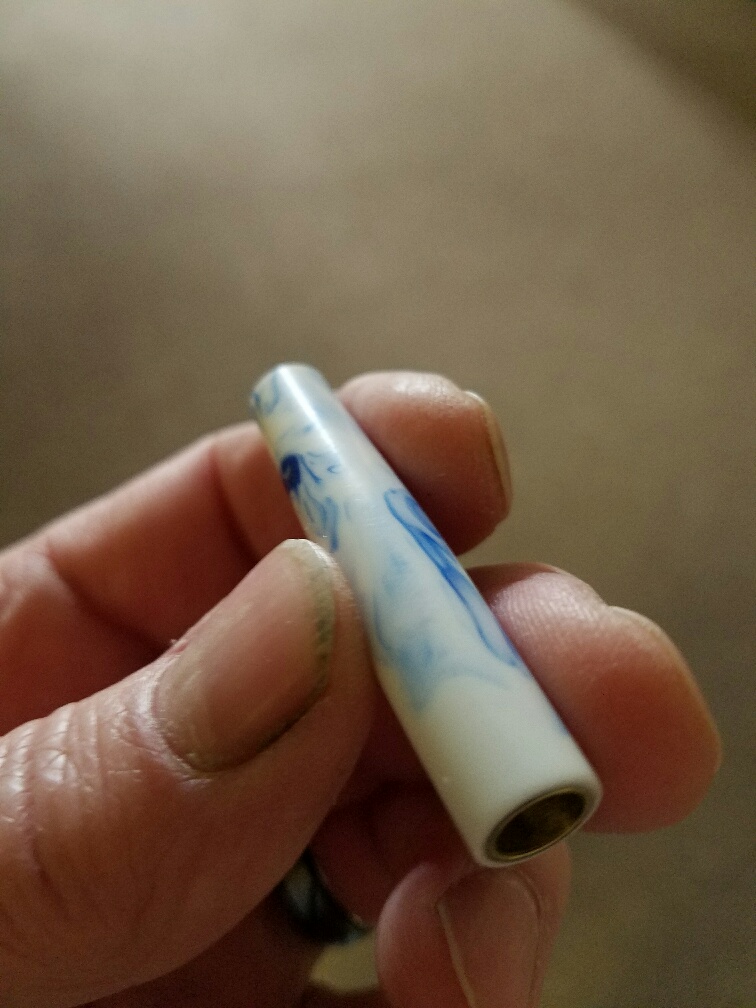
I posted about this once before but figured it was just a bad casting. However I now have 2 more blanks that just shred right into tiny chips. They are from a different vendor than the previous posting, but the 3 I talk about here are from the same vendor. I don't know the material as their web site doesn't say, 3/4" round.
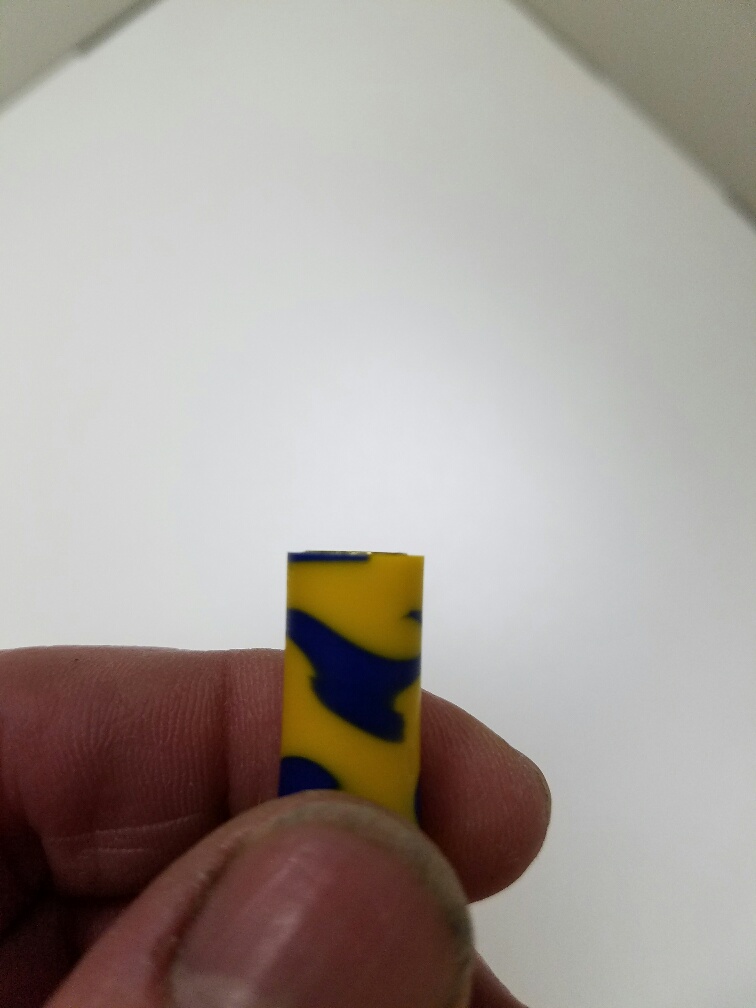
It didn't matter what I did. I tried Low speed, High speed, medium speed, sharp tools, Carbide, tools, dull tools (in fact dull ones worked better but not much) I also notice that one color cut OK, but the other chipped more with the swirls.
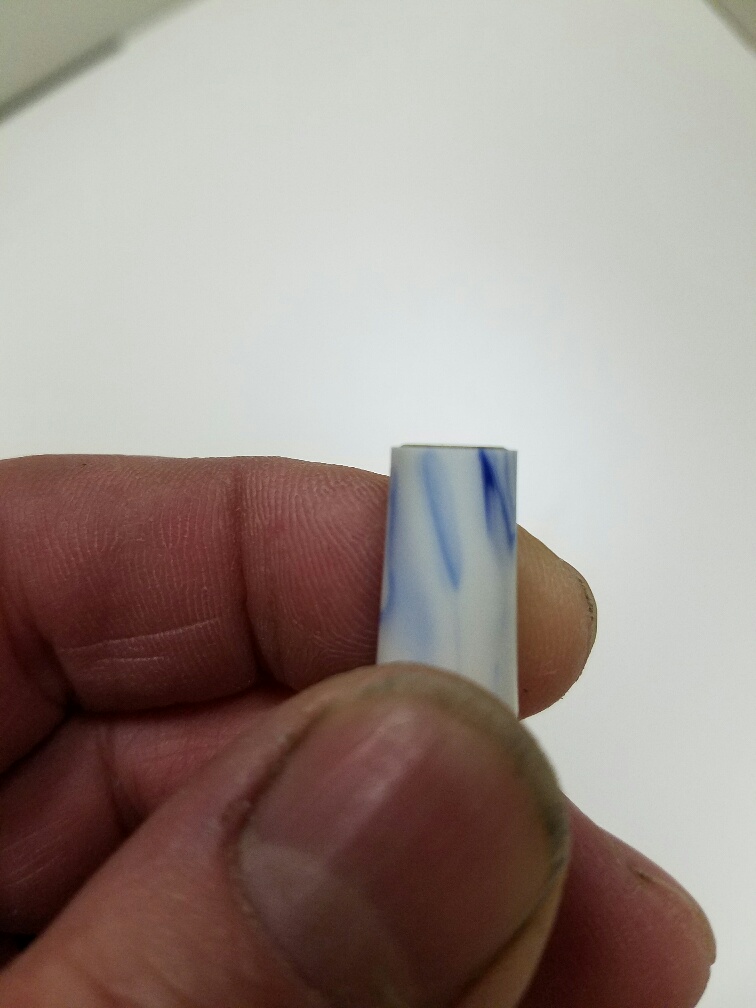
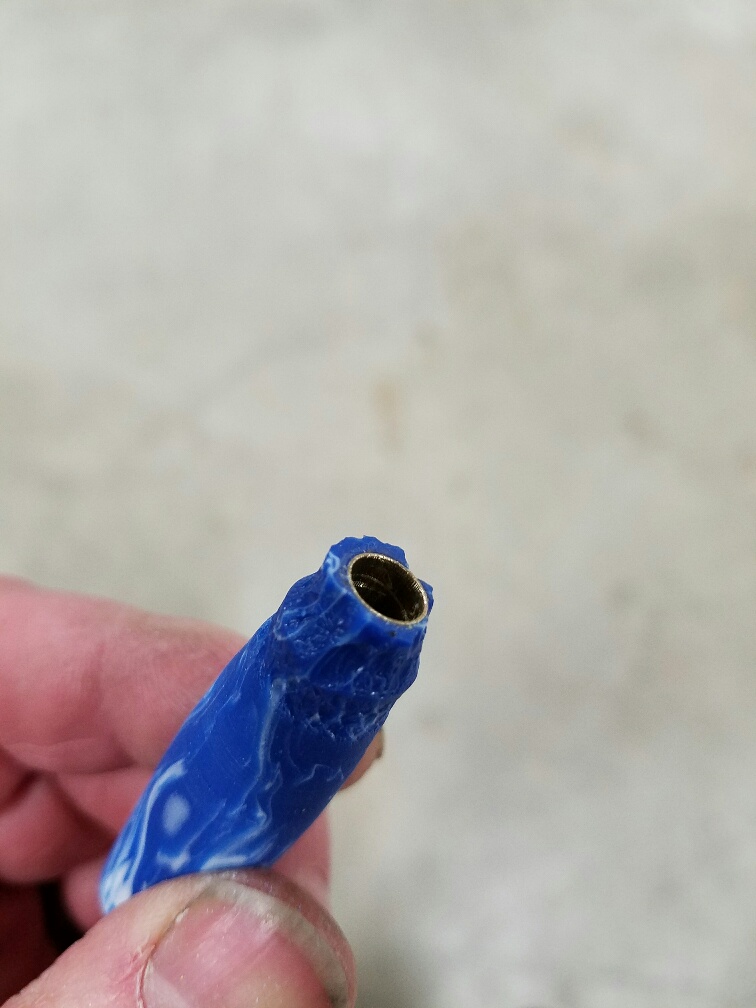
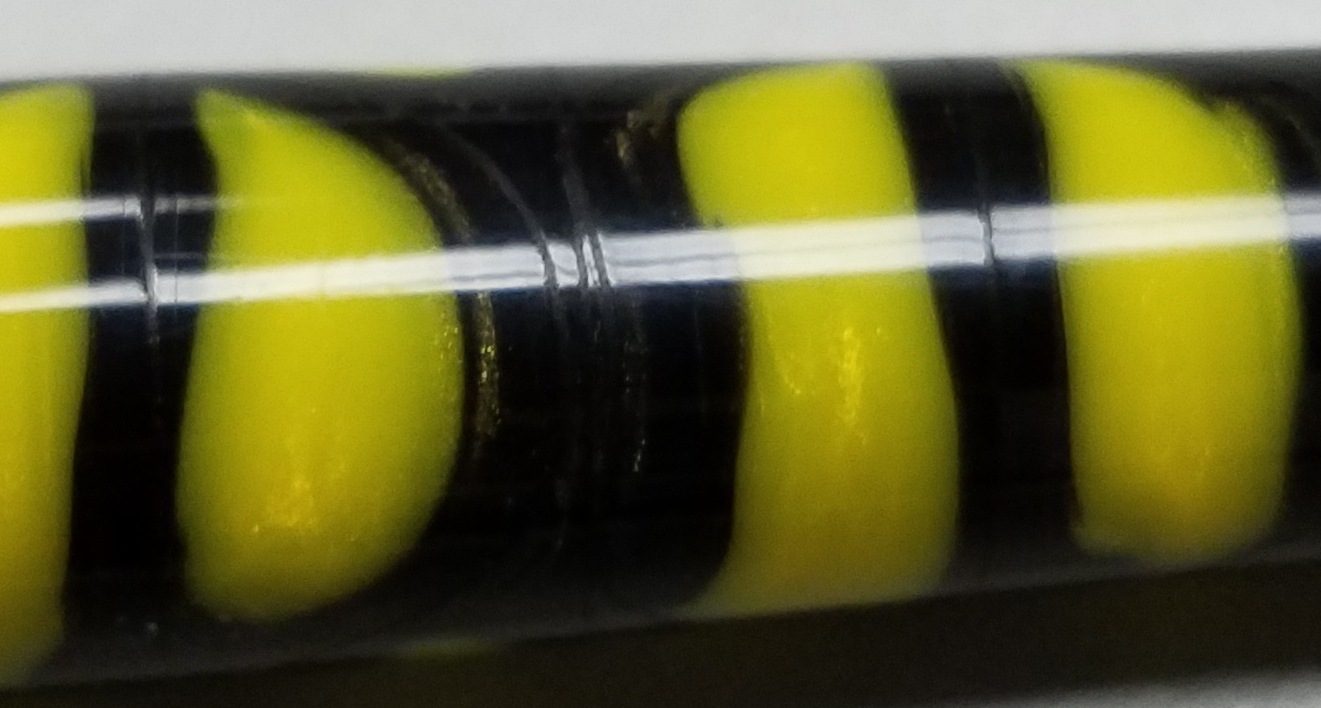
I tried turning a blank for a friend and it right away came off in tiny tiny chips. Turned up the speed, helped a little bit but ultimately just made smaller chips. Stopping the lathe revealed a blank resembling the dark side of the moon, tiny little craters full length of the blank. The picture below shows the 3rd blank I tried. I barely touched it and chips-a-flying.
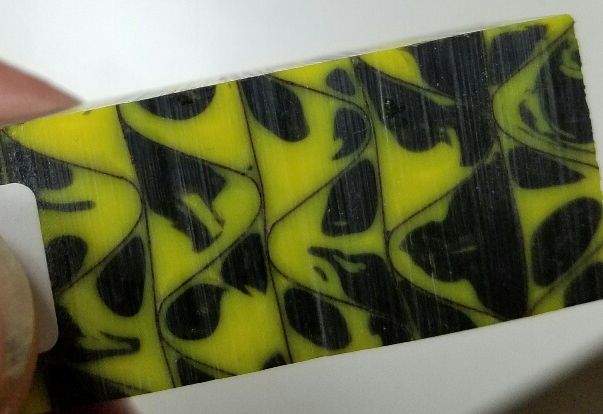
The first one did the same thing, I had two others of the same type (different color) so I thought I better see if I have the same problem with those, and I did. All 3 blanks chewed up like powder. And it seems to have "soft spots" the only way I can describe it is imagine turning a blank that was segmented with Desert Iron wood and white pine. I'll go as light as I can, barely shaving anything off and suddenly chips-a-flyin.
I can only think that it is me because I can't believe that people would continue to buy these types of blanks if you half to be so delicate with them. They just are not fun to turn, they are very, very brittle. Any advice?
This is about a half a second very light touch with a carbide
It didn't matter what I did. I tried Low speed, High speed, medium speed, sharp tools, Carbide, tools, dull tools (in fact dull ones worked better but not much) I also notice that one color cut OK, but the other chipped more with the swirls.
I tried turning a blank for a friend and it right away came off in tiny tiny chips. Turned up the speed, helped a little bit but ultimately just made smaller chips. Stopping the lathe revealed a blank resembling the dark side of the moon, tiny little craters full length of the blank. The picture below shows the 3rd blank I tried. I barely touched it and chips-a-flying.
The first one did the same thing, I had two others of the same type (different color) so I thought I better see if I have the same problem with those, and I did. All 3 blanks chewed up like powder. And it seems to have "soft spots" the only way I can describe it is imagine turning a blank that was segmented with Desert Iron wood and white pine. I'll go as light as I can, barely shaving anything off and suddenly chips-a-flyin.
I can only think that it is me because I can't believe that people would continue to buy these types of blanks if you half to be so delicate with them. They just are not fun to turn, they are very, very brittle. Any advice?
This is about a half a second very light touch with a carbide
 So, yes I was turning these between centers.