Drewboy22
Member
I know there are a lot of ways to use CA as a finish. My process is as follows -
1. Sanded pen from 150 - 600
2. Messed up CA finish - (Kinda squirt the CA on the pen and smooth it out with a paper towel method)
3. Sanded again from 220 - 600
4. Messed up again - Same as above
5. Sanded from 220 - 600
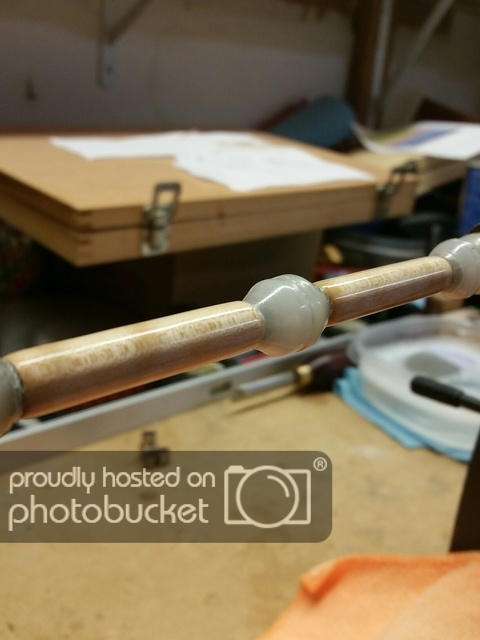
6. This time I put the CA on the paper towel and ran the towel under the blanks. This method seemed to be more consistent and easier. I did this 12 times.
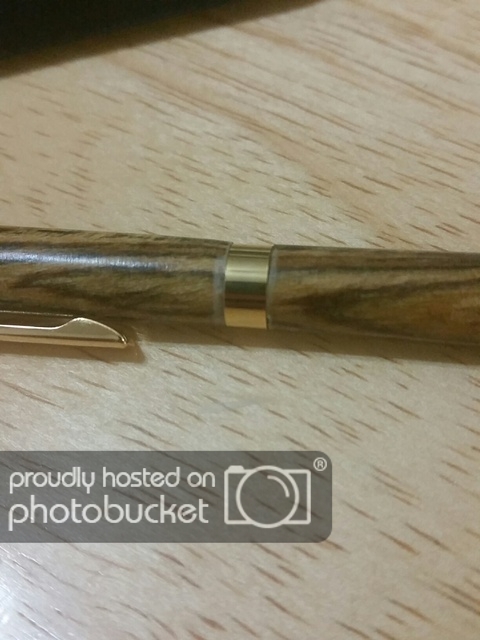
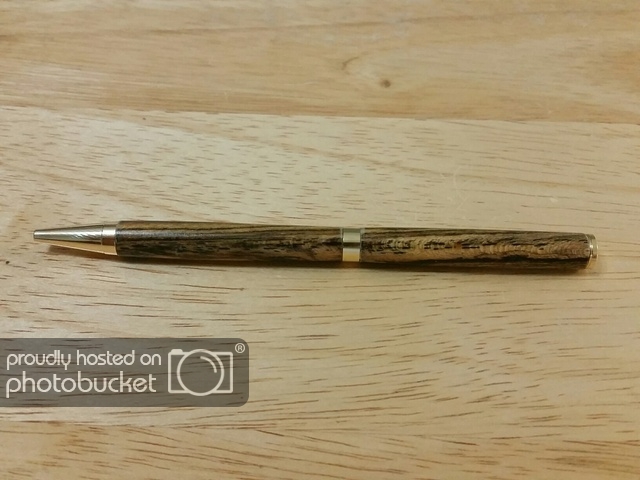
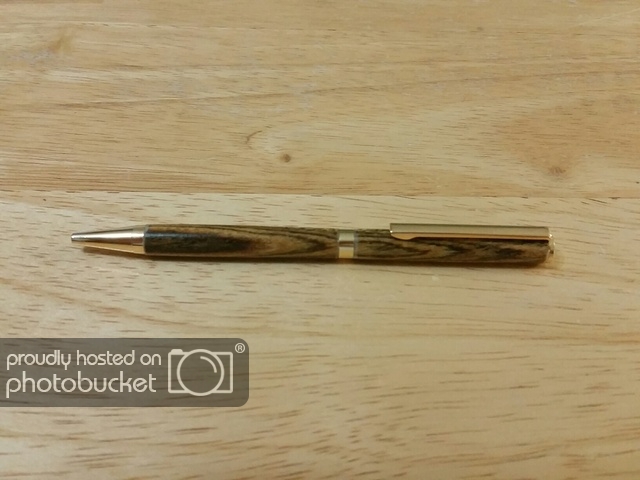
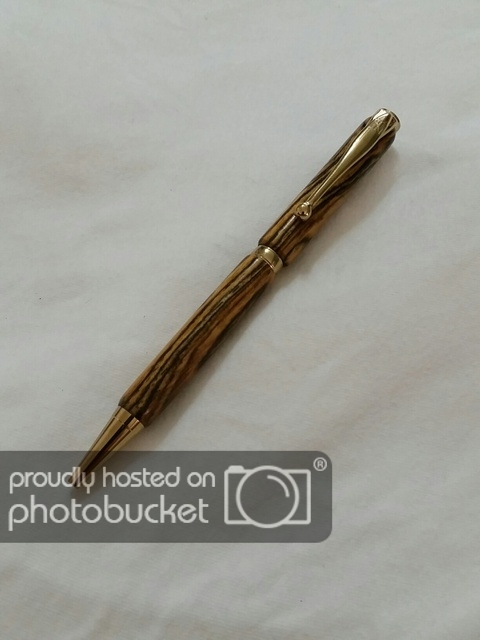
The over all finish I am not real pleased with. It is not "Smooth as Glass" or even really glossy at this point. I do have some MM on order that should be here next week sometime, this will probably help some.
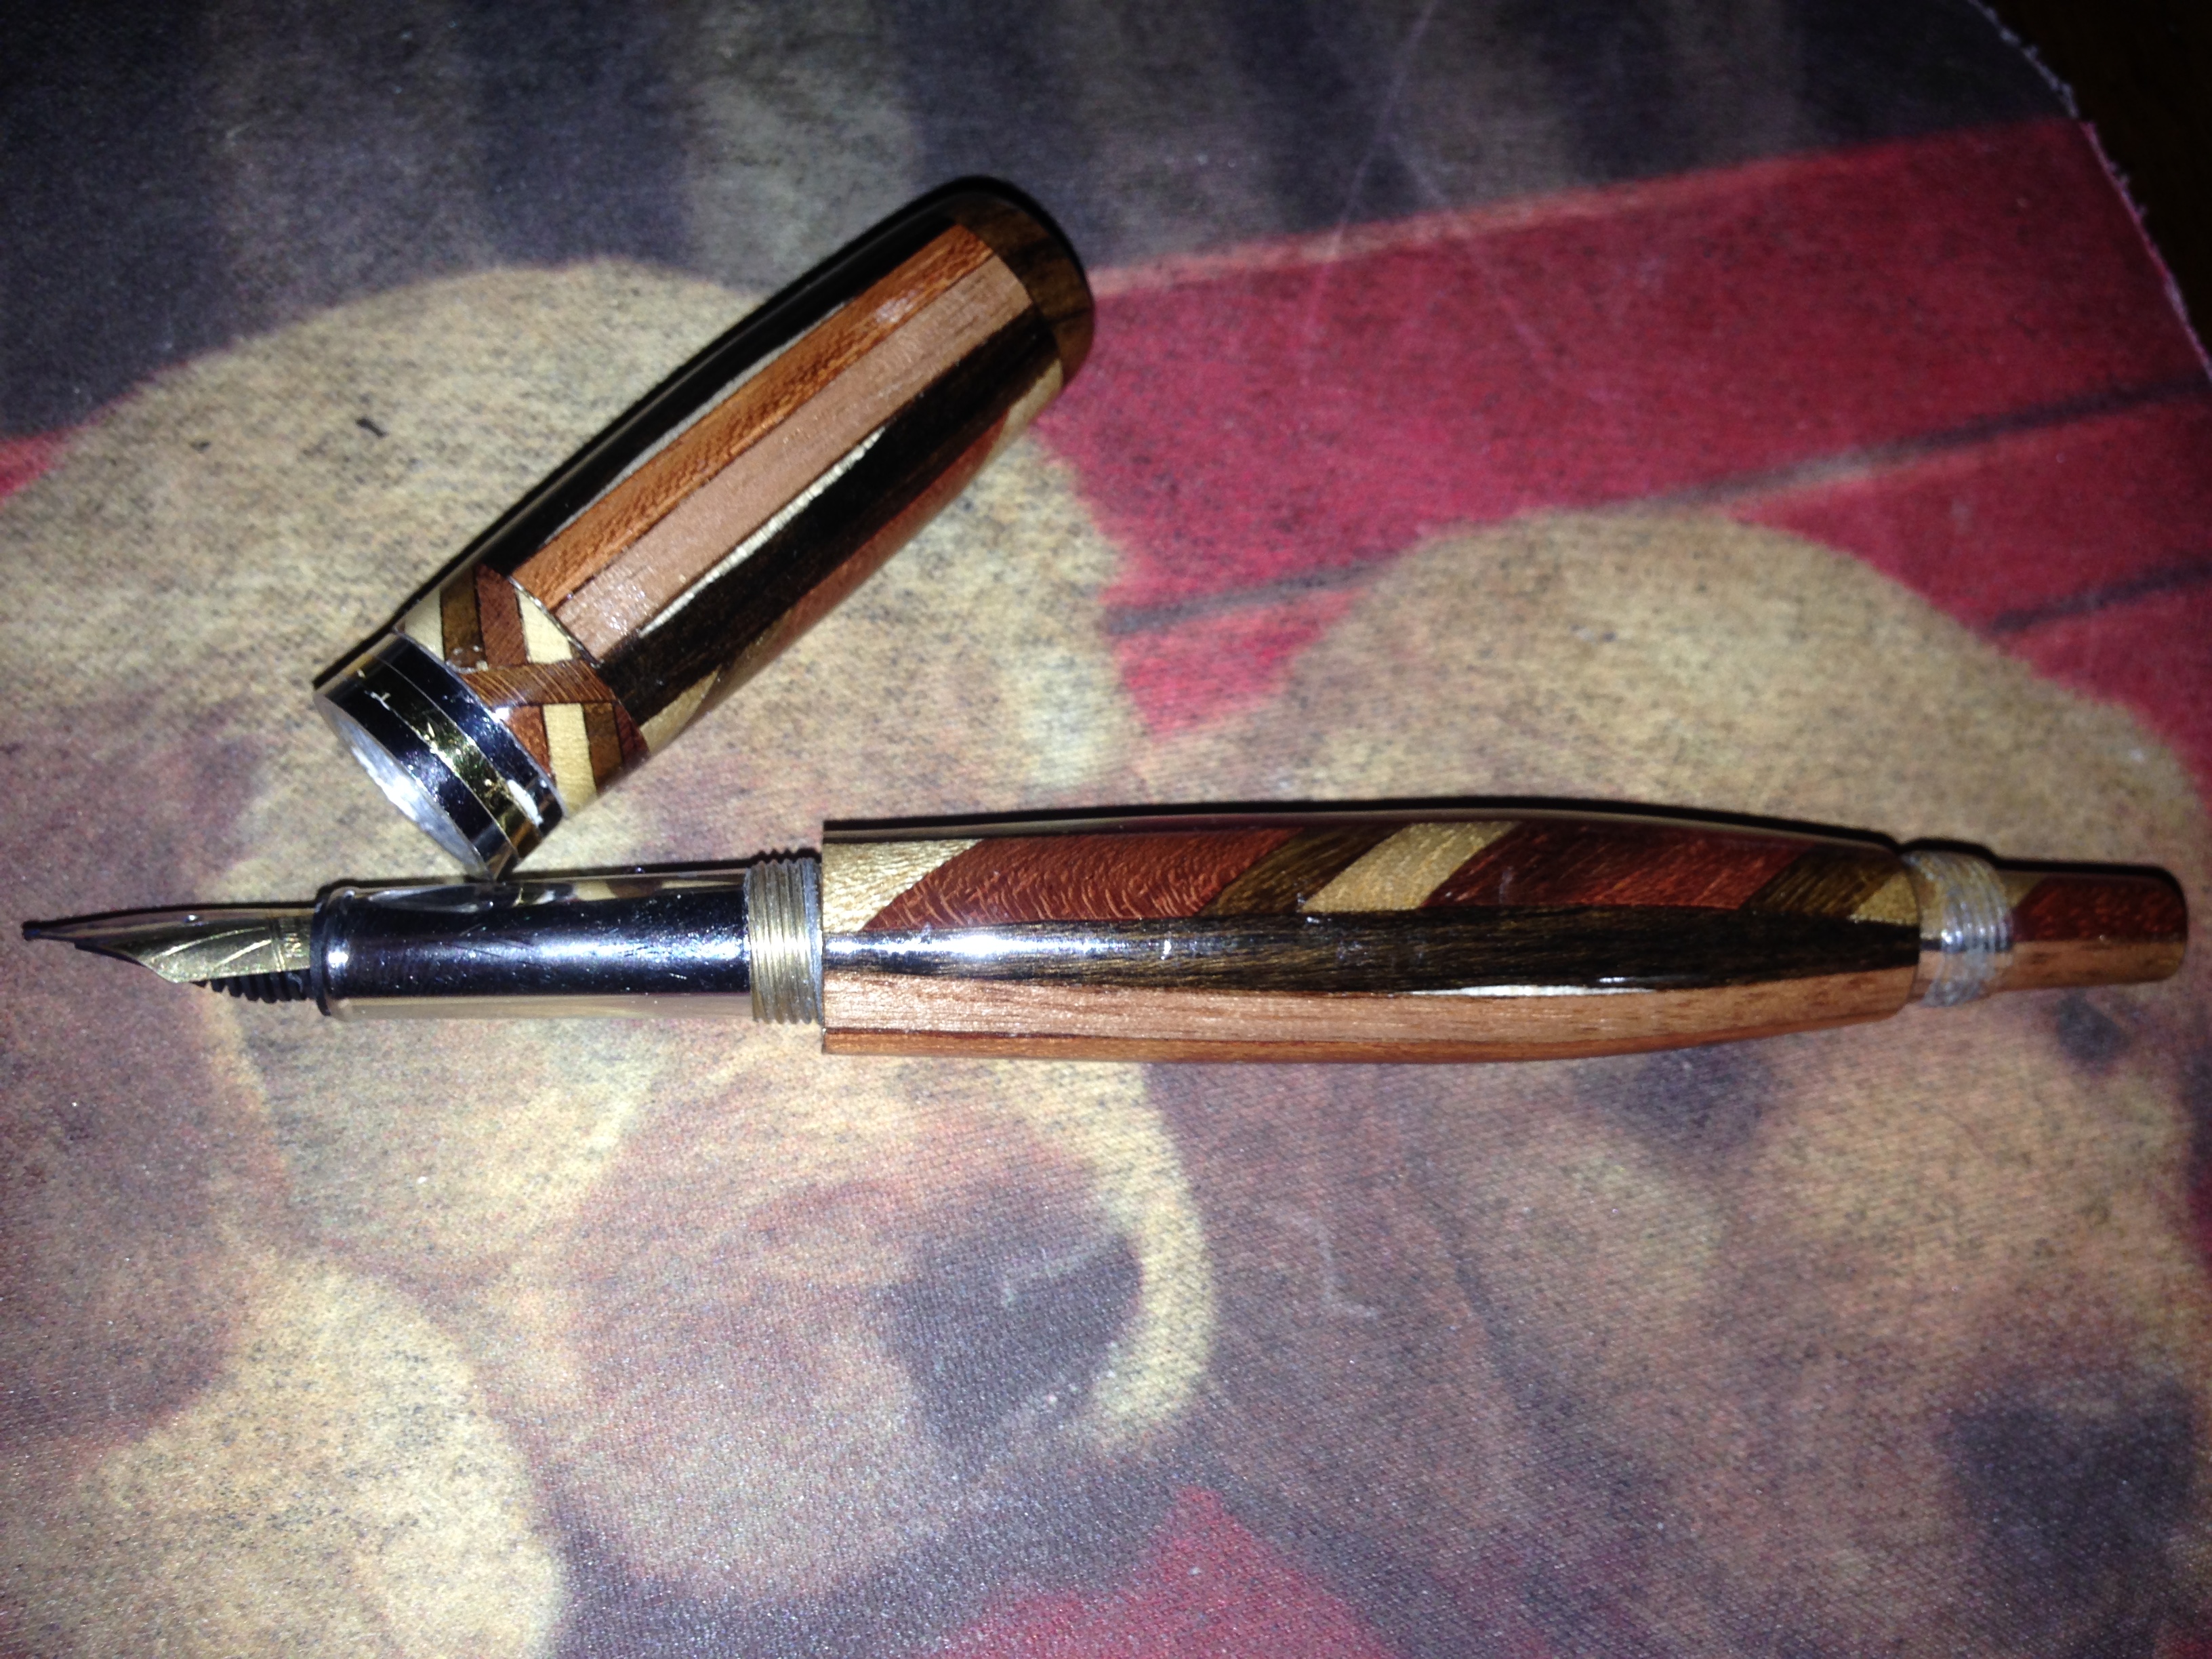
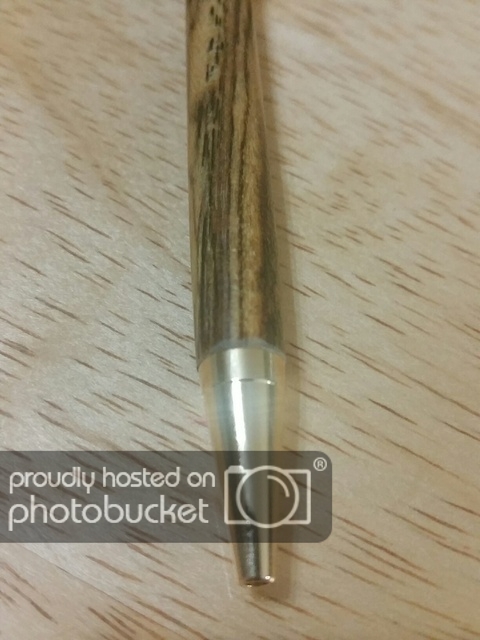
My main question is about the ends of each blank, where the blank and the bushing were glued together. I used a skew tip to cut the CA but I still ended up with white plastic tips. I don't like these. What can I do to better separate the bushing from the blank?
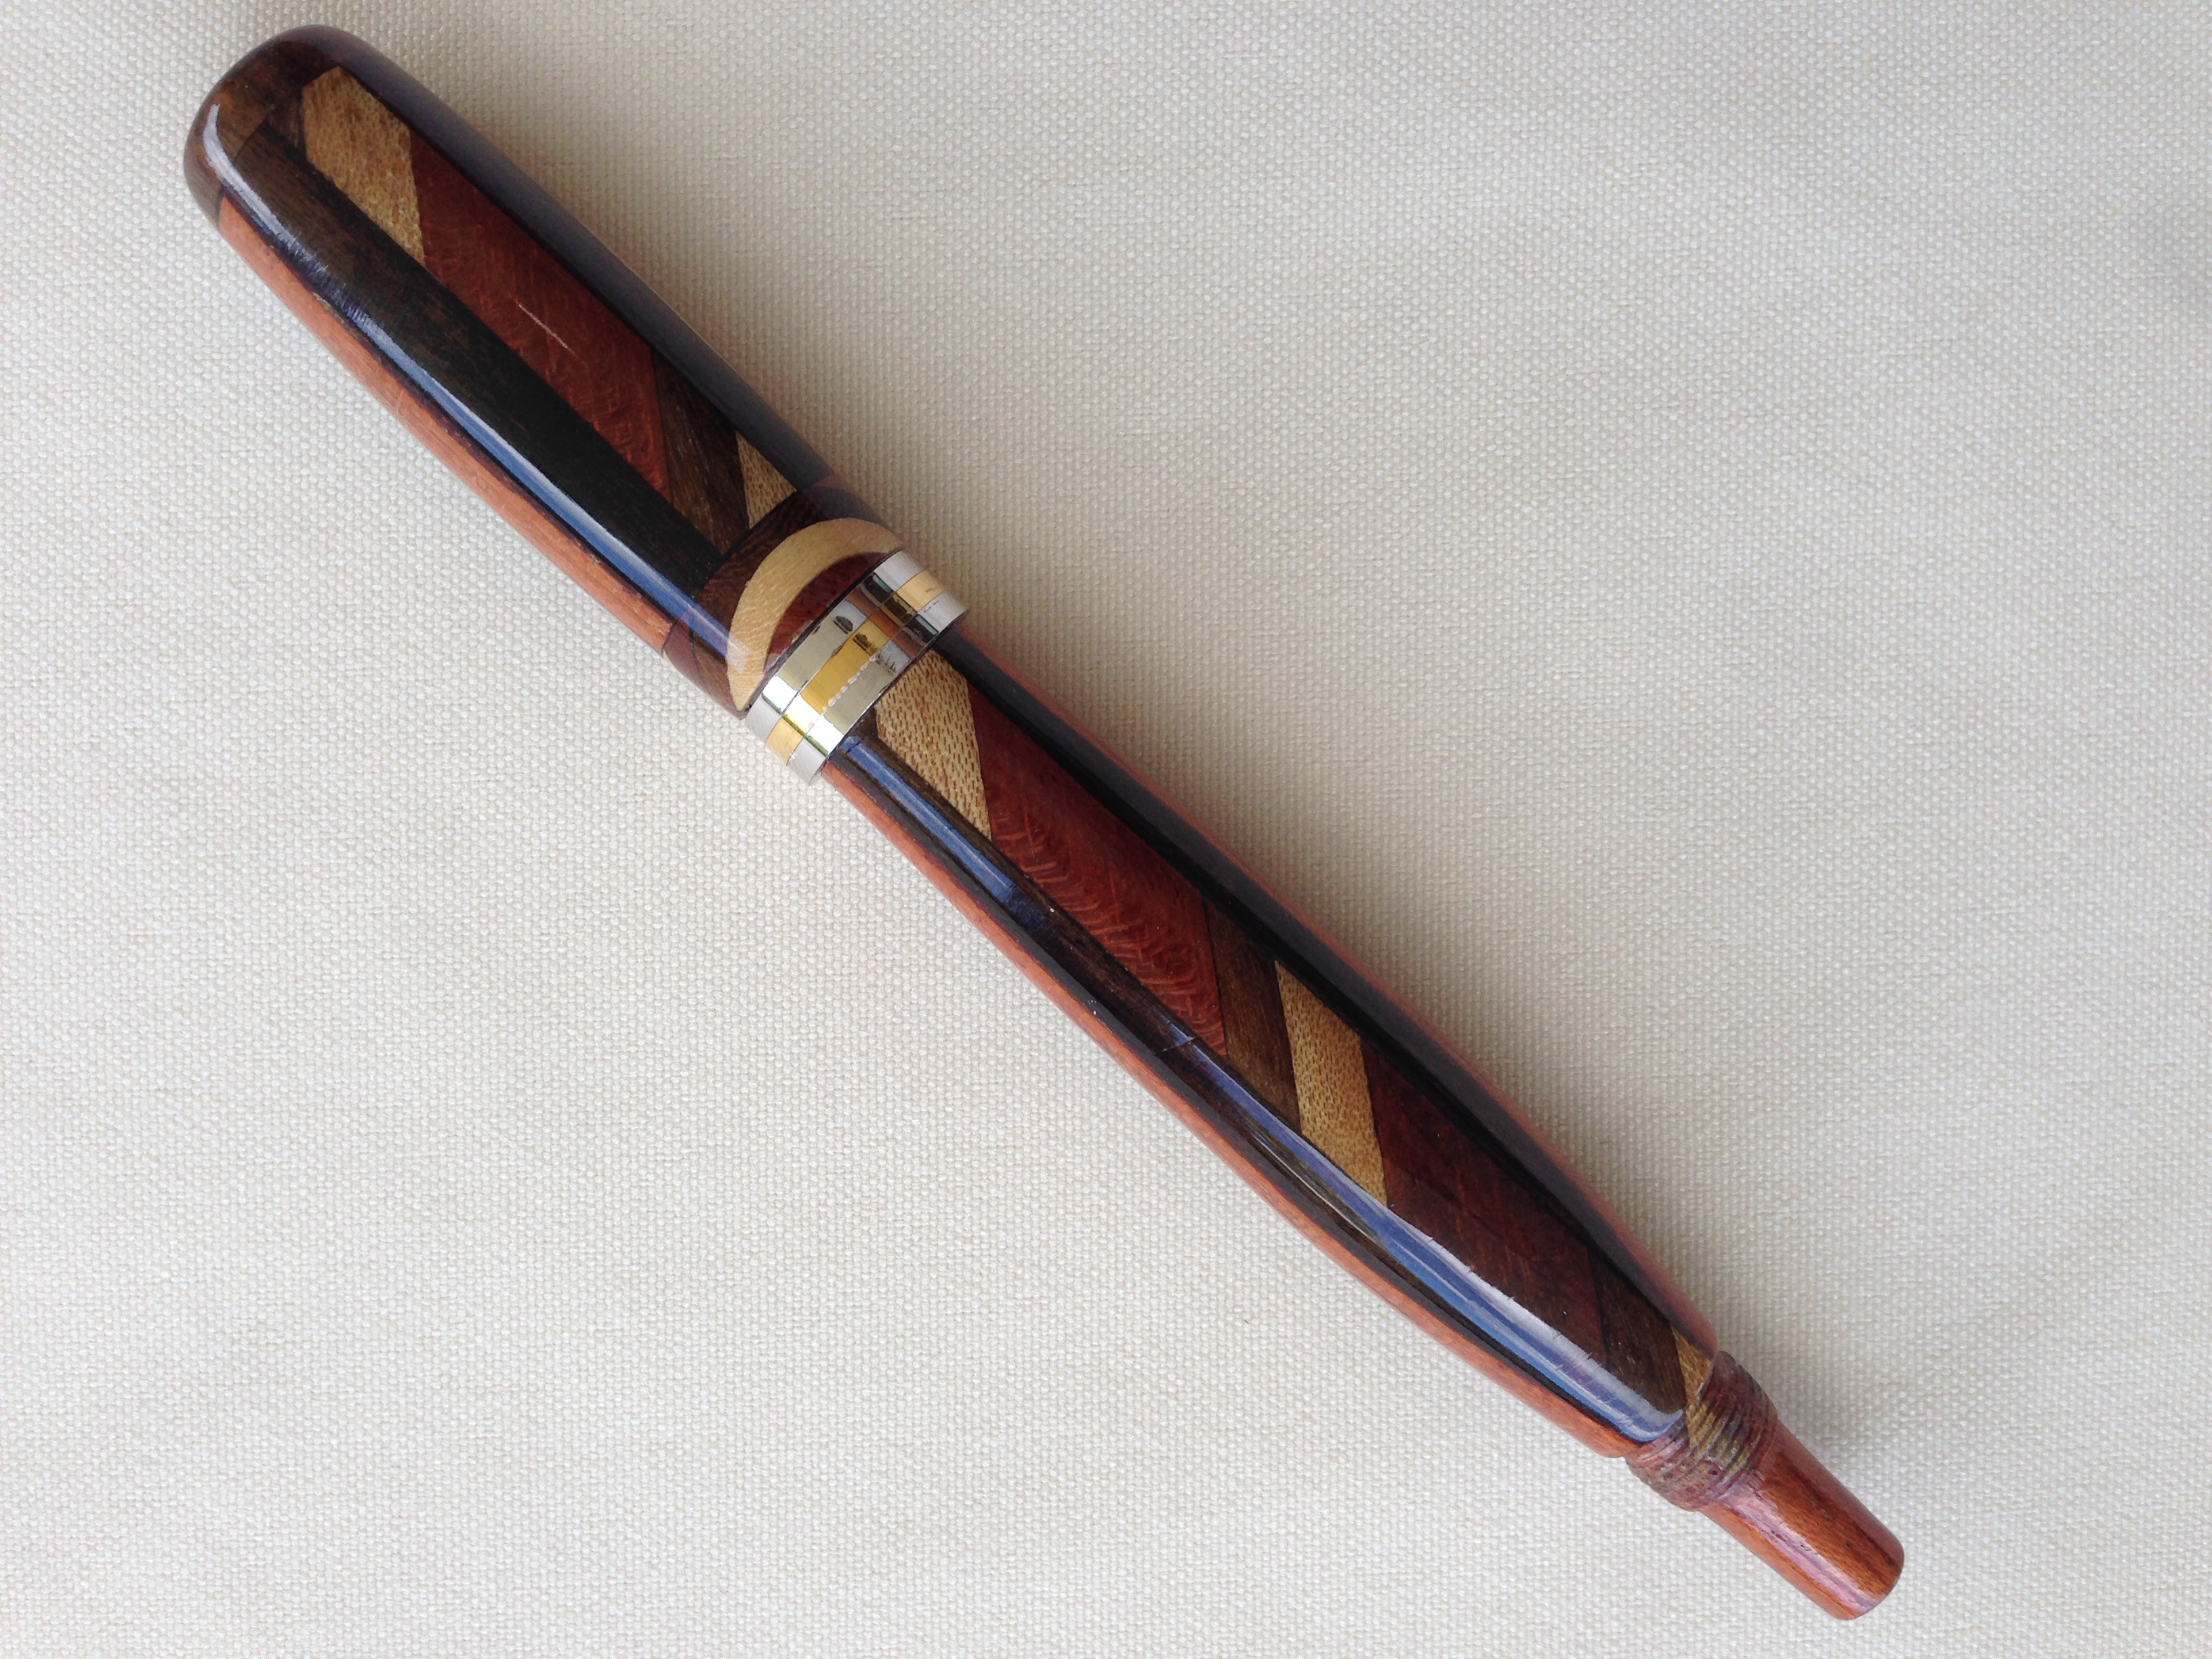
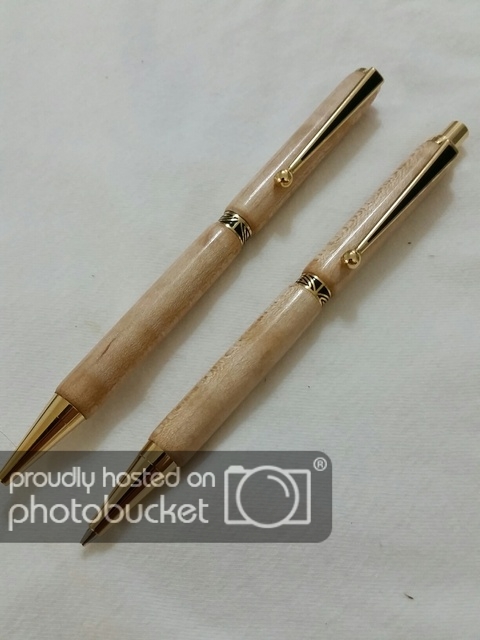
Finished Pen
C&C are always welcome
Thanks again,
Drew
1. Sanded pen from 150 - 600
2. Messed up CA finish - (Kinda squirt the CA on the pen and smooth it out with a paper towel method)
3. Sanded again from 220 - 600
4. Messed up again - Same as above
5. Sanded from 220 - 600
6. This time I put the CA on the paper towel and ran the towel under the blanks. This method seemed to be more consistent and easier. I did this 12 times.
The over all finish I am not real pleased with. It is not "Smooth as Glass" or even really glossy at this point. I do have some MM on order that should be here next week sometime, this will probably help some.
My main question is about the ends of each blank, where the blank and the bushing were glued together. I used a skew tip to cut the CA but I still ended up with white plastic tips. I don't like these. What can I do to better separate the bushing from the blank?
Finished Pen
C&C are always welcome
Thanks again,
Drew


 . From there I kept moving up the grits until I got to 12000. I also wiped the blank with a wet paper towel after each sanding to remove any residue.
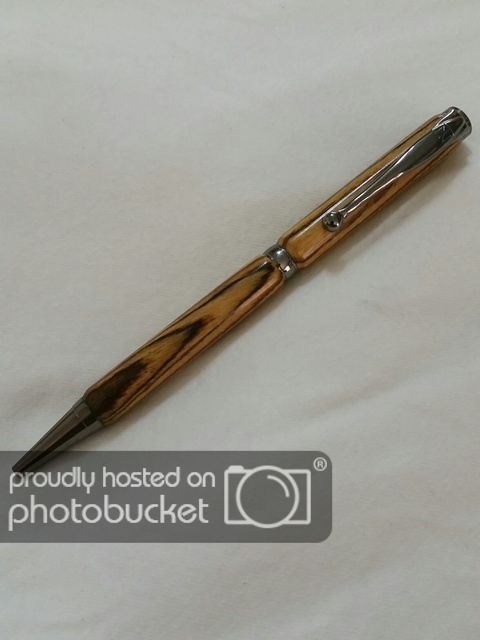
")