Tutorial
Ok folks, here's what I've got. I don't have a program that creates PDF's and instead of searching, downloading, and using I'm just going to post it all here. If someone can then copy it into a PDF for everyone great. This will be short and sweet anyhow and will work for any kits that have a round clip stone.
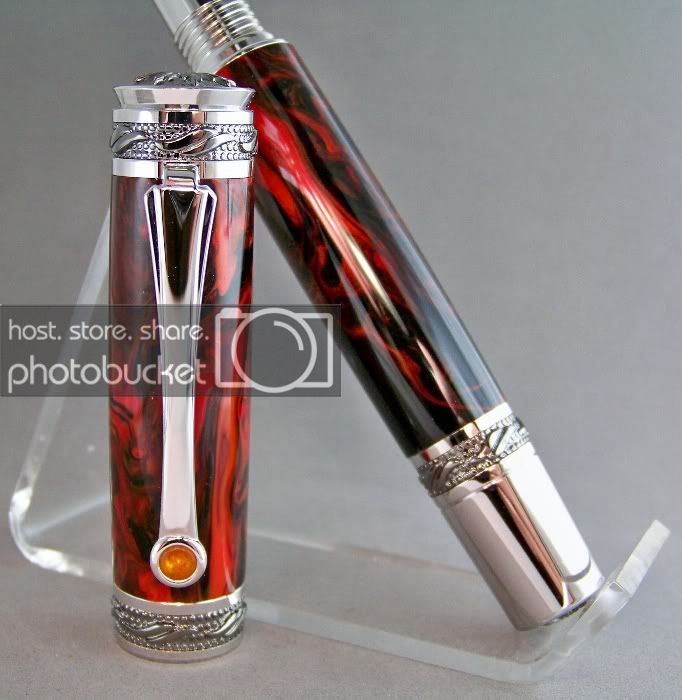
I start off by using an old 7mm brad point to break the crystal in the clip of this majestic kit. I chuck it into my drill press UNPLUGGED and set up the clip on my pen vise.
Line up the tip of the bit on the top/flat surface of the stone. Apply gentle pressure until the stone breaks. This will take several attempts to break all of the stone up to be able to scrape it out.
I then use a sturdy dental pick to clean out the rest of the stone pieces and glue. Be VERY careful not to scratch the plating. I work from the inside out to stay away from the edges.
Once you have it cleaned out it's time for your calipers. Since there are several kits with stone clip inlays I won't give measurements. I will point out that on the majestic kits there is a small lip inside. You can just see it in the above picture. It's about 1.25mm from the top of the hole. That will be the thickness of the turned replacement.

With you measurements handy it's time to select a piece of material to turn. Acrylics and other options that don't require a finish other than sanding and Micro-Mesh are easiest. Chuck it up and turn to the correct diameter measurement. Continue to check as you turn so you will have a perfect fit. Nows the time to sand and finish your work before going to part it off. Begin your parting at the measurement for that lip on the inside of the clip. Now this is the important part. Do NOT part it off at a 90degree angle! It's best to put a taper on the backside of the new inlay so that when you glue it in it won't flip over as you insert it and ruin the piece (it WILL happen, trust me). That will also give more surface for the epoxy to adhere to.
I like to use this pull saw for my thin parthing tool. When you part it off be mindful that this is a VERY SMALL part and if you don't catch it you most likely will lose it.
Now it's time for a DRY test fit. As you can see the new inlay is flush with the sides and goes just above the edges for a clean look.
Now it's time to glue it in. I found these at hobby lobby in the model car section and are perfect for gluing small pieces. I recommend epoxy for the glue up. You have more working time and epoxy can be cleanly wiped off if there's any squeeze out.
Viola! Now you have a new clip inlay for your clip. The options are unlimited and this can allow more custom work to be done for certain kits that can be too flashy. Hope this is useful. Have fun and be safe!