Questions:
Did I screw something up?
Without being to hard and harsh the truth here is yes. However we all screw up and what makes someone good skill wise is making mistakes and learning from them.
Is there anything I can do to fix it?
Yes possibly. you can disassemble it, remove that coating (see below) and redo it. Not sure you will want to (see below)
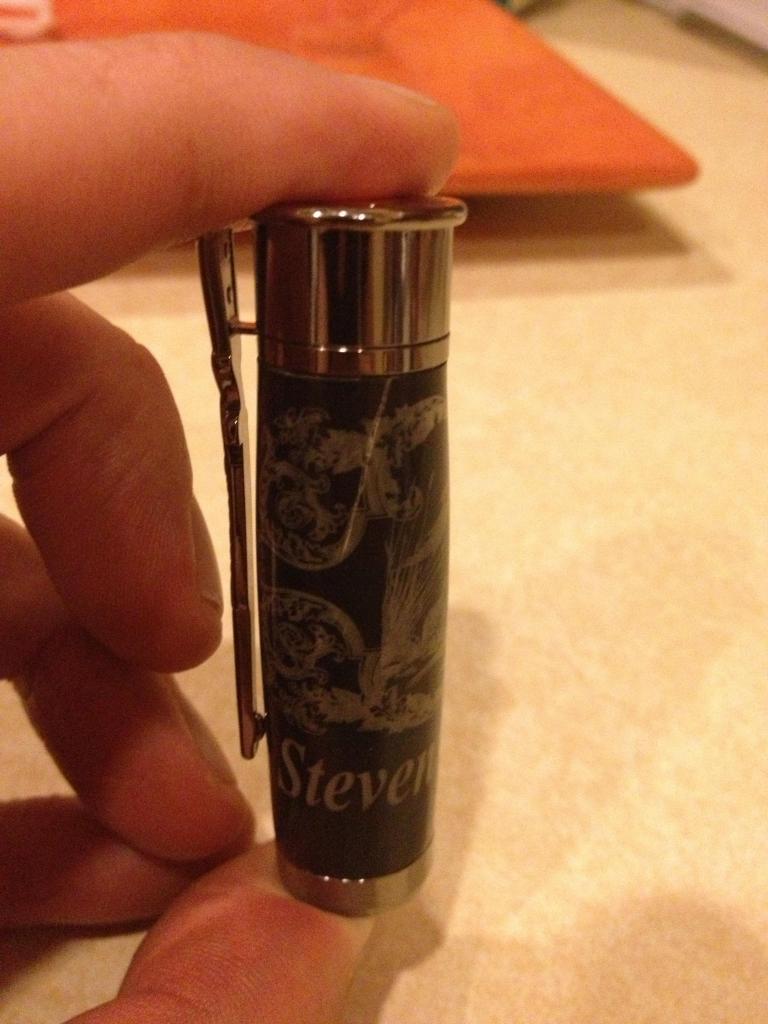
Is it just a scrap pen now?
I would if it was mine. From reading above the laser cut is likely going to be a major headache over time.
rods and mallets my friend, rods and mallets.
Is there something wrong with Buffalo horn blanks?
No. The problem is in knowing how to read buffalo horn.
What should I use in it's place if I fix it or start a new Over Under Pen?
If you do pull it apart you can remove any/all coating on the outside of it, i.e. no CA finish, PERIOD. You can use the black CA or other materials to fill in the cracked area or even cut that section out and put something else in it's place.
---
Ok lets get down to the nuts and bolts of buffalo horn. I have been looking on IAP for the past week on buffalo horn and the number of things that I have read is just appalling.
First Buffalo horn is not really horn like most think, it's not really antler nor is it ivory, it is not wood, bone, antler, PR resin or any of the other materials that we work with. It is closer to compressed HAIR than anything else. Think of it as a callous on your foot and you have horn. Now think of this same callous around your sinus cavities that move with the pressure in the sinus and the ambient air, this is what horn is and this is where many go wrong in using it.
There are also may type of 'horn' as well. 'horn' in the classic sense, what most people thing anyways, is like fingernails. This may be truth with some horn but not all.
This is listed as 'horn'
This is also listed as 'horn'
As you can see, not all 'horn' is equal. Nor should it be worked the same.
If you ever look at the knife community you will see buffalo horn in use commonly and not much problem with it. Ask yourself why is that. The answer lies in the thickness and the coating that is used. Pen turners love to put CA on everything, buffalo horn does not need CA. Also the knife community is more apt to use flexible epoxy where the pen community uses, well, CA which is not flexible.
Horn, ivory and other similar materials does move over time. Using an outer coating, like a CA finish, will hinder this movement and thus creating *MORE* stress points, when one point gives it goes CRACK. Some has been quite accurate with soaking, yes this increases the size due to retention and flexible glue bonding will allow it to move more. Same holds true for over sizing the drill hole.
Some heat is good for horn, to much heat is bad bad and bad. i.e. sanding the base before adding epoxy to a knife is good, that is your foundation and the rest of the material can move some over time. Dare I mention horn pyrography? No I think best steer clear of that one for now.
Moving from one climate to another will warp materials like ivory, horn and others. Humidity and all that other junk causes this.
Thickness of the horn on the tube makes a HUGE difference as well. Thin will be more apt to crack than thick. So, if you put horn on some pen that uses a very thick blank it will likely crack less than say a slimline.
Stabilizing? Ha yea right. It is impossible to really stabilize this stuff. Many attempt and the reasons is the density will not allow resins, or even dye for that matter, to penetrate the material. Dont get caught up in the sales and marketing gimmicks, horn is dense and it is a barrier that is designed to de facto block things. Work *WITH* the horn, not against the horn.
The other area I wanted to cover is changes in structure. You have 3 basic types, solid horn, honey horn and silver horn. Basic is the deep blackish brown color, honey is well honey color and silver has silver streaks like grey hair. When you have changes from normal to honey or normal to silver you have a weak area in the horn that runs along the grain line. Think of it as a hard spot and what I said about movement.
This is honey horn.
Here you can see the big crack above and below the honey streak, this section has also somewhat warped over time as well. Again thickness and allowing it to move is the key here.
This is some silver streaked buffalo horn that I used on a knife.
This is before I finished the pins and sanded it up good.
This is how it ended up.
Note the difference in pattern and how the silver streak area was coming to a close in the final image. More sanding it would get smaller. Reading the material is very crucial here.
This one is a baby spoon that I did in streaked buffalo horn. I also used a fiber spacer material.
and final.
Also note the streak changes and you can see the grain flow direction.
Here is a buffalo horn spacer I cut for a san-mai santoku
This is the spacer and you can very clearly see the grain direction flow and the polish starting to take shape. There are several scratches and chips to still work out at this point but it is very clear the grain has a curved flow
Some sage advice I was given at the start was do not fear the buffalo. Instead KNOW the buffalo and you will do well. Remember, it is not wood nor is it PR resin. It *DOES* have an attitude all it's own and when you learn to control it and work with/around it the better off you will be.
Hope this helps.