First off great looking pen!! I think you did a great job with this one. Second, im going to pick this one apart a bit. Most people have been asking for more comments on there pens, and i usually refrain from anything negative as i dont want to discourage anyone or get in an argument, so this is merely constructive criticism.
Justin, as I said, comments welcome.
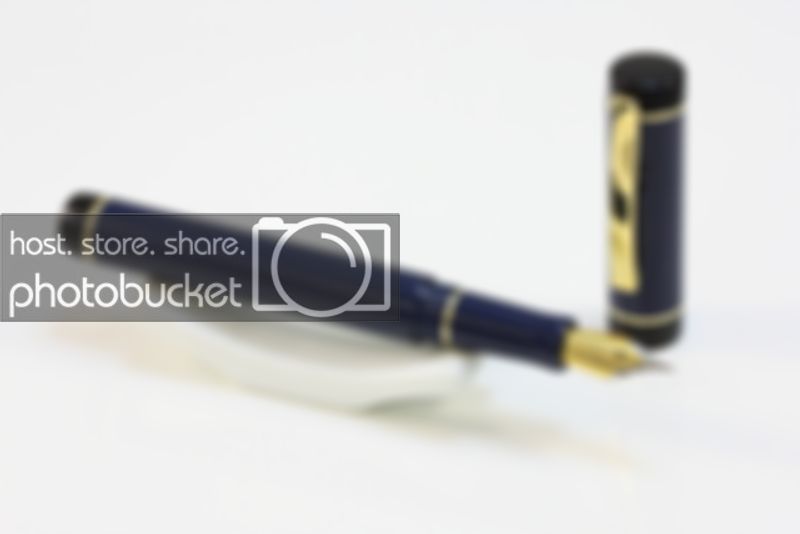
1)On the cap, left hand side, it looks like the cap diameter is larger then the accent ring and finial. Looks like if you ran your fingernail across it it would catch. Just need to work on the fitting a little better. This is probably because you are using the El Grande clip and washer ( at least thats what it looks like) and were forced to match this diameter. I would have made my own accent band here to match the rest and you could easily turn them all at the same time.
Sorry, but as I said above, the brass accent rings were ALL turned by me, and they were ALL turned to final size together with the black and blue parts. You are welcome to come over and run your nail over the cap and you will find that it will not catch. The clip is not from an El Grande but from a Churchill kit, the ring is turned by me and then a slot milled by me on my mill. It looks identical to the Churchill one, but is brass and not plated. Not too many people make their own clip, at least I don't (yet).
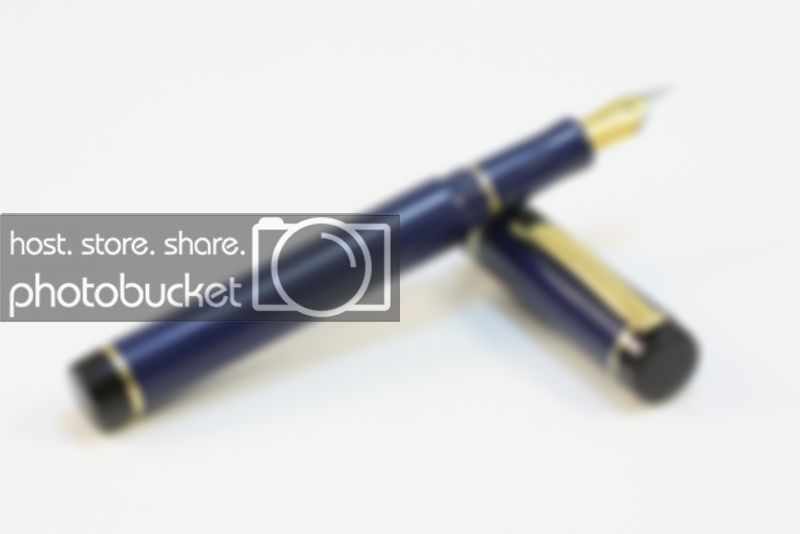
2)On the exterior of the pen, i see circular scratches throughout the whole pen. Just need some more time polishing or buffing it to get these out. I find buffing to provide the best shine available.
Certainly not visible here to the naked eye, dry sanded to 1200, wet micro meshed to 20000, then polished with Autosol, then Brasso.
3)On the front section, on the back threads, it looks like you threaded the whole thing and then tried to turn off the last few threads, but left a little bit of the thread visible making it look unfinished and unpolished. What i do is turn the tenon for the threads, then go ahead and turn the little tenon on the end before you cut your threads. Make it smaller in diameter than the lowest point on the threads so the die doesnt even touch it as you cut the threads. Also, before i cut the threads, i polish the tenons with micro mesh to get them at that show room shine before i even touch it with the die. Then its all polished when you are done and you dont have to worry about trying to polish it and not mess up the threads.
Yes, I make these by threading the whole rear part, then remove half the thread. We all do things differently it appears, I will try your method on my next one.
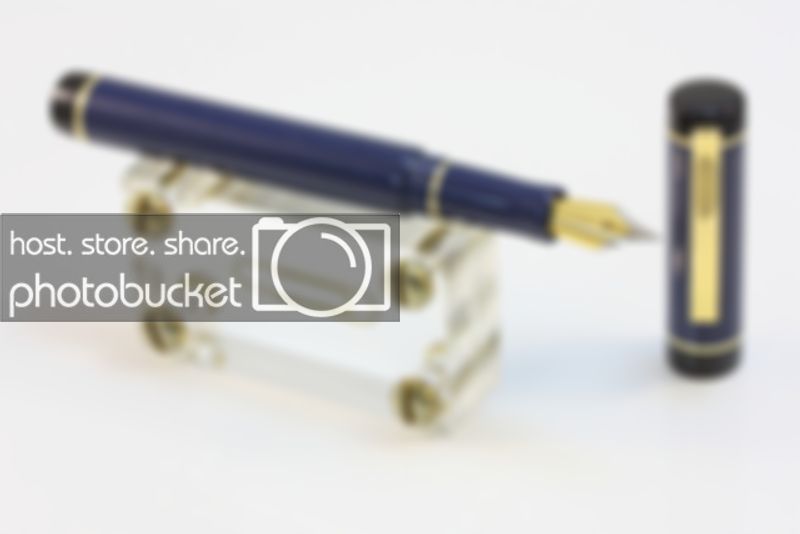
4)This is just an opinion one....while i think the matching front section looks nice, i think that on this pen that a black one would have looked better. It would have kept with the black end/accent band framing the navy in the middle theme throughout the pen, even when uncapped.
Perhaps you are right Justin, my wife and I discussed this same thing at some length. Her opinion was originally like yours, it should be black.
Mine was to go for the blue as I didn't want it to look like a kit section. I also didn't want too much black on this pen, I wanted the blue to dominate.
All in all, great pen....Keep it up!!!!


") my comment on the Aussi site still apply.
my comment on the Aussi site still apply.


 Keep up the good work Fred ( no sarcasm here, so no need to try and figure it out ) Just a great pen.