
Well I got my new byrnes table saw and have made a few segmented blanks from scraps and such. I still can not get a perfectly straight segment running lengthwise.
Only thing i can figure is that the blank is not perfectly square when I start or my hole is not perfectly centered.
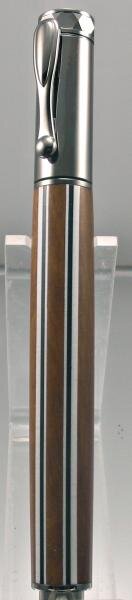
Do you guys square up all sides of a blank before you start segmenting? Or am I just not doing it right. For example, if i want to put lengthwise strips of a contrasting material I cut down the middle of the blank and then glue it. Then I cut down the center of the side 90 degrees from the first one and then insert and glue. Once I drill and turn down to pen size the inlays run at a slight angle.
When i do cross ways segments they line up okay. I haven't tried any angles yet, wanted to get the lenghtwise right before I move on.
Any suggestions or tips would be greatly appreciated.
Only thing i can figure is that the blank is not perfectly square when I start or my hole is not perfectly centered.
Do you guys square up all sides of a blank before you start segmenting? Or am I just not doing it right. For example, if i want to put lengthwise strips of a contrasting material I cut down the middle of the blank and then glue it. Then I cut down the center of the side 90 degrees from the first one and then insert and glue. Once I drill and turn down to pen size the inlays run at a slight angle.
When i do cross ways segments they line up okay. I haven't tried any angles yet, wanted to get the lenghtwise right before I move on.
Any suggestions or tips would be greatly appreciated.
")


