
I have been working on this project for a while now. Its been hit or miss having the time but I finally got this done
I like the Schmidt chome click mechanism but I wanted something other than chrome plated brass for the parts that show. Mainy to match the hardware or blank material I want to use in a pen. These are available from a couple of sources. Richard Greenwald comes to mind.
Push Button Mechanisms [10179] : Richard L. Greenwald, LLC, Pens, Pens Parts and Photographs
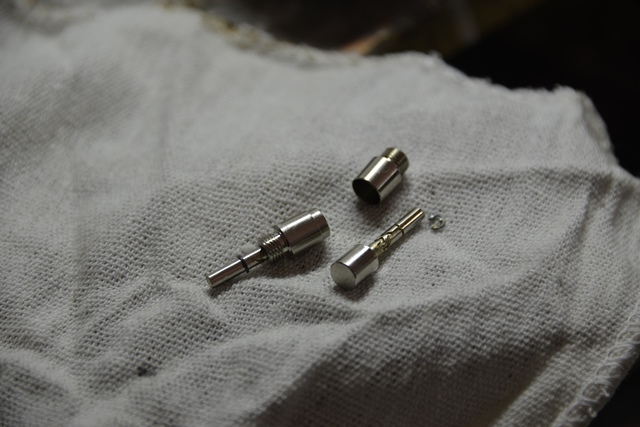
First I disassemble the mechanism. The little ball that makes the whole thing work is 1mm in dia. They are very easy to lose.
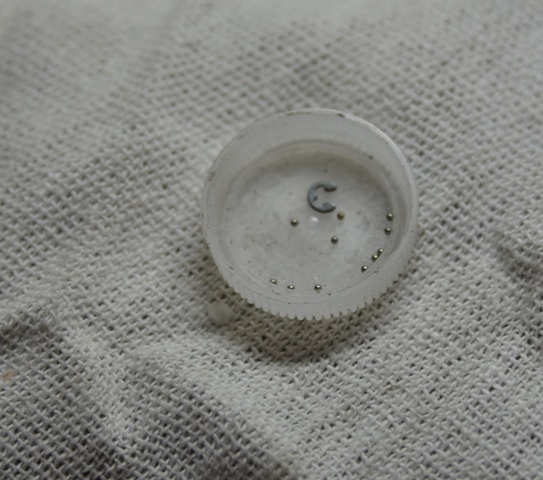
I then mount the cup in a brass mandrel I have tapped to hold it, m7 x .75
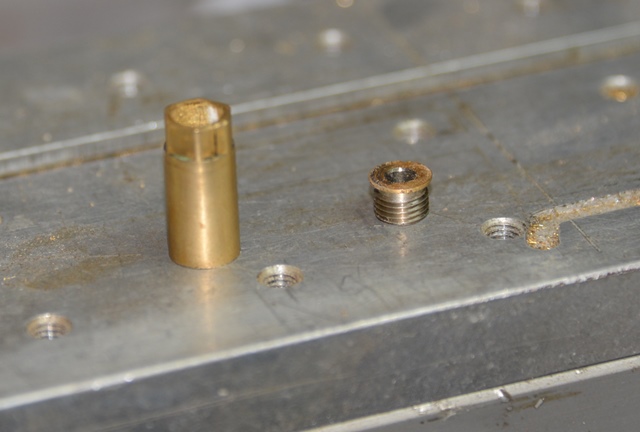
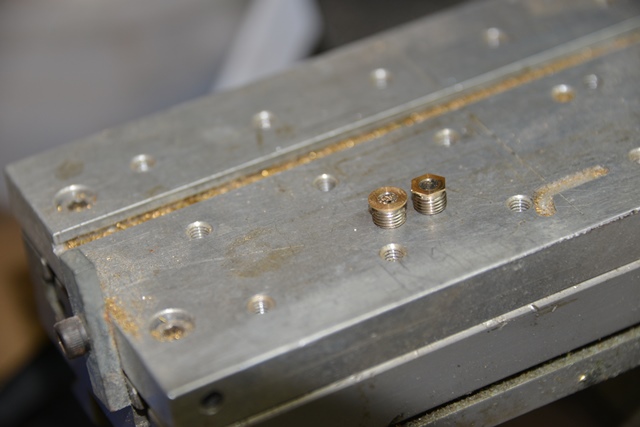
and cut the side walls off of it until only the bottom is left. I then turn that down to 8mm in diameter.
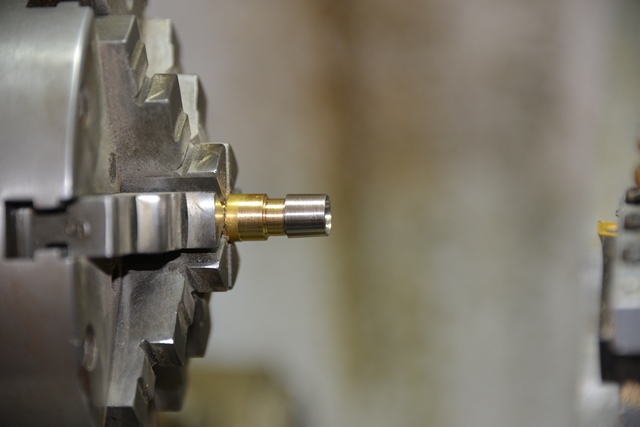

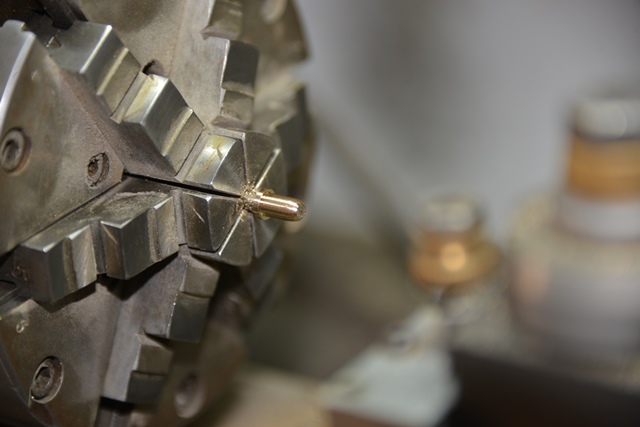
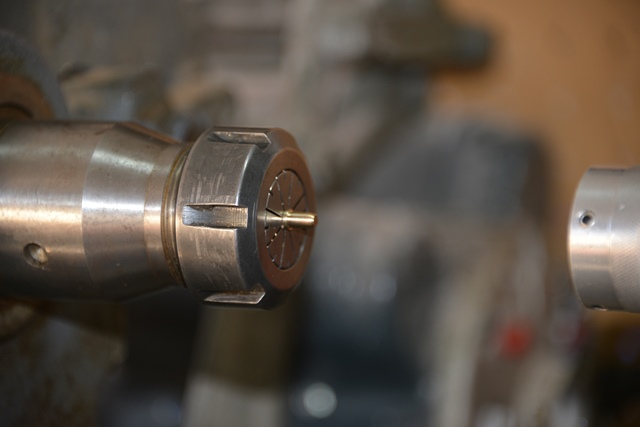
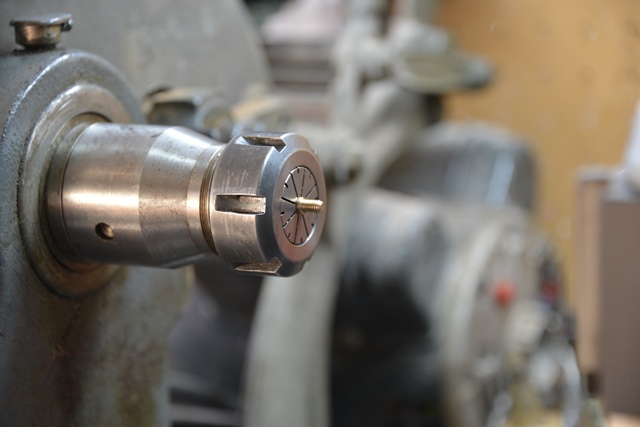
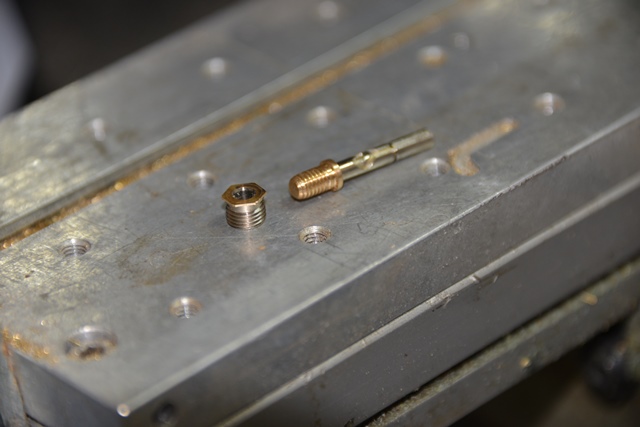
I mount the stem in the lathe and cut the chrome button down to .185 leaving a small step at the bottom .230 in diameter and .040 thick. It is then put in a collet chuck and tapped for 10 -32 threads. I could have also used 5mm x .8 they are pretty close to the same size.
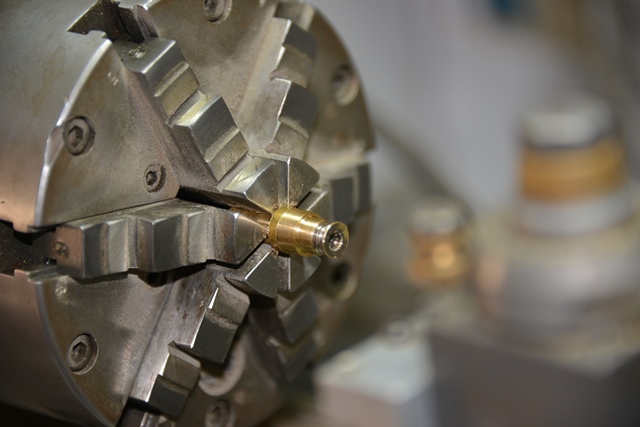
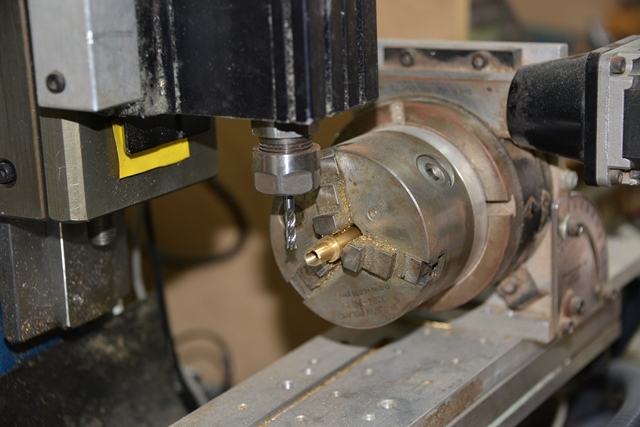
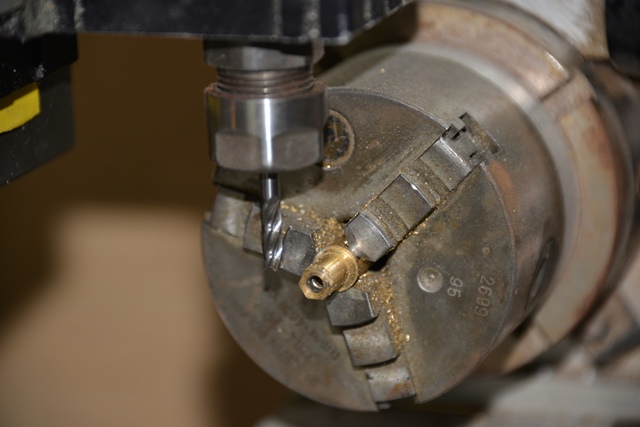
The cut down threaded piece is now ready to have the hex pattern cut on it so I can use the brass socket to install it when Im ready. I mount the threaded piece in another mandrel made just for this and put it on my Taig mill. Using a rotary with a controller I cut 6 sides that make it a 7mm hex.
With the hex cut and the stem threaded its ready for reassembly. I cleaned all the parts and used a toothpick with grease to put the ball back in its groove inside the original cup piece.
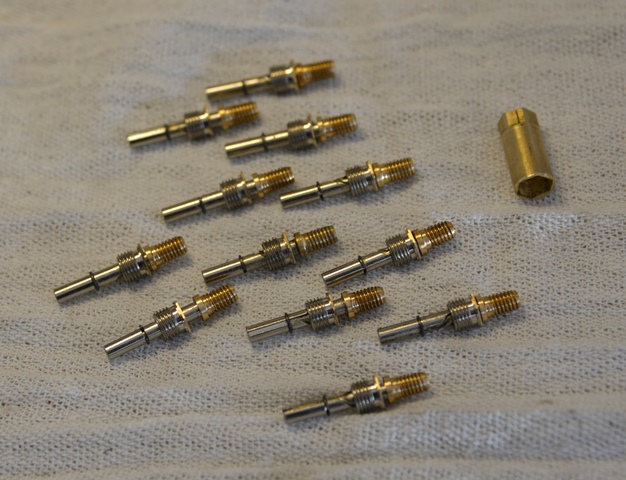
I made up a dozen of them while I was at it. There were some issues in threading I had a couple of failures where the stem broke at the E clip slot.
I can now make a threaded cup and button that will work with my next pen Im designing.
I hope you enjoyed it.
I like the Schmidt chome click mechanism but I wanted something other than chrome plated brass for the parts that show. Mainy to match the hardware or blank material I want to use in a pen. These are available from a couple of sources. Richard Greenwald comes to mind.
Push Button Mechanisms [10179] : Richard L. Greenwald, LLC, Pens, Pens Parts and Photographs
First I disassemble the mechanism. The little ball that makes the whole thing work is 1mm in dia. They are very easy to lose.
I then mount the cup in a brass mandrel I have tapped to hold it, m7 x .75
and cut the side walls off of it until only the bottom is left. I then turn that down to 8mm in diameter.
I mount the stem in the lathe and cut the chrome button down to .185 leaving a small step at the bottom .230 in diameter and .040 thick. It is then put in a collet chuck and tapped for 10 -32 threads. I could have also used 5mm x .8 they are pretty close to the same size.
The cut down threaded piece is now ready to have the hex pattern cut on it so I can use the brass socket to install it when Im ready. I mount the threaded piece in another mandrel made just for this and put it on my Taig mill. Using a rotary with a controller I cut 6 sides that make it a 7mm hex.
With the hex cut and the stem threaded its ready for reassembly. I cleaned all the parts and used a toothpick with grease to put the ball back in its groove inside the original cup piece.
I made up a dozen of them while I was at it. There were some issues in threading I had a couple of failures where the stem broke at the E clip slot.
I can now make a threaded cup and button that will work with my next pen Im designing.
I hope you enjoyed it.
Attachments
-
 click 2.JPG107 KB · Views: 3,037
 -
 click 3.JPG98 KB · Views: 3,224
 -
 click 4.JPG99.5 KB · Views: 3,019
 -
 click 5.JPG119.3 KB · Views: 3,127
 -
 click 1.JPG141.7 KB · Views: 4,218
 -
 click 11.JPG140.6 KB · Views: 2,991
 -
 click 10.JPG80.5 KB · Views: 2,969
 -
 click 9.JPG108.9 KB · Views: 3,026
 -
 click 8.JPG97.2 KB · Views: 3,027
 -
 click 7.JPG110.9 KB · Views: 2,931
 -
 click 12.JPG116.7 KB · Views: 2,941
 -
 click 13.JPG114.4 KB · Views: 2,964
 -
 click 14.JPG119.6 KB · Views: 2,934
 -
 click 14-001.JPG138 KB · Views: 4,656
")


