Dale Lynch
Member
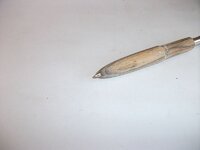
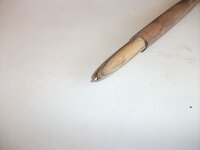
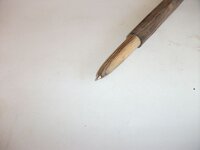
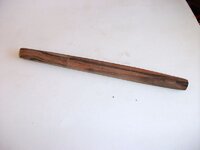
Hi everyone,I photographed my way through a twisted pen design.For those of you that want to give it a go I hope you can find this usefull.
I started with a 1 1/2 x 1 1/2 x 9 spindle blank.I thought it was Bocote.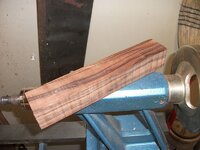
Turn to a cylinder and then layout 4 sets of points r1/4" with a compass.
I did one end,useing the tool rest as a guide I drew a line across the length and transferred the points on the opposite end.
This part can be distegarded if you have the right jaws.I initally turned the blank to a cylynder with tenons on both ends.I did this because my #2 jaws were too big and I didn't want to over extend my pin jaws.When I went to set the outer points the wood started to split so I had to make reinforcement collars and just have to deal with the jaws the way they are.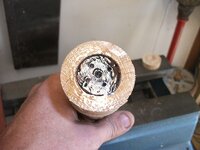
After trueing the collars up I parted the blank where I wanted the lengths of the body and cap.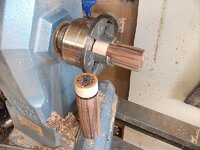
Remount the blanks for drilling 3/8" x 2" for the body.27/64" x 2" for the cap.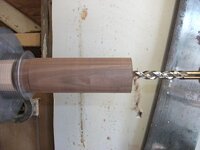
Once both cylinders are drilled I set them aside.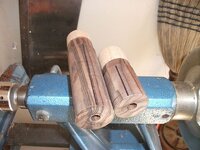
I made a double sided tenon a little over 4".Using a dial caliper make each side just a little big and then sand it down so that it fits very snug.If it is a little long just trim the tenon a little bit.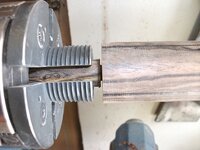
After both sides are done reassemble the cylinder with the tenon inside.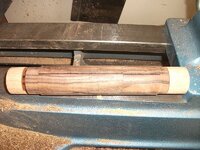
Trasnfer the lines to the end and number them 1-4.Offset the numbers on the opposite end.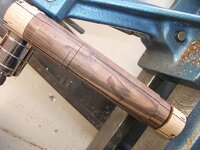
Press all the point sets in.You may need to predrill them a little bit on really hard wood.Mount the cylinder between one set of points and lets get started.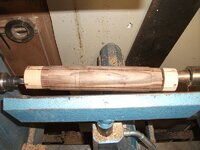
I turned at full speed, 3300rpm.Looks kinda weird with all that airwood spinning around.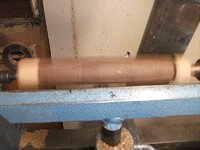
The first cut I turned away the ghost.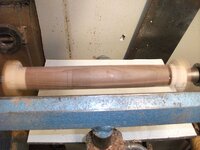
I got out a measuring stick and marked it.I will use this mark through all the point sets.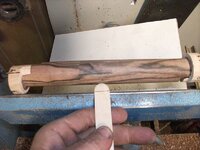
Remount the cylinder to the 2nd point set.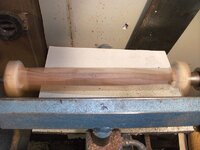
This is what it looks like after the second cut.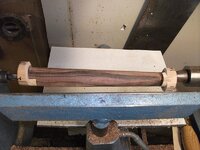
Remount it to the 3rd point set.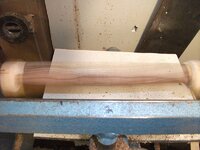
This is what it looks like after the third cut.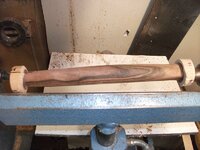
Remount to the 4tg point set.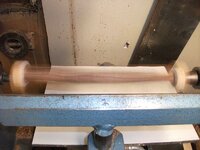
This is what it looks like after the 4th cut.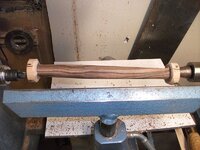
Remove the cylinder from the lathe,slide the halves apart and check the wall thickness.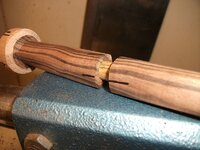
I wanted the walls to be thinner so I remounted the cylinder and ran through the point sets a second and third time.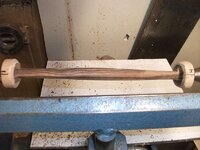
Once satisfied about size I remounted the blank on true centers and sand out any tool marks with 220g.Part off the ends.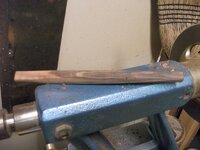
Time to clean up the ends.Remove either the cap or body and remount it into the chuck by the tenon and now clean up the end.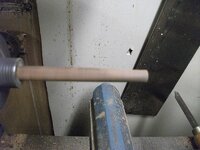
Remove the tenon and do the other half same as the first.Remove from the tenon and set aside.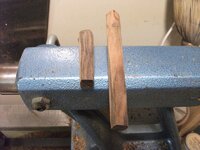
Remound the tenon by the small end and drill out the large end with a 7/64" bit as far as it will go.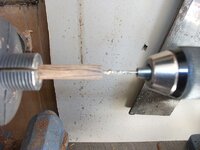
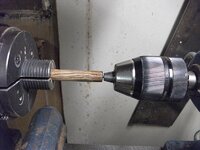
Remove the tenon and layout all the parts including the refill.Place the refill in the body.With the tenon placed next to the body and refill mark where the shoulder of the refill will be on the tenon.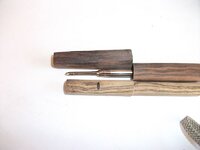
As you can see the tenon is too long for me to drill so I will mark it again where I will part the excess off.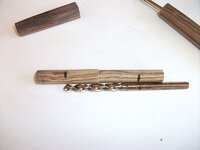
Remount the tenon by the large end.After parting off the excess I drilled to the depth marked on the 15/64" bit.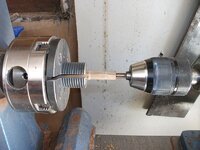
Remove the tenon and check the fit of the refill.It's a wee bit long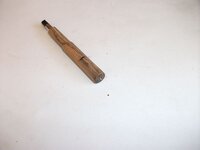
Remount the tenon by the small side.Shape,trim and sand what is now the front section.Testing the fit as you go.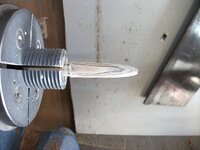
I started with a 1 1/2 x 1 1/2 x 9 spindle blank.I thought it was Bocote.

Turn to a cylinder and then layout 4 sets of points r1/4" with a compass.
I did one end,useing the tool rest as a guide I drew a line across the length and transferred the points on the opposite end.
This part can be distegarded if you have the right jaws.I initally turned the blank to a cylynder with tenons on both ends.I did this because my #2 jaws were too big and I didn't want to over extend my pin jaws.When I went to set the outer points the wood started to split so I had to make reinforcement collars and just have to deal with the jaws the way they are.

After trueing the collars up I parted the blank where I wanted the lengths of the body and cap.

Remount the blanks for drilling 3/8" x 2" for the body.27/64" x 2" for the cap.

Once both cylinders are drilled I set them aside.

I made a double sided tenon a little over 4".Using a dial caliper make each side just a little big and then sand it down so that it fits very snug.If it is a little long just trim the tenon a little bit.

After both sides are done reassemble the cylinder with the tenon inside.

Trasnfer the lines to the end and number them 1-4.Offset the numbers on the opposite end.

Press all the point sets in.You may need to predrill them a little bit on really hard wood.Mount the cylinder between one set of points and lets get started.

I turned at full speed, 3300rpm.Looks kinda weird with all that airwood spinning around.

The first cut I turned away the ghost.

I got out a measuring stick and marked it.I will use this mark through all the point sets.

Remount the cylinder to the 2nd point set.

This is what it looks like after the second cut.

Remount it to the 3rd point set.

This is what it looks like after the third cut.

Remount to the 4tg point set.

This is what it looks like after the 4th cut.

Remove the cylinder from the lathe,slide the halves apart and check the wall thickness.

I wanted the walls to be thinner so I remounted the cylinder and ran through the point sets a second and third time.

Once satisfied about size I remounted the blank on true centers and sand out any tool marks with 220g.Part off the ends.

Time to clean up the ends.Remove either the cap or body and remount it into the chuck by the tenon and now clean up the end.

Remove the tenon and do the other half same as the first.Remove from the tenon and set aside.

Remound the tenon by the small end and drill out the large end with a 7/64" bit as far as it will go.


Remove the tenon and layout all the parts including the refill.Place the refill in the body.With the tenon placed next to the body and refill mark where the shoulder of the refill will be on the tenon.

As you can see the tenon is too long for me to drill so I will mark it again where I will part the excess off.

Remount the tenon by the large end.After parting off the excess I drilled to the depth marked on the 15/64" bit.

Remove the tenon and check the fit of the refill.It's a wee bit long

Remount the tenon by the small side.Shape,trim and sand what is now the front section.Testing the fit as you go.

Last edited:

