
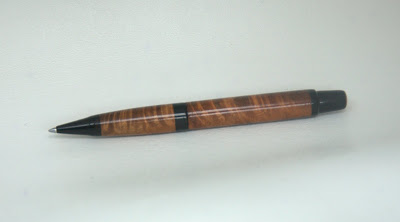
I had to make another all wood pen. I really enjoyed making the first one but it went to my pith partner and I decided to make me one. Of course I had to step it up a notch.  I decided to make a Sierra style pen out of wood. I used a PKmont kit as the donor kit for the tubes and transmission/transmission coupler. I decided to make it out of a piece of Koa I had laying around and Ebony for the contrast.
I kept a better watch on my time since I was asked that in the first one I did. It took about 1 hour to make the nose cone. It took 20 minutes to make the center band and another 10 minutes to rough out the finial.
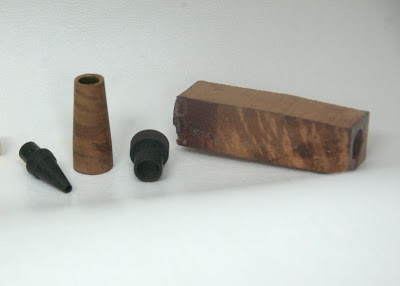
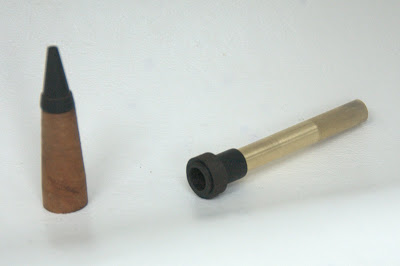
I know the nose cone is about 1in (25mm) long over all and the cone is about .700 (17.7mm) +/-. The Tapered front section in Koa I cut long and then trim to 1.25in (31mm) the next pictures are of the mandrel I made to hold the nose cone so that the outer shape can be turned.
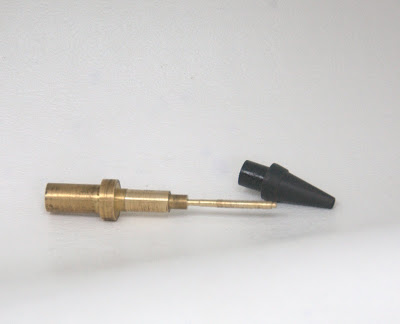
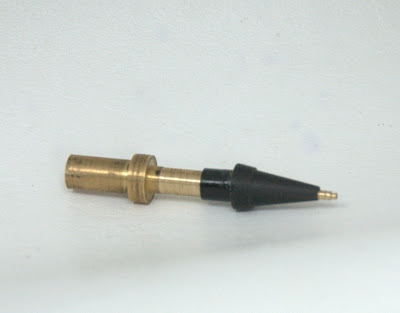
I turned the ebony for this piece to .400 (10.2mm) and then drill the different holes for the refill. I then turn the outer wall diameter to fit in the tube and cut it off . I then Mount it on the mandrel and turn the tapered shapes. I leave the largest diameter at .400. This is not the finished diameter, that will be turned when its assembled to the front nose cone and center band as turned as one.
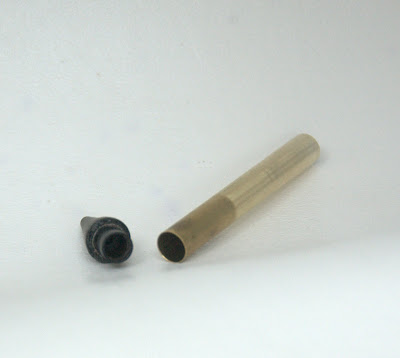
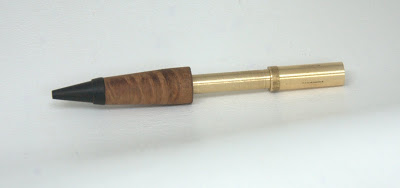
The center band is first turned to about .520 (13mm) drilled all the way through with a 19/64 (7.5mm) drill bit then drilled with a 5/16 (8mm) to accept the brass tube. The step that fits into the front section is cut and then the piece is cut off the stock. The three pieces are then epoxied together and turned as one unit to final dimensions. The front section has an 8mm tube in it that slides on to the mandrel I made for that. You can drill the 5/16 all the way though the smaller bit just makes a seat for the tube to fit against. I turn the tranny couple down to match the tube.
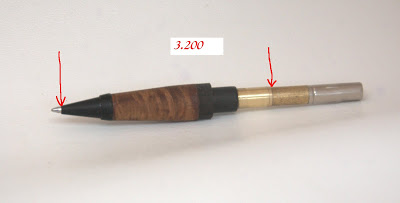
The next picture shows the 3 parts glued together with the 8mm tube and transmission coupler just slid into place I have done the final turning on the nose section yet. I use 3.200 (81.2mm) as the starting place for the length of the pen. Thats measured from the tip of the nose cone to the back shoulder of the transmission coupler. This one ended up being 3.195 (81.1)
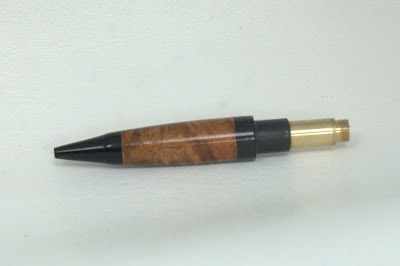

At this point I have close to 5 hours in the pen. A few coats of CA on it and I'm ready to get serious about the finish. This is where it gets out of hand. For some reason I ended up with a white streak on the step of the finial. I bet it took me 3 tries of sanding it down and building it back up to finally get rid of that white streak. It probably isn't helping that its Midnight.
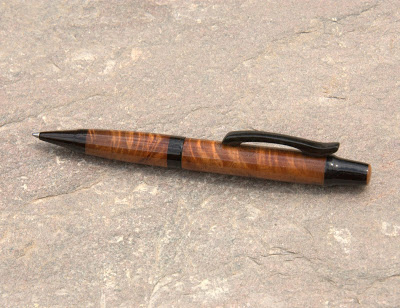
The next day I cut out the clip and shape file and sand it to final dimensions. It takes about an hour to make the clip to where i want it. I cut the hole in the upper pen body and finish the clip It takes another hour to coat it with enough CA and then hand sand it off and to polish it.
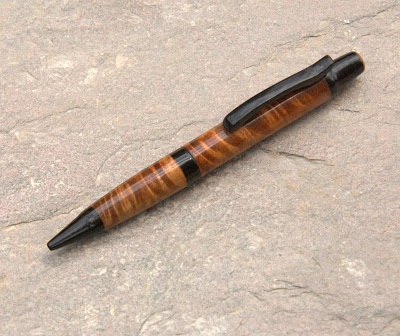
Hope you like it. As usual I left room for improvement but I'm working on it. :biggrin: All comments or questions welcome.
I decided to make a Sierra style pen out of wood. I used a PKmont kit as the donor kit for the tubes and transmission/transmission coupler. I decided to make it out of a piece of Koa I had laying around and Ebony for the contrast. I kept a better watch on my time since I was asked that in the first one I did. It took about 1 hour to make the nose cone. It took 20 minutes to make the center band and another 10 minutes to rough out the finial.
I know the nose cone is about 1in (25mm) long over all and the cone is about .700 (17.7mm) +/-. The Tapered front section in Koa I cut long and then trim to 1.25in (31mm) the next pictures are of the mandrel I made to hold the nose cone so that the outer shape can be turned.
I turned the ebony for this piece to .400 (10.2mm) and then drill the different holes for the refill. I then turn the outer wall diameter to fit in the tube and cut it off . I then Mount it on the mandrel and turn the tapered shapes. I leave the largest diameter at .400. This is not the finished diameter, that will be turned when its assembled to the front nose cone and center band as turned as one.
The center band is first turned to about .520 (13mm) drilled all the way through with a 19/64 (7.5mm) drill bit then drilled with a 5/16 (8mm) to accept the brass tube. The step that fits into the front section is cut and then the piece is cut off the stock. The three pieces are then epoxied together and turned as one unit to final dimensions. The front section has an 8mm tube in it that slides on to the mandrel I made for that. You can drill the 5/16 all the way though the smaller bit just makes a seat for the tube to fit against. I turn the tranny couple down to match the tube.
The next picture shows the 3 parts glued together with the 8mm tube and transmission coupler just slid into place I have done the final turning on the nose section yet. I use 3.200 (81.2mm) as the starting place for the length of the pen. Thats measured from the tip of the nose cone to the back shoulder of the transmission coupler. This one ended up being 3.195 (81.1)
At this point I have close to 5 hours in the pen. A few coats of CA on it and I'm ready to get serious about the finish. This is where it gets out of hand. For some reason I ended up with a white streak on the step of the finial. I bet it took me 3 tries of sanding it down and building it back up to finally get rid of that white streak. It probably isn't helping that its Midnight.
The next day I cut out the clip and shape file and sand it to final dimensions. It takes about an hour to make the clip to where i want it. I cut the hole in the upper pen body and finish the clip It takes another hour to coat it with enough CA and then hand sand it off and to polish it.
Hope you like it. As usual I left room for improvement but I'm working on it. :biggrin: All comments or questions welcome.
 I have to many choices in that respect and spent an hour trying to decide which wood
")