A Penmakers Challenge Stage 1

Signed-In Members Don't See This Ad

PenMan1

Member
Joined
Jul 8, 2009
Messages
6,380
Location
Eatonton, Georgia
I found the hardest part of this challenge to be NOT destroying the small "sliver" sections when they were parted off. I ended up making an adjustable two-bladed parting knife that could act as tweezers when the segments were parted off. That worked really well.
 
Signed-In Members Don't See This Ad

PenMan1

Member
Joined
Jul 8, 2009
Messages
6,380
Location
Eatonton, Georgia
I hardened the blank with CA . That seemed to work well for me . I was able to make very thin segments .

I've had good success using CA to harden wood, so I first tried that with the PR. Maybe I couldn't get enough glue to stay on the PR, but it didn't make much difference? That's why I ended up making the tweezer knife.

Also, I was running low on 5 minute epoxy, so I first used CA glue to try to hold in the brass segments. After two failures with CA,(and yes, I roughed up the brass with 150 sandpaper), I went to HD and bought more epoxy.

In theory, CA glue SHOULD hold the brass to the PR (after all it holds tubes in PR), but the epoxy seemed to work much better.
 

ldb2000

Member
Joined
Sep 11, 2007
Messages
5,381
Location
Laurence Harbor, NJ, USA.
CA should work to hold the metal segments in place but heat softens CA so is your drill bits are a little dull or you generate a little too much heat the joint will fail . Epoxy is also softened by heat but not as much as CA .
 

DurocShark

Member
Joined
Jul 26, 2008
Messages
3,622
Location
Anaheim, CA
I will. I glued a tube into scraps (I've already made 2 sierras from the alabaster!), only putting the CA on the end. That should give a bit of support to the pieces I slice off. We'll see...
 

DurocShark

Member
Joined
Jul 26, 2008
Messages
3,622
Location
Anaheim, CA
They were repairs to existing pens my wife has destroyed. No pics, since she snatched them out of my hands immediately.

Easy to drill, easy to turn. I used a roughing gouge and a scraper for the whole thing. It's so soft that it's no problem to turn. I've turned harder woods. The only downside is the powder that comes off. A mask is necessary. But kicking the lathe up to 2100 rpm and using the roughing gouge makes for a nice stream of powder flying off the tool. heh
 

Craftdiggity

Member
Joined
Mar 10, 2010
Messages
1,373
Location
Egg Harbor Township, NJ
Don,

A mask is essential, even for a time after you're done turning the stuff. That powder hangs in the air. You do not want to be breathing that stuff in. Way worse than wood.

That white is pretty hot looking, though, right? I love it. It's really striking with Black Chrome hardware.

Chris
 

DurocShark

Member
Joined
Jul 26, 2008
Messages
3,622
Location
Anaheim, CA
Both were done on chrome/ti sierras and they looked great. The green is even softer than the white, so I may just use the 80 grit gouge. :cool:
 

DurocShark

Member
Joined
Jul 26, 2008
Messages
3,622
Location
Anaheim, CA
Pressed. Like I said, they were repairs, and I re-used the tubes, so they were already worn down a bit.

I also used Gorilla glue instead of epoxy. Better, more even support.
 

mbroberg

IAP Activities Manager, Emeritus
Joined
Mar 9, 2009
Messages
5,958
Location
Columbus, OH
I just have to say that the pens posted thus far are really good! And we've only just begun. Thanks Butch for the time, effort and pain of organizing this.
 

ldb2000

Member
Joined
Sep 11, 2007
Messages
5,381
Location
Laurence Harbor, NJ, USA.
Mike , I totally agree with you on the quality and craftsmanship of the pens shown so far . I also wish to thank everyone for taking the time to build and show their pens . You folks have built some fantastic pens and did an awesome job of matching and surpassing my challenge .
 

RAdams

Banned
Joined
Apr 5, 2009
Messages
2,983
Hey, Maybe when this is all done we could compile all the pictures into one file in the gallery or something? That would be super sweet!!
 

ldb2000

Member
Joined
Sep 11, 2007
Messages
5,381
Location
Laurence Harbor, NJ, USA.
Don , a thin parting tool would help you I think . A piece of a hacksaw blade with the teeth ground off is what I made for doing things like this . I will try to get a pic posted soon . Also try soaking the end of the alabaster blank as you part it , it might help .
 

DurocShark

Member
Joined
Jul 26, 2008
Messages
3,622
Location
Anaheim, CA
Don , a thin parting tool would help you I think . A piece of a hacksaw blade with the teeth ground off is what I made for doing things like this . I will try to get a pic posted soon . Also try soaking the end of the alabaster blank as you part it , it might help .


That's what I'm going to make my tool from. :wink:
 

RAdams

Banned
Joined
Apr 5, 2009
Messages
2,983
I like to live on the edge! I stole a butter knife from the kitchen and ground it down to a micro parting tool! Didn't even need to turn a handle! I just gotta hide it from the wife when she goes in the shop!:eek:
 

skiprat

Passed Away Mar 22, 2022
In Memoriam
Joined
Oct 19, 2006
Messages
7,812
Location
In a Skip in Wales
I like to live on the edge! I stole a butter knife from the kitchen and ground it down to a micro parting tool! Didn't even need to turn a handle! I just gotta hide it from the wife when she goes in the shop!:eek:

I'm gonna tell !!! I'm gonna tell!!!:biggrin:
 

Rick_G

Member
Joined
Nov 30, 2007
Messages
1,994
Location
Bothwell, Ontario, Canada.
I was away for the weekend and the kitchen is on hold until the wood is replaced (powder post beetles :mad:) so I didn't get at it until yesterday afternoon. Did my drilling on the drill press but everything else was done on the lathe. The woods are white ash and ebony. Lower barrel slides into the center band about 1/8th inch. May not get them all done but the ones I do will get shipped to our military guys and gals along with letters of support. (Click on the Canadian flag at top of page for more info. Shameless plug)

Oh for a narrow parting tool I use old planer blades from my thickness planer. Not quite as narrow as a hack saw but thinner than any others I have.
 

Attachments

  • 1997.jpg
    1997.jpg
    14.8 KB · Views: 254

louisbry

Member
Joined
Mar 18, 2007
Messages
2,655
Location
Tullahoma, TN, USA.
Thank you Butch for doing this! You can count me in and here is my first pen. I did it all on the lathe. It's a Ti Gold modified Slimline made from curly maple and African blackwood.

1_Curly_Maple_Modified_Slim.jpg
 

Mack C.

Passed Away Sep 29, 2018
In Memoriam
Joined
May 4, 2008
Messages
2,019
Location
Brooklin, ON Canada
This is a modified slimline I made for the Penmakers Challenge . It is made with curly maple and a custom made centerband of pauduk . This entire pen was made on the lathe no saws were used to cut the blank or centerband .
Remember this is a Challenge so it's time to put on your thinking caps and figure out how it was done . I will answer all questions but you might not always like my answers :devil:
I will be posting how I made this one at the end of stage 1
Today is the first day I paid attention to this thread. It looks like fun with a lot of learning attached to it! When does stage 1 end? Am I too late to get in on it?
 

ldb2000

Member
Joined
Sep 11, 2007
Messages
5,381
Location
Laurence Harbor, NJ, USA.
Great looking pen Louis . Your finish is fantastic on there and your segmenting looks flawless . I like the one piece designs , they show off the wood so well . My only complaint with them is that they are so hard to grip to turn and replace the refill but I have made a number of them . I will be making another type of one piece design for a later stage of the challenge .
 

louisbry

Member
Joined
Mar 18, 2007
Messages
2,655
Location
Tullahoma, TN, USA.
Great looking pen Louis . Your finish is fantastic on there and your segmenting looks flawless . I like the one piece designs , they show off the wood so well . My only complaint with them is that they are so hard to grip to turn and replace the refill but I have made a number of them . I will be making another type of one piece design for a later stage of the challenge .

It is not a one piece design, Butch. There is a joint at the second (from the nib) Blackwood segment. I put the segments on the lower section because the tube is missing on the lower 1/2 inch of the upper barrel.
 
Last edited:

ldb2000

Member
Joined
Sep 11, 2007
Messages
5,381
Location
Laurence Harbor, NJ, USA.
Welcome to the challenge Mack . You have plenty of time , the challenge is on for another week so there's no rush . Each of the stages will last at least two weeks , maybe a little longer for the last couple .
For anyone else who wants to join in , you can enter a pen here even after we move on to the next stage . This is not a contest just a chance to work on something beyond a plain kit and hopefully learn something in the process .
 

DurocShark

Member
Joined
Jul 26, 2008
Messages
3,622
Location
Anaheim, CA
I was very tempted to cheat on mine.... Slicing alabaster on the lathe was HARD! I got the slices to around 1/8" by hand turning the lathe, not spinning on the motor. Ugh! Soapstone, even though it's softer, was much more forgiving.

The slices aren't square to the world either since I couldn't leverage the speed of the lathe to get them square. We'll see if the slop shows up in the finished product. I glued and clamped 'em last night, should be able to try to turn them down tonight. I hope...
 

soligen

Member
Joined
May 11, 2010
Messages
1,085
Location
Sterling Heights, Michigan
Butch, with the goal of learning, I have to declare Mission Accomplished! This site, and this thread in particular has been an eye opener for me.

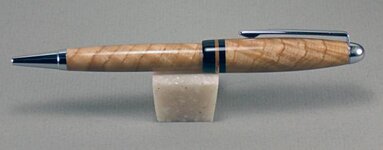
This is my 5th pen - made from my Penn State starter kit :). Although I always see flaws in my own work, I'm very happy this how this turned out.

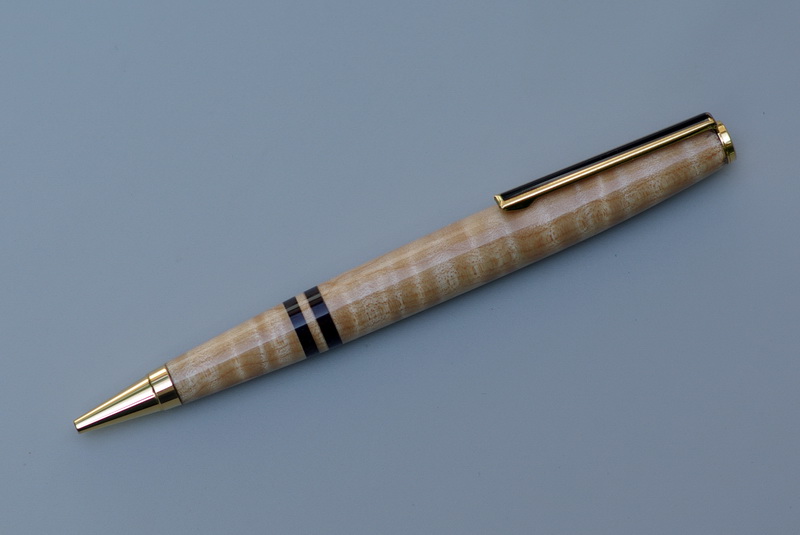
Woods are Cherry and Rosewood. It will be interesting to see how it looks when the cherry start to darken.

No saw for the segments, but I did things a little different. Is it OK to describe how I did things? or do we need to wait to discuss process? I'm very interested in constructive feedback (I hate the term "constructive criticism" lol)

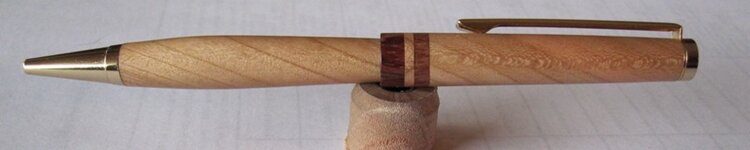
The top half is back beveled a little bit at the joint - not a inset, just beveled a bit to hide the joint.

I'm wondering what you guys did about the pen length. I thought the slimlines were a hair short to begin with, and loosing the kit band makes them shorter still. I added a small second section of tube to the upper blank to compensate, and ended up about 1/8 inch longer than a standard slim line - which I like.

Out of pen kits now :frown: but I ordered the 30 pack from penn state so I have inexpensive kits to play with.
 

Attachments

  • IMG_0019.JPG
    IMG_0019.JPG
    40.1 KB · Views: 177

wdcav1952

Activities Manager Emeritus
Joined
Mar 18, 2004
Messages
8,955
Location
Montgomery, Pennsylvania, USA.
Butch,

After a slightly rocky start, this challenge has taken off! Thanks for doing this. Since I am slightly :rolleyes: less than innovative, I look forward to your explanation. You have done a lot for the forum by pushing your kitless challenge, and now the "sawless" challenge.
 

ldb2000

Member
Joined
Sep 11, 2007
Messages
5,381
Location
Laurence Harbor, NJ, USA.
Fantastic pen Dennis , especially considering this is only your 5th pen , I can't wait to see what you are doing by your 500th pen . It's ok to detail your construction . As I said "There are many ways to do this stuff" , the more information and techniques are described the more knowledge is shared with everyone . Back cutting or beveling is a good idea when segmenting to keep the joints tight . It prevents glue starvation when clamped up which makes for a stronger joint . As mentioned earlier , cutting these segments on the lathe ensures that the joints are square and tight , and as with Louis's pen almost invisible when done right .
Pen length on a slimline isn't much of an issue on the upper barrel and even the lower barrel is a little forgiving because you can press the transmission a little less or more to make up for any variance .
 
Last edited:
Signed-In Members Don't See This Ad

RAdams

Banned
Joined
Apr 5, 2009
Messages
2,983
"Almost invisible"????

I really thought that was a one piece pen! (So did you didnt you?)
 
Top Bottom