My ants and I - Just plain poplar #2

Signed-In Members Don't See This Ad
See more from 1080Wayne

Signed-In Members Don't See This Ad

SDB777

Member
Joined
Feb 6, 2010
Messages
6,620
Location
Cabot, Arkansas USA
The 'hard line' of the two different colors towards the bottom keeps pulling my 'eye' to that area. Was the wood a little short in the mold, or is it supposed to be that way?

Not knowing anything about oil lamps, is it a kit?
Does the flame come from inside to illuminate the resin/wood to cast shadows?


The timber/resin mix is pretty cool, and the colors 'work together' nicely!


Scott (goggling oil lamp kits.....I need more things to do) B
 

robutacion

Member
Joined
Aug 6, 2009
Messages
6,514
Location
Australia - SA Adelaide Hills
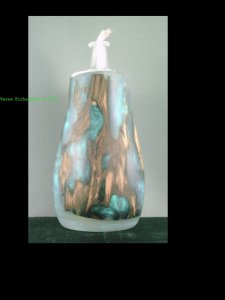
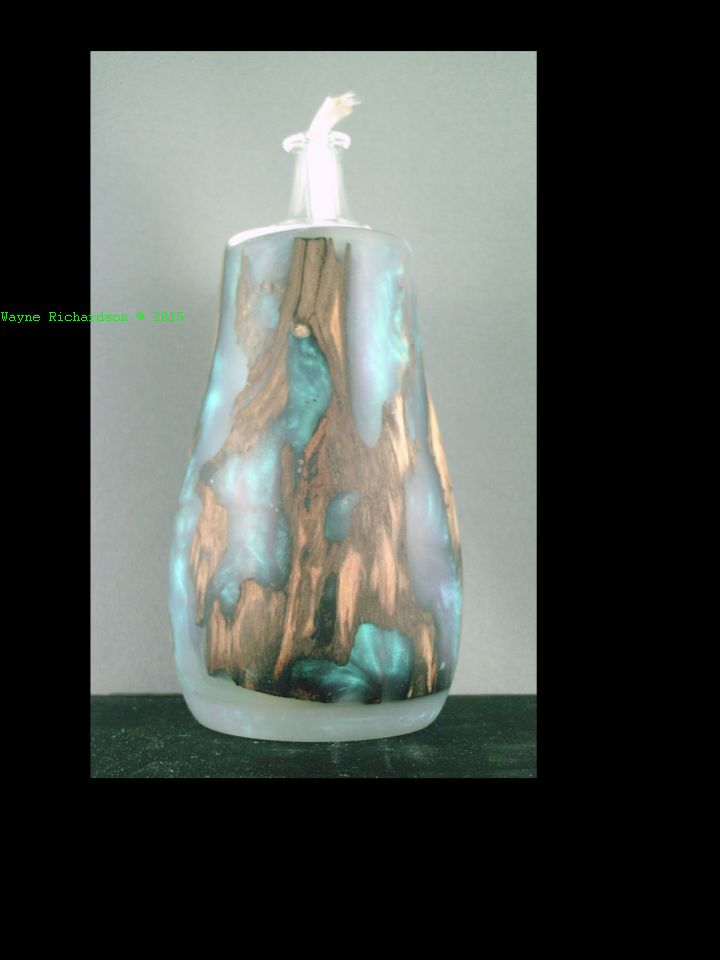
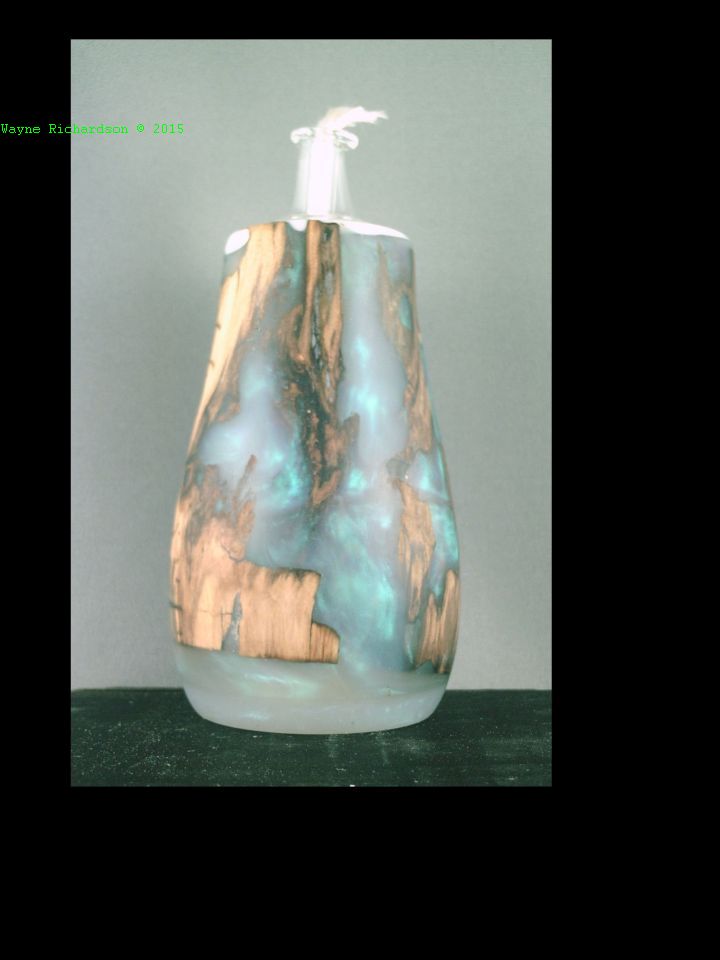
Aspen poplar oil lamp , Alumilite cast , 2 3/16 x 4 1/2 inch

G'day Wayne,

Beautiful cast, the transparency is just right, is so easy to put too much powder from those "Interference" colours, one tiny bit is all it is needed.

I also think that is a shame the straight lines of the wood blank, at the bottom of the cast, I have a feeling that the wood just a little too short for the mold you had or, the wood floated to the mold top and you didn't wanted to lose the general piece eight however, I can be totally out and, your reason can be very different than any of the ones I thought of/mentioned so, don't take my observations as negative or detrimental, I'm basically asking the question and given some possible reasons...!

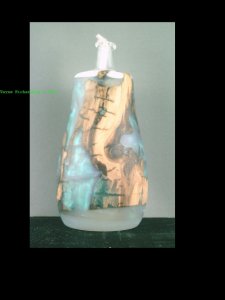
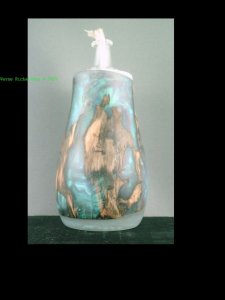
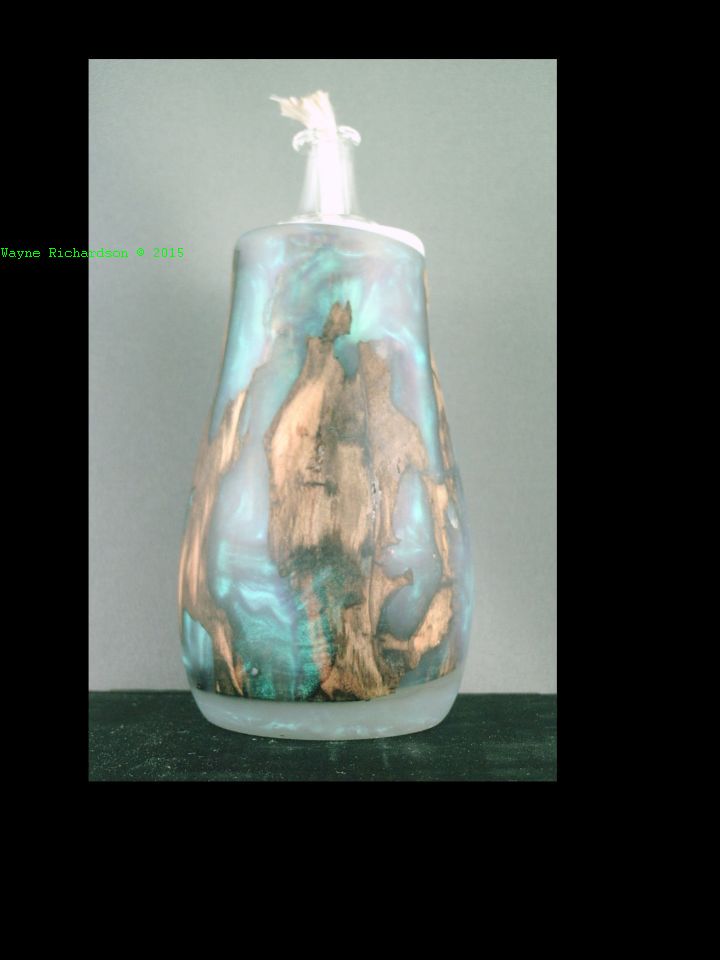
But, that I would like to suggest you could have been done, if the piece bottom is not really what you wanted but the wood was short so, what I would do in such situation, I would create a black base made of resin by basically pour the amount sufficient to fill the eight right to the wood bottom, let if gell (not dry) insert the wood pushing it sightly into the black resin and then pour the translucent resin mix.

The transition becomes quite smooth that way and quite pleasant to the eye, I think...!

Here a couple of piece where I done this same "base" method...!

001.JPG016.JPG018.JPG

And just because we are talking about casting wood with translucent Pearlex interference colours/powders, I have just finished today a batch of knife blanks, 4 blanks of each type and one on the molds, had English Ivy still with most of its climbing fingers, cast in interference violet, I was concerned that I made it too strong/opaque and obscureness the visibility of the wood but, I think they are OK, still drying from a coat of varnish, this afternoon...!

002.JPG003.JPG

Again, don't be upset because I'm putting some of my pics on your thread, they are not there to be compared but simply to demonstrate what I was talking about.

Give me your thoughts on my observations, please...!

PS: How do you finish these pieces...?

Cheers
George
 

1080Wayne

Member
Joined
Feb 5, 2006
Messages
3,344
Location
Brownfield, Alberta, Canada.
Thanks for your comments Scott and George . The flame is on top , like a candle , Scott . Alternatively , it can be used as a scented oil diffuser . It has a fiberglass wick .

When I first cast the piece , I thought it was just large enough for the oil lamp kit , but when I went to put it together , I discovered that the glass tubes in my latest bunch of kits had grown by nearly 1/2 inch over those I have used for years .

So , plan B was to add more of the same colour to the bottom . That didn`t work too well as you have seen , for two reasons . It was a small pour , probably about 50 grams . The amount of pigment needed at that quantity is maybe 0.1 gm , which is the smallest amount which will register on my scale , so an exact colour match can`t be expected .

The second reason is that the first pour was horizontal and the second vertical , relative to the lamp axis . Mica pigments are basically little plates . They seem to prefer to stay horizontal in a viscous liqiud , unless forced by pressure to go around corners to fill voids . The shimmer is caused by pigment particles being on slightly different planes within the casting . The strongest colour is seen when looking at the flat of the plates , as compared to the plate edges . So , thanks to this episode , I will now cast horizontally for any object which will have a largish area of coloured resin in the vertical plane .

Neither of you mentioned the white cast at the top , so I assume it passed the test . It was the second pour , as I hadn`t mixed enough resin the first time . What isn`t obvious to you , is that it is the same turquoise colour as the rest . That was achieved by accidentally introducing moisture into the pressure pot via the air line from the compressor . I hadn`t used the line for several days and neglected to blow it down before pressurizing the pot . Alumilite and moisture don`t (usually) like to mix . The red to pink colour blend in my similar post a week ago George , was done in the same uncontrollable way .

I use a tung oil sealer on all of my larger turnings , because I prefer a low gloss surface . If someone wants higher gloss , it is easy to overcoat with tung oil to give the gloss . I try to remove the sealer from the plastic areas with acetone . Very soft parts of the wood have been hardened with thin CA before finish turning and again before sanding .
 

1080Wayne

Member
Joined
Feb 5, 2006
Messages
3,344
Location
Brownfield, Alberta, Canada.
Had to re-type all of the former post when I lost it , but forgot a few things . Thanks for the contrasting base idea George . It probably would look okay in white , to match the top .

The other problem with interference colours is the difficulty in achieving uniform colour in a piece which has varying thicknesses of resin , as in the ant excavations where it doesn`t really matter , or in a casting for a S&P shaker where there will be 1/8 to 1/4 inch thickness left around the insert as compared to 1 1/4 inch or so base diameter , where it is very obvious .
 
Top Bottom