First time using PR, FAIL.

Signed-In Members Don't See This Ad

wwneko

Member
Joined
Jul 21, 2014
Messages
215
Location
APO, AP
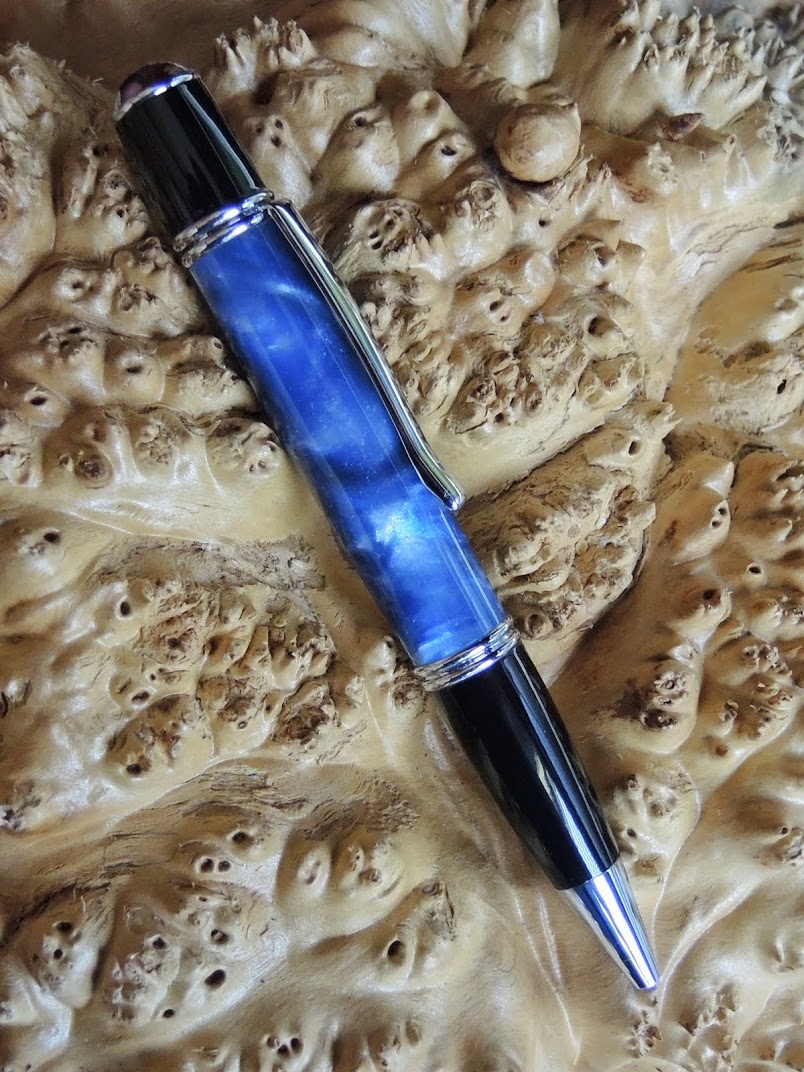
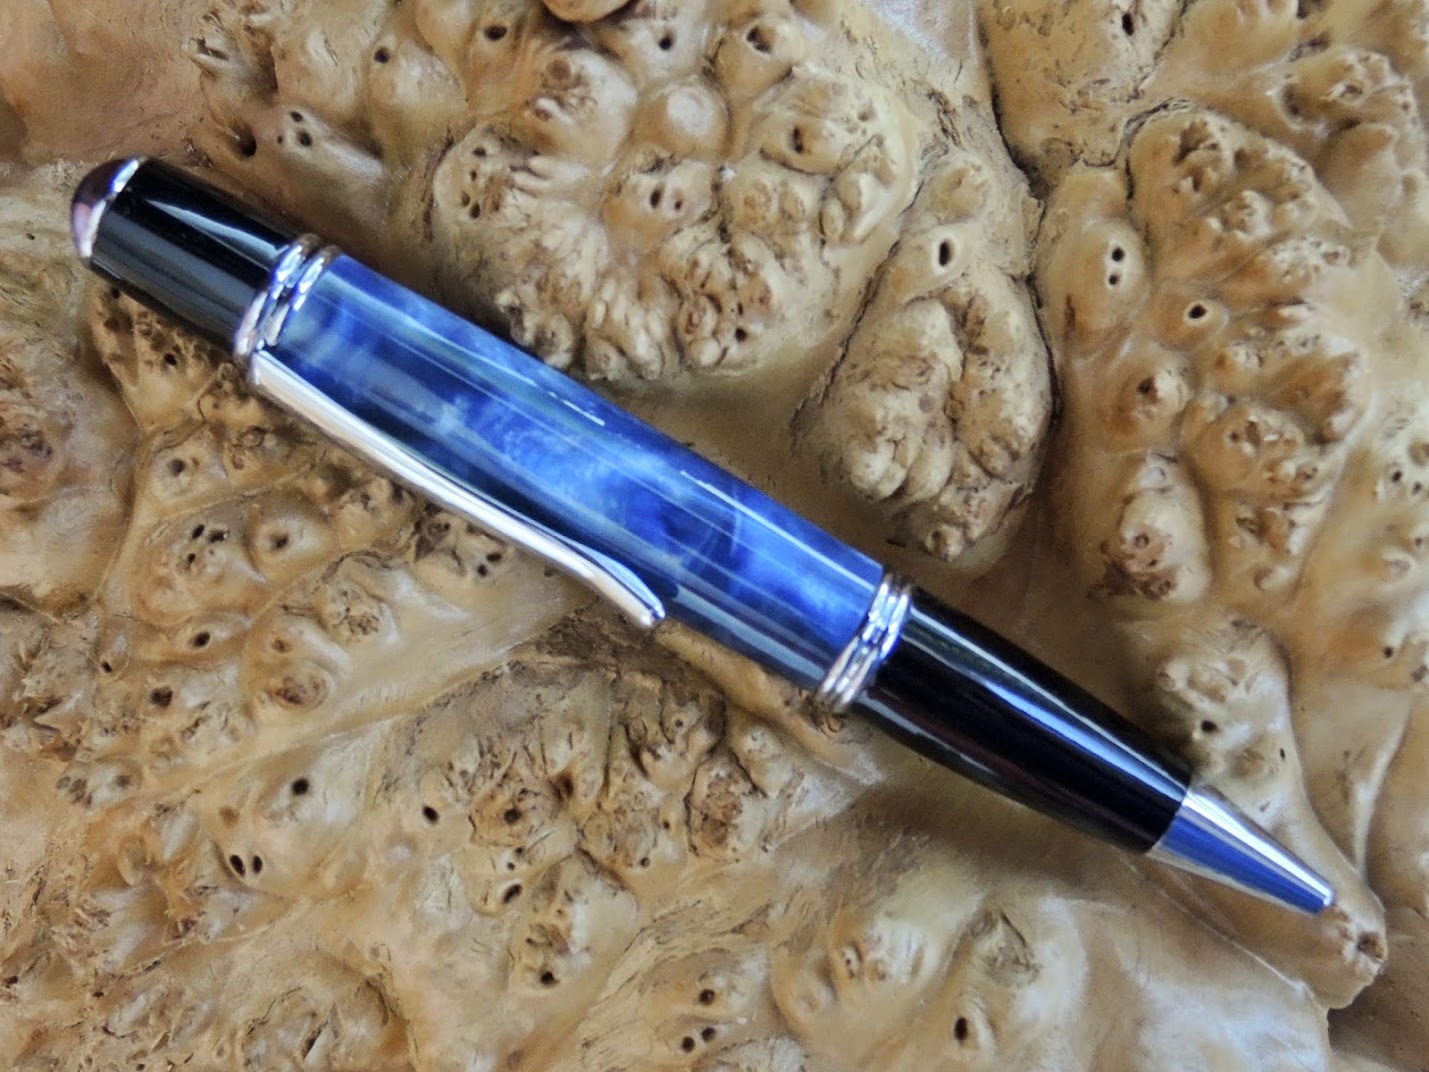
I'm hoping this brings some nostalgia to those who have been casting a while.

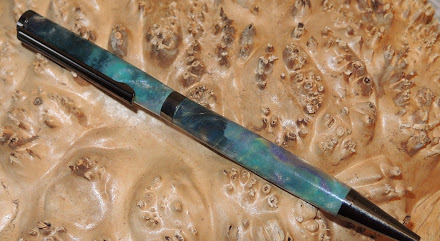
I don't know exactly what went wrong. Except, I shouldn't have tried to cast such a large blank for my first try (5 pen blanks.) I waited for the PR to "thicken," but it went from runny like before adding MEKP to a glob of goo almost immediately without thickening first. It was about 15 to 20 minutes, I added 5 drops MEKP per oz, temp was about 80 degrees. I think it may have thickened but lack of experience I didn't notice until too late.

For fun I mushed it up with my hands and pressed it into a glad container. I'll be keeping it as a reminder not to wait too long before pouring.

Pictures for your enjoyment :rotfl:
2014-08-31%2B22.38.34.jpg

2014-08-31%2B22.39.06.jpg
 
Signed-In Members Don't See This Ad

plantman

Member
Joined
Jan 2, 2012
Messages
3,437
Location
Green Bay, Wi
I would drill it out to fit a pen holder and make a realy long old fashioned pen for it to use as a desk set. Use the jagged surface up. Looks like a piece of beautifu coral.l Too nice not to be used. I could see one of my dragon pens sitting in that base. Jim S
 
Last edited:

Kendallqn

Member
Joined
May 9, 2013
Messages
114
Location
Phoenix, Az 85044
You can use a hammer and crush it into small slivers, or cut it into small pieces then use it in another cast as an offsetting color with some very neat effects. you will get better with practice at noticing when the resin starts to thicken a bit and is about to go. As your stirring you can lift a bit of resin with your stick and pay attention to how it runs off the stick back into the cup. You will notice it stick a bit more to the stick and run slower right before you want to pour it.
 

Brooks803

Member
Joined
Sep 13, 2009
Messages
5,632
Location
Aiken, South Carolina
I've been casting for almost 5yrs now. I still get those reminders from time to time :redface:. That one would make a killer pendant! There's probably a lot of air pockets, but you can fill those with more resin once it's turned down some.

Those colors are very nice. Would have made some nice blanks! You might have waiting 2mins to long. A good rule of thumb I do is give the resin a gentle swirl with the popsicle stick every 1min. You can wait to do this after 7-10mins usually at those temps. You'll learn quickly that some colors/pigments will thicken faster than others this way. Keep notes!
 

BSea

Member
Joined
Dec 28, 2009
Messages
4,628
Location
Little Rock, Arkansas
A guy that gave me pointers when I started casting said that it takes about a gallon to get a "FEEL" for the resin, and when it's about to gel. He was right. I can't remember his name though. I think it was BooksXYZ, or something like that.:wink:

If things like that don't happen from time to time, then you aren't casting enough. I had something similar this weekend. I got it poured, but I'm afraid there are bubbles in the blanks. So They become experimental blanks, or used for sacrificial pieces to add to other blanks when I do closed ended pens.
 

plantman

Member
Joined
Jan 2, 2012
Messages
3,437
Location
Green Bay, Wi
I would drill it out to fit a pen holder and make a realy long old fashioned pen for it to use as a desk set. Use the jagged surface up. Looks like a piece of beautifu coral.l Too nice not to be used. I could see one of my dragon pens sitting in that base. Jim S

Sorry !! I have changed my mind !! It looks butt ugly and you should not keep it around as a reminder, as it will give you bad dreams at night. Send it to me and I will properly dispose of it for you.:wink: Jim S
 

JohnU

Member
Joined
Jan 31, 2008
Messages
4,954
Location
Ottawa, Illinois
I have a few of those myself. I will cut down to three drops per ounce and give it another go. Like said above, you can recast over that after you get it cut and fill any voids. Just a warning, if it got too hot, it may be pretty brittle so don't get too aggressive drilling or turning.
 

wwneko

Member
Joined
Jul 21, 2014
Messages
215
Location
APO, AP
Since the first fail, which will be used for something just not totally sure what yet, I made a smaller mold that makes 3 blanks at a time. I've done two moderately successful casts. I think I poured too early on both and maybe overworked the first. I think the last one looks promising. It's blue and silver and the blue migrated mostly to the top of the mold while the silver went to the bottom, but I think it will turn out nice. Ill post pictures soon.
 

MikeinSC

Member
Joined
Mar 10, 2014
Messages
495
Location
SC
If you're doing a single color pour, there is no need to wait. Mix it, dump it in and move on to the next.

For multi color pours, I check it after 5 minutes, give them a stir and check again I'm 5. After that its every minute. And when i feel that at least one is thick enough to keep the other color from mixing, I pour then. I try to keep it on the somewhat runny side so I can pour slowly and not trap any air.

It's about like frying eggs. It takes some practice to find that sweet spot and pull them just before they are considered done.
 

wwneko

Member
Joined
Jul 21, 2014
Messages
215
Location
APO, AP
The results are in, and I think it came out quite nice. Took me a while because I turned a set, then realized the importance for painting the tube/reverse painting the blank. I painted this one black. The other "blank" I haven't turned (not painted at least) but I feel sure it won't be as nice as this one.

DSCN0334.jpg


DSCN0337.jpg
 
Last edited:

wwneko

Member
Joined
Jul 21, 2014
Messages
215
Location
APO, AP
A slimline with the same blank but this time I painted the inside of the blank silver.
I need to figure out how to make my pictures smaller when posting on the forum. Right now I'm using google+ and copying the url from there. I used to use Picasa and it was very easy, but it's no longer.
DSCN0339.jpg
DSCN0341.jpg
 

wwneko

Member
Joined
Jul 21, 2014
Messages
215
Location
APO, AP
lol, as long as the color of the tube showing through compliments the blank it's all good. In this case the silver with blue, the brass looked terrible... Definitely a drastic difference between painting black and silver. I personally like the black one 10x more but my wife likes the silver one, imagine that...
 

wwneko

Member
Joined
Jul 21, 2014
Messages
215
Location
APO, AP
Not as big a fan, I knew this one didn't turn out great looking at the block but I had to assemble it. Painted the tube on this one black, I like reverse painting the blank much better, more uniform coloring.
DSCN0355.jpg
 

OZturner

Member
Joined
Aug 5, 2013
Messages
6,662
Location
Sydney. NSW. Australia
Congratulations on your First Casting Attempt, James.
That experience while disappointing, will ensure that you treat your future casting as an Art, and provide it with the care and attention it requires and demands.
The Colours of your "Failed" cast were Spectacular, and not wishing to add to your sorrow. It would have made Glorious Blanks.

I trust you have kept notes on how you produced it, so that you can again try to successfully reproduce it.
Congratulations, your recovery casts are very good.
Brian.
 

Bill Arnold

Member
Joined
Aug 19, 2008
Messages
140
Location
Thomasville, Georgia USA
I'm a little late to the party on this, but I don't hang out on the computer a lot.

That's a good looking pen, James! Sure turned out fine.

One thing I remember from watching untold numbers of videos on casting, pen making, etc., is one fellow who always had molds the size to make bottle stoppers with. Any leftover resin got dumped into a mold until it was finally full. Some of his molds probably had leftovers from dozens of pours for pen blanks.

I followed his example of using sections of pvc pipe for molds. I use both 1/2" and 3/4" pvc for pen blanks and 2" for stoppers. My first attempt at casting some pen blanks led to a result where one color kicked unexpectedly and the other was still liquid. I quickly dumped the one that had kicked into a stopper mold and mixed another batch of the same color. I added a bit more catalyst to the second batch to make it thicken quicker. The other color began to thicken noticeably, so I started pouring both into my pen blank molds, alternating colors and moving the cups around. After I had them both poured, I stuck a thin wire into the resin, gave it a half a twist and removed it. Both blanks came out looking good. The stopper blank looks good too.
 
Last edited:
Top Bottom