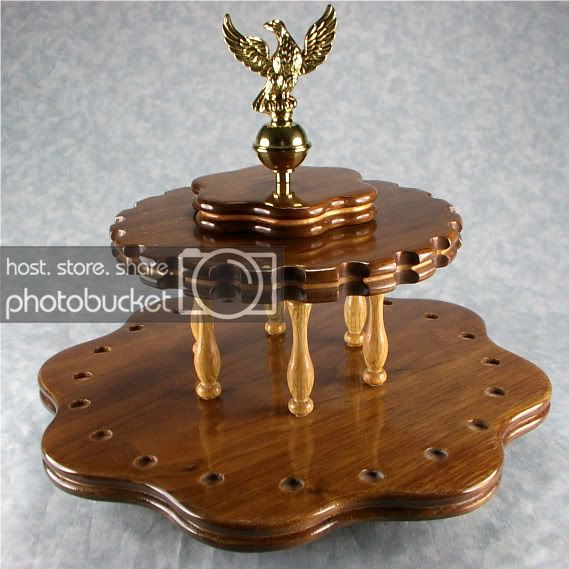
That is just beautiful! How did you make what appears to be the "round bottom" dimples on the lower plate? Did you use a round nose router bit in a drill press? Or are my eyes deceiving me, and the bottom of the dimple is flat?
Thanks Hank for the kind words.
I think what you are asking is about the round recess holes where the nib of the pens sit. They are flat bottomed and that was done with a straight cutting router bit and a router. I could have used a round nose bit to get that shape too If I chose. But what I was after was to have the yellowheart show through at those points. The edges are routered as well. The thickness of the woods was determined by that router bit. The shape of the rack and the different layers were cut on a scroll saw. Hope that answers it. Thanks for looking.
SKILL! That takes skill! Perfectly aligning more than one hole with a router takes some fine eye-hand coordination in addition to holding the router steady, even with a plunge base. I would have had to do that with a drill press for that perfection!
Scrollsaw: I originally was going to ask if that was done on a scrollsaw or band saw. I have a good 14 in BS and just recently given a new DeWalt Scrollsaw. I just need time to use it.
Next Question: Did you re-saw the rosewood, or have a thin rosewood board on hand?
By the way, I saw a stand for holding eye glasses a couple of weeks ago on a the scrollsaw forum and my mind immediaetly went to adapting that as pen holders. The forum is down at the moment or I would include a link.


")