Carl Fisher
Member
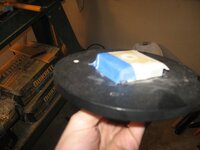
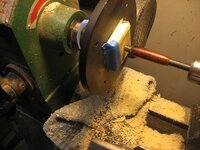
So I'm looking for a more reliable method for de-burring the CA that overhangs after splitting from the bushings. I've started using a very thin parting tool to break the glue free between the 2 but there is typically a very small overhang of CA that has to be dealt with.
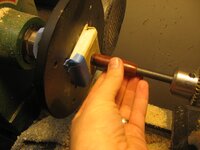
If I can, I'll shave it down with an hobby knife. If the blank is straight so that it lays flat I can lightly touch the disc sander but every so often no matter what method I use it pops the finish.
Curious what everyone else does to clean up the ends before assembly.
If I can, I'll shave it down with an hobby knife. If the blank is straight so that it lays flat I can lightly touch the disc sander but every so often no matter what method I use it pops the finish.
Curious what everyone else does to clean up the ends before assembly.