tjv
Member
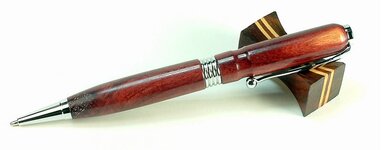
I'm currently sticking to australian burls for my pens and at the moment I'm not convinced I've found the right way of finishing these suckers.
I've just finished a batch of 5 and I was happy to a point of 11/10.
Today I've looked at one of the pens and I've noticed that I'm not filling gaps and voids correctly.
Side-step. I've found CA to be too brittle especially at the barrel ends and also high gloss finishes are not my favourite. If I do a high gloss CA finish it feels like I'm not touching/feeling the timber (but the finish looks great). I prefer something low to satin. Call me crazy but it feels like timber.
So I'm back to:
1. sand to 1000 grit
2. 10-20 coats of BLO/CA
3. U-Beaut Shellawax cream
4. U-Beaut EEE Ultrashine
and I just need to work on the effort in 4. above to get the shine I want.
Today I've found one pen that I made over the last weekend and some from before, that are showing 'feelable' cracks/gaps in the timber.
I'm now thinking that I need to introduce some steps before number 1 that goes something like this:
0. sand blank to 400 grit
0. wipe down the blank with metho (denatured alcohol)
0.1 fill gaps with CA
The other possible is to stabilise.
Any suggestions are more than welcome as I don't want pens returning once finished and sold.
Cheers
Tony
Last edited: