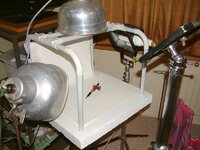
I'm not a pro photographer, but need some advice. I like to take photos of my pens outdoors, usually with some type of natural background--rugged wood or animal fur. Sometimes I just use a gray cushion from the patio chair. I use either one of two point-and-shoots. A Canon PowerShot SX40 or FUJIFILM Finepix S700.
I get out of direct sunlight, so usually shoot mornings or evenings or big shaded spots during the day. I'll use a tripod, camera on auto, set to macro, and I'll snap the photo with timer setting on 10s or 2s. Take several shots, different angles, and then pick the best one.
So, I do a lot of trial & error shooting. Can you guys recommend different settings or techniques so I can make better shots--preferably outdoors? Should I take camera off auto, go to portrait or manual? If manual, what settings do you recommend?
Thanks in advance for the help!
Hi
Common sense is if you were a professional photographer you wouldn't be photographing pens outside during day light hours and expect professional looking photos of your pens.. At night with strobes or flashes, piece of cake...
Professional photographers wouldn't be using the cameras you are using to do professional product photography.
Professional Photography gear works every time as in being able to control or paint light... if you are professional enough to know how to use the gear.
You are not a professional photographer, the way you are thinking ( out door product photography during the day ) is something every beginner tries when he doesn't have the right lighting................
In order to get Professional
looking photographs of your pens you will need
have a understanding of Light...
Professional photography equipment just makes the job allot easier.
I shoot everything in manual Mode, Every lens is different and allows different amounts of light so no one can tell you exactly where you should be setting your camera.
White balance should be set to shade Or a custom white balance setting.
ISO should be set to 200 to 400 depending on how dark it is, ISO 100 is the best but you might be setting the camera up to slow shutter speeds.
F 9 to 12 seems to work good for aperture setting the lower the number is for photographing in low light or your shooting sports or something in motion .
Low F stop settings like give a shallow (depth of field ) ( DOF )where everthing is fuzzy before and after the photo. called the BOKEN effect .
The higher the F stop the deeper the DOF is like on land scape photos,.
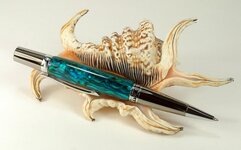
Boken effect I think I was using a Canon 5D II camera body with a Canon 100 to 400 mm 4.5 L
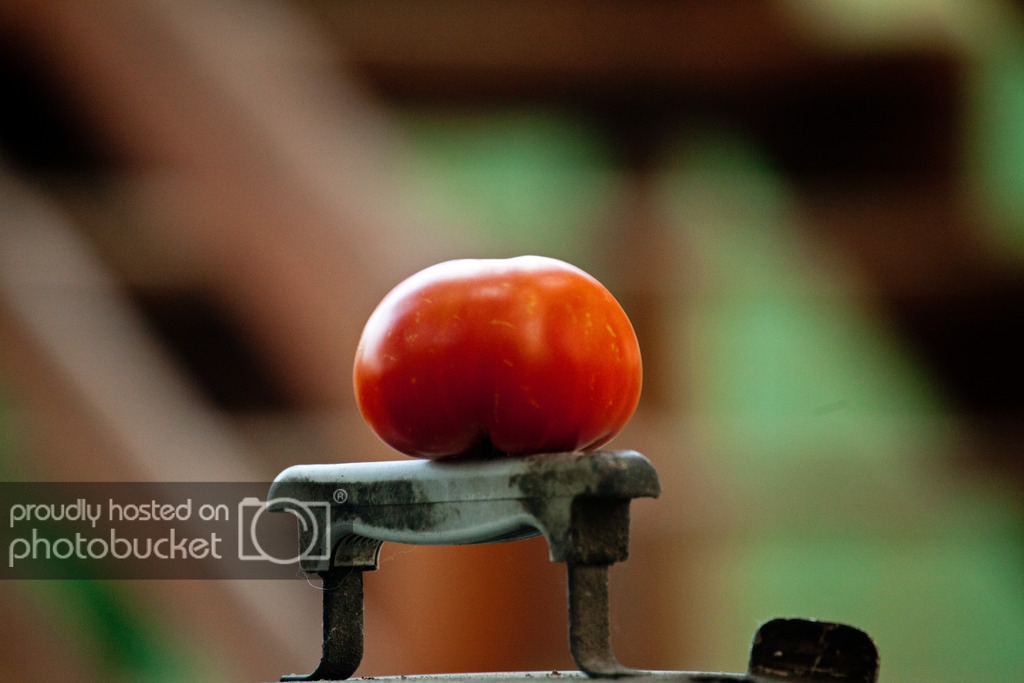
Out side in the night,
First test photos where taken without a tripod.
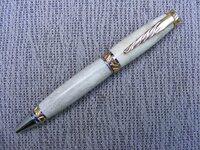
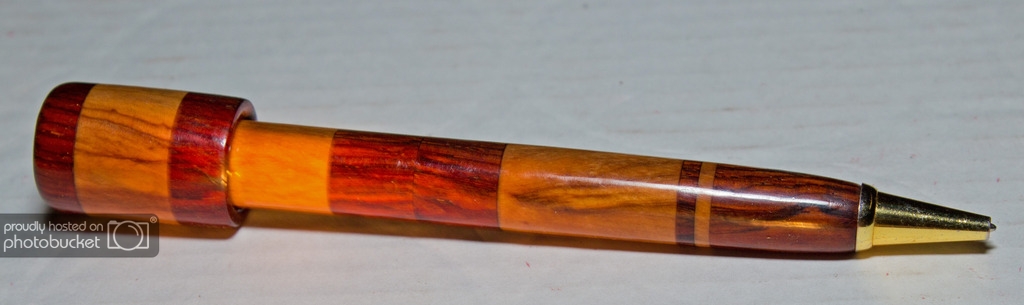
Using a Canon 580 II speed light with a rogue flash bender on a canon T3i body with a 10- 22 mm lens was used on the pocket chalker
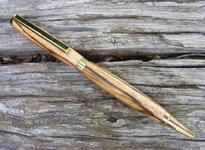
This picture a 18- 55mm kit lens was used .
Next test will be with a tripod and then using the 580 speed light off shoe.
Then I will start to us better lenses.
PS The pen is sitting on a card board dog food box ( ALPO ) to be exact
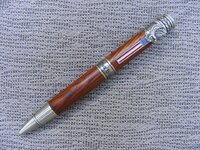
Out side photography at night using a flash
Not the best but it does show hope .
I will be doing some of these test with a 18- 55mm kit lens on to show you guys what to expect out of your entry level equipment .
At a certain point I will be switching to some very expensive lenses and to a full frame camera body.
As said above I also plan on going to a off shoe flash .
PS I was using a CPL on the first 2 photos .