
rjwolfe3
Member
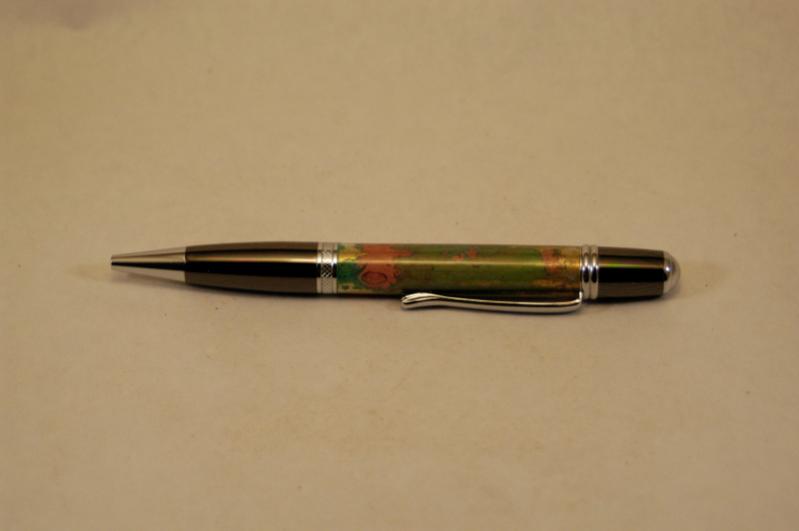
I have been trying to figure out my new (to me) DSLR. It is a Nikon D100. I am including a photo that I have not touched up other than to resize to 800x600. I have tried to keep the camera on all auto settings. Can anyone give me some pointers? I know I can fix the photo with software but I really want to take better photos without needing to do much with software. I have not cropped the photo yet. And that is supposed to be a white background. It was taken in a photo tent with 2 lights on the side and one over it. Let me know if you need any other info about the camera or the photo. TIA:biggrin:
More info:
Couple of things I forgot in the original post. I am using a tripod. I am using the lights that came with the tent as well as one of the silver clamp lights (that one is on top).
My main thing is the focus but I guess I can try the manual focus.
I have the white balance set on auto so I will try manual on that as well.
My main problem is that this is a 6 megapixel. I was hoping it would take a better photo then my 3.1 megapixel Kodak point and shoot with the same tent and light setup.
Even more info:
F-stop: f/6.3
Exposure time: 1/160 sec.
Exposure bias: 0 step
Focal length: 80 mm
Max aperture: 5
Metering mode: Pattern
Flash mode: No flash
35mm focal length: 120
White balance: Auto
Attachments

Last edited:

")
