SDB777
Member
Bump for the new folks!!!
Scott (sharing is fun) B
Scott (sharing is fun) B

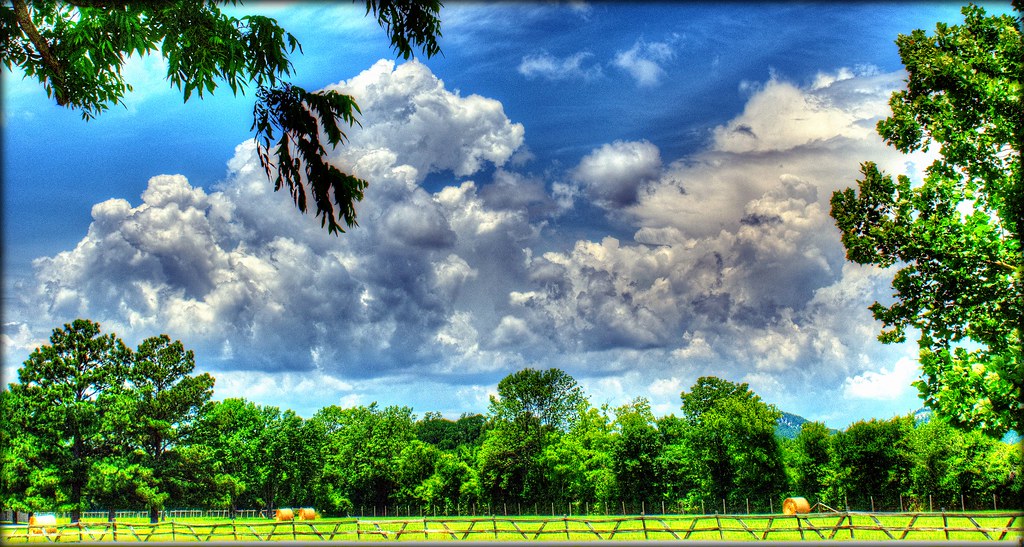
I continued practicing with HDR today, but I cheated a little - I'll explain in a new thread because it's somewhat of a departure from the intent of this thread.
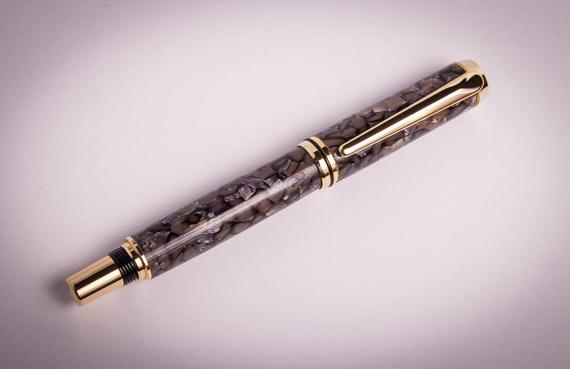
f2.4, 1/40 sec, ISO 64.
The HDR photo app is all i've used for my pics. I just need some help with my fugifilm camera, i've taken hundreds of pics with it, just can't seem to find the right combo of settings for the right picture
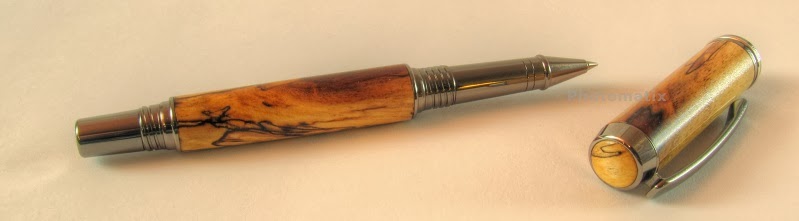
Well how do you get glare out, looks like you have trees in your pen.
That my friend is the biggest downfall of shooting outside. I've attempted to take the light tent outside to use the great effect from the sun, but it seems that the best plans are always overshadowed by a greater power....wind.
You could use PhotoShop, but there is always a downside to that. Long hours of staring at pixels and masking isn't what I'd call a fun day, but it can be done.
The easiest way to fix the problem would be to get the light tent set-up, buy a bunch of Daylight halogens/tubes and make a holder to keep them in a fixed position. If you have the room to do this(a spare bedroom/den/whatever) would be great, but I just don't have the room available to leave the set-up in place.(Although the more I think of it....)
Scott (a trip to HomeDepot might be in my future) B
One way to augment the bright sun light is to shoot on a cloudy or over cast day. On a cloudy day mother nature is brighter then the most brightest bulbs. If i want to shoot and it is sunny out and i don`t want to wait till the sun moves around, i get a sheet and make a tent by throwing the sheet over the picnic table umbrella. I have a photo box set up, so i don`t have to do that now. Good luck.
Glare is not a hard thing to overcome if you know how glare is produced, what it is and how it works. It all boils down to angle management. That is angle of the camera film plane, angle of the object, angle of the light and angle of the light bouncing off the object.
Well how do you get glare out, looks like you have trees in your pen.
That my friend is the biggest downfall of shooting outside. I've attempted to take the light tent outside to use the great effect from the sun, but it seems that the best plans are always overshadowed by a greater power....wind.
You could use PhotoShop, but there is always a downside to that. Long hours of staring at pixels and masking isn't what I'd call a fun day, but it can be done.
The easiest way to fix the problem would be to get the light tent set-up, buy a bunch of Daylight halogens/tubes and make a holder to keep them in a fixed position. If you have the room to do this(a spare bedroom/den/whatever) would be great, but I just don't have the room available to leave the set-up in place.(Although the more I think of it....)
Scott (a trip to HomeDepot might be in my future) B
One way to augment the bright sun light is to shoot on a cloudy or over cast day. On a cloudy day mother nature is brighter then the most brightest bulbs. If i want to shoot and it is sunny out and i don`t want to wait till the sun moves around, i get a sheet and make a tent by throwing the sheet over the picnic table umbrella. I have a photo box set up, so i don`t have to do that now. Good luck.
Glare doesn't typically become my 'enemy', it's mostly reflections in my awesome finishes(okay, I have opened my eyes, the dream of awesome finishes has passed and I'm feeling better)....but I do get reflections. Even if I think I have every hole filled with a 'material', I still find the camera lens in the photo!
Keep those photo's coming everyone! I love to see your works!!
Scott (glare from the wife...that's different) B
Glare is not a hard thing to overcome if you know how glare is produced, what it is and how it works. It all boils down to angle management. That is angle of the camera film plane, angle of the object, angle of the light and angle of the light bouncing off the object.
Well how do you get glare out, looks like you have trees in your pen.
That my friend is the biggest downfall of shooting outside. I've attempted to take the light tent outside to use the great effect from the sun, but it seems that the best plans are always overshadowed by a greater power....wind.
You could use PhotoShop, but there is always a downside to that. Long hours of staring at pixels and masking isn't what I'd call a fun day, but it can be done.
The easiest way to fix the problem would be to get the light tent set-up, buy a bunch of Daylight halogens/tubes and make a holder to keep them in a fixed position. If you have the room to do this(a spare bedroom/den/whatever) would be great, but I just don't have the room available to leave the set-up in place.(Although the more I think of it....)
Scott (a trip to HomeDepot might be in my future) B
One way to augment the bright sun light is to shoot on a cloudy or over cast day. On a cloudy day mother nature is brighter then the most brightest bulbs. If i want to shoot and it is sunny out and i don`t want to wait till the sun moves around, i get a sheet and make a tent by throwing the sheet over the picnic table umbrella. I have a photo box set up, so i don`t have to do that now. Good luck.
What size /type of floods do you prefer?
Scott- What Sony are you using? I just picked up a NEX-6 and am pretty happy with the auto white balance. For lighting I'm using one 300 w/s strobe bounced off the ceiling in an otherwise pitch black room. 100 ISO, at around f10 I'm needing very little post production.
")
Thanks for the info. Richard
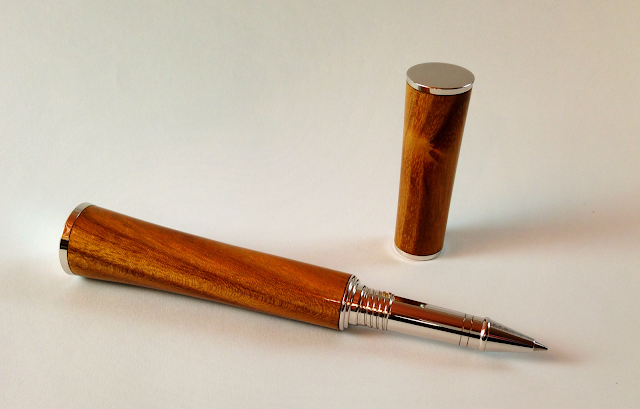
That's a nice picture Mike. Really good depth of field, and realistic colors. Good job.
Thanks. I should also give some credit to sylvinite. This thread and some of his tutorials has helped me a lot.
That's a nice picture Mike. Really good depth of field, and realistic colors. Good job.