thewishman
Member
That looks nice and focused to me. I'm waiting on my tripod and SD card to come tomorrow... Hurry up, UPS!

That looks nice and focused to me. I'm waiting on my tripod and SD card to come tomorrow... Hurry up, UPS!
It wouldn't be that difficult to fabricate a 2" standoff for the tripod screw. It's a standard 1/4"x20 thread. I'd go ahead and make one for myself, except that I've taken to using the USB cable to connect the camera, rather than taking out the SD card.Wishman, you bring up a good point - having to mount and then unscrew the Canon SX160 to "any" tripod - the door for removing the SD card necessitates removing the camera. There's no angle it can be turned while mounted that gives enough clearance to open the battery/SD card door.
Can anyone make a recommendation on some kind of mount that would work as a quick-release plate but doesn't cover the SD card door?? Some kind of male/female plates that mount between the camera and the tripod top...
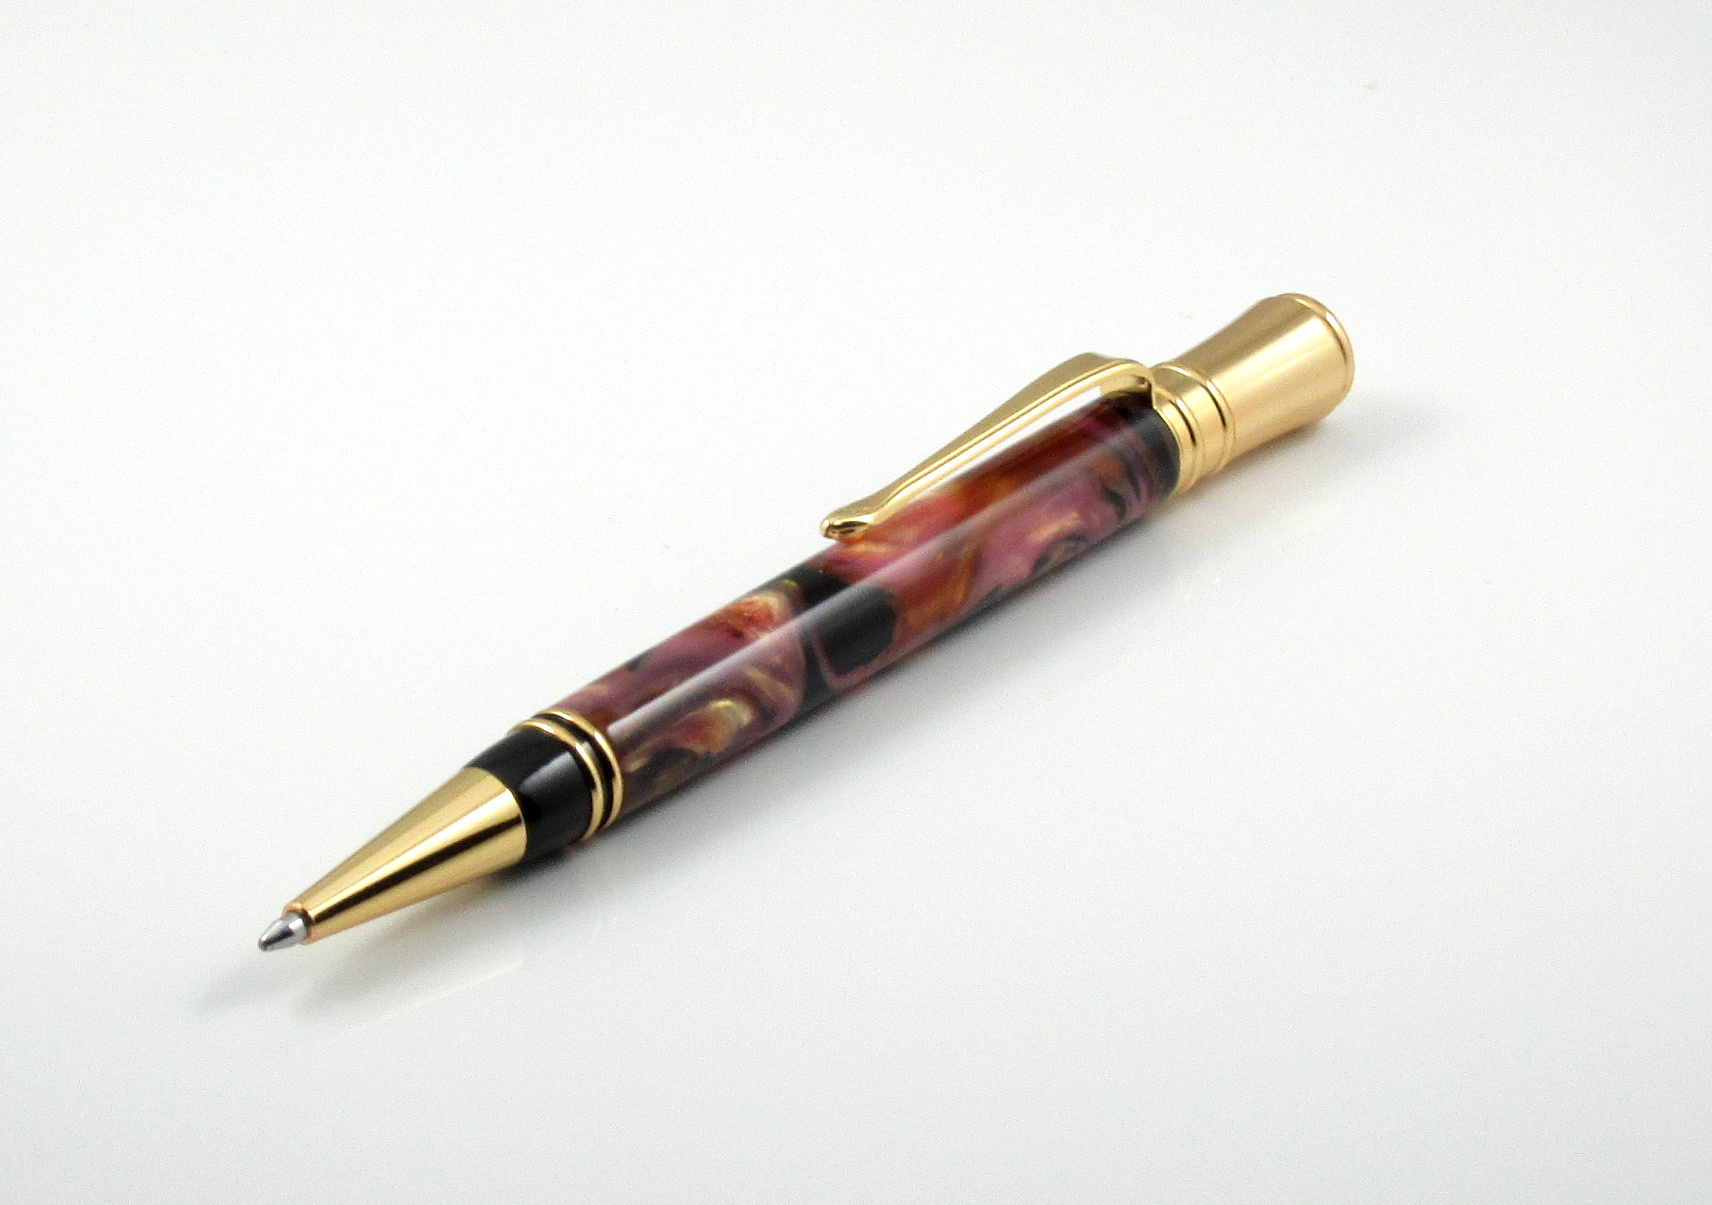
I had been shooting my pen pictures with my smartphone and a DIY lightbox and was getting less than ideal results. I grabbed one of these and purchased a cheap light box on Amazon. I am still play with settings, distances, etc but I am Much happier with what I am getting now. Any C&C is certainly welcome.
Let's discuss what "polarization" is, and how it occurs. Light emitted by most sources (including Incandescent bulbs, fluorescent bulbs, LEDs, and the Sun) is not polarized. It can become polarized either by passing through a polarizing filter, or by reflecting off certain surfaces. Unpolarized light can be thought of as consisting of two equal amounts of light polarized perpendicularly to each other. When light polarized in one direction is removed (by the filter or reflection), then the remaining light is polarized in the other direction. Non-conductive surfaces, such as water, glass, or glossy plastic finishes, tend to produce polarized reflections. Conductive surfaces, like metal, generally do not.I don't why you guys are hell bent to use lighting that has electromagnetic polarized light in it without filtering out the polarized light.
So when the polarized light strikes ANY non metallic SMOOTH surface IT is not TURNNED INTO POLARIZED REFLECTION AKA GLARE.
Yes, I can. Careful placement of small black or white objects, such as bits of paper, within the tent (but outside the field of view) can provide extra highlights or edge definition. Black tape on the light tent wall can reduce or eliminate hot spots. An object between the lights and the light tent wall (a.k.a. "gobo") can control the size, shape, and position of a reflective highlight (i.e. glare).You cannot control angle of reflection in a tent.......................
Let's discuss what "polarization" is, and how it occurs. Light emitted by most sources (including Incandescent bulbs, fluorescent bulbs, LEDs, and the Sun) is not polarized. It can become polarized either by passing through a polarizing filter, or by reflecting off certain surfaces. Unpolarized light can be thought of as consisting of two equal amounts of light polarized perpendicularly to each other. When light polarized in one direction is removed (by the filter or reflection), then the remaining light is polarized in the other direction. Non-conductive surfaces, such as water, glass, or glossy plastic finishes, tend to produce polarized reflections. Conductive surfaces, like metal, generally do not.I don't why you guys are hell bent to use lighting that has electromagnetic polarized light in it without filtering out the polarized light.
So when the polarized light strikes ANY non metallic SMOOTH surface IT is not TURNNED INTO POLARIZED REFLECTION AKA GLARE.
Now, about glare. Glare itself is not necessarily bad. It provides the specular highlights that give shape and depth to curved surfaces. It also reveals the quality of a high-gloss finish. The trick is to show the right amount of glare. Glare can be either polarized or unpolarized. A polarizing filter can remove polarized glare, but not unpolarized glare.
Either way, a light tent's purpose is not to control glare. Rather, it is to provide illumination from a very wide "family of angles" (to use a phrase from the book "Light - Science & Magic". Surrounding the item to be photographed with light from all directions helps show off curved reflective surfaces - such as the metal components of a pen. If you don't illuminate the entire "family of angles" of those parts, you'll wind up with dark (potentially black) spots. I encourage you to read the next chapter of Light - Science & Magic, titled "Metal". It discusses ways to manage unpolarized glare and includes a section on using a light tent. My copy is the fourth edition, and "Using a Tent" begins on page 151.
Yes, I can. Careful placement of small black or white objects, such as bits of paper, within the tent (but outside the field of view) can provide extra highlights or edge definition. Black tape on the light tent wall can reduce or eliminate hot spots. An object between the lights and the light tent wall (a.k.a. "gobo") can control the size, shape, and position of a reflective highlight (i.e. glare).You cannot control angle of reflection in a tent.......................
Don't get too hung up on polarization. Although the polarizing filter is one tool for cutting glare, it is not the only one. It also does not work in all circumstances. Remember, "if the direct reflection is polarized, a lens polarizing filter will get rid of it.... If, however, the subject is a glossy box, we more often save the polarizer as a next-to-last resort" (Light - Science & Magic, fourth edition, p. 114).
I hope that helps,
Eric
I set things up again and took a couple of snapshots of my "studio". I removed one wall of the light tent to show how things are laid out inside. I also propped a yardstick up on the camera so you can see that it is just about 3ft away from the pen.I'm trying to visualize your 3' distance from pen-to-camera. ...
I would like to see a picture of your setup, too, so I can fully understand the size of your light tent and distances.

amazon seems much cheaper than local places. I need one too.I received mine yesterday now.. Where is the best place to get a memory card?
I received mine yesterday now.. Where is the best place to get a memory card?
I decided to "put my money where my mouth is" and made myself a tripod standoff:It wouldn't be that difficult to fabricate a 2" standoff for the tripod screw. It's a standard 1/4"x20 thread.... having to mount and then unscrew the Canon SX160 to "any" tripod - the door for removing the SD card necessitates removing the camera. There's no angle it can be turned while mounted that gives enough clearance to open the battery/SD card door.
Can anyone make a recommendation on some kind of mount that would work as a quick-release plate but doesn't cover the SD card door?


