Bob Wemm
Member
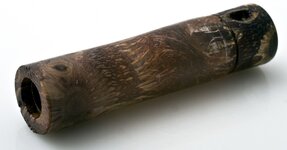
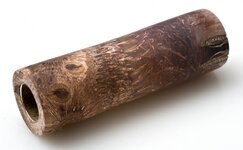
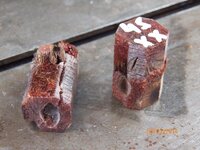
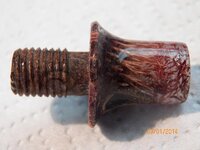
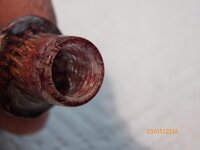
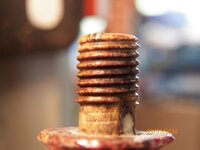
I blew the end out of mine today, i had sharp tools and i went slow, kept adding ca to it. Oh well its going to be a key chain now. Good thing i have 5 more. I really like this blank..
Mike
Hi Mike,
Bugger...! not you too...!:frown:
You know, I'm expecting a lot of complains from people that these last 2 months decided to by 10 blanks at the time, that I don't know and I'm afraid, they are not ready for these sort of blanks and that are going to have troubles when they handle these as normal solid wood or full acrylic blanks.
If I ask what skills/experience they have as penturners, "they" get offended and upset so, I stop asking and sending them here to see the tutorials and other info I have about these blanks but, I doubt that half of them even bothered, and that, I can't do anything about it.
I realised too late that, I was not doing myself any favours buy allowing such orders sizes and in quick succession, not knowing where 2/3 of them went (turners skill), reason why I stop making them and remove the listing from my eBay store.
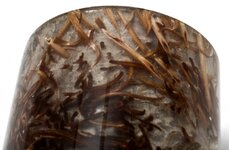
Sure, I would like to know that after years of trying to promote and demonstrated how different and special pens made with these blanks can be/look, and the fact that people all over the world were having the chance to have a go and see what my front yard Banksia Hairy pods trees produce however, I never intended to see these blanks been blowing apart/destroyed, regardless of the reasons, is my work after all, and I'm proud of it...!
One of the very first "things"/advice that I said/gave was that, even with the sharpest of tools, the risk of having a catch is very real and that would mean the blanks destruction in 70% of cases, the very reason what I "introduced" what I called the "Flap disc system" or anything that works based on the same principle, as the most effective way to go from square to final size/shape, just shy of the final hand sanding process/step.
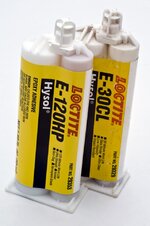
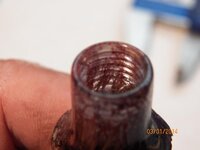
I wish that I had a better recommendation for the drilling than the one I shown on my Tutorial, (tapping the blank and CA soaking inside the hole), but apart from that, I don't have yet, a better suggestion.
Now, I made some pens myself from these same blanks, all from the raw pods cast, I'm yet to make a pen with the stabilised ones as such but, I have turned a few samples as tests so, I have and understanding of how fragile they can be. There will be cases where, a blank was destroyed and nothing anyone could have done to avoid it, one of the most common is a bad catch (everyone get those) and or, a large drill bit grab the inside of the blank and twist/snap it badly. In both cases, the risk could have been minimised by following some principles but, will be always the accidental OOPS that is just that, an accident...!
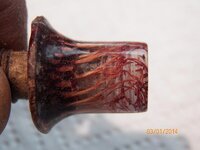
I always like to see the pics of the damaged/destroyed blanks and see better what happened, sometimes they can be fixed, other times not so much. Being 100% successful is not as easy as one may think, there will be always some lost blanks that in my view are the price to learn and to improve ones skills. Giving up because is difficult, is never the solution and while the bank replacement cost is now a little higher than before, is not the end of the world and not something that will cost you hundreds of dollars to replace so, I still believe that is well worth it when that blanks lets you get to the finished product and allow you to "show-case" a very unique pen, indeed...!
So, you may have lost half of the blank, I'm sure you learn something, huh...???:biggrin:
Good luck...!
Cheers
George
George, don't know if this is the right thing to do but I have to classify myself as a VERY INEXPERIENCED PEN turner. As you know I have made two pens with these blanks, raw resin, and no stabilisation.
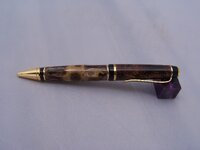
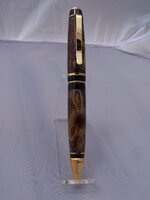
I followed your instructions and had a minor blow-out with the first one which I repaired with a bit of ebony. The second one finished without a drama. So I reckon if I can do it, then anyone should be able to, as long as they follow your tutorial.
Bob.
")