robutacion
Member
Hi peoples,
I wonder how many of you use CNC machines and if ever used the A axis and worked with wood and used to the Mach3 software...??
I'm using a Chinese one with 4 axis, USB and 1,500W spindle, thanks goodness that Chinese keep making stuff cheap that allow many of us have a go at things that otherwise would be impossible, they are no longer that expensive.
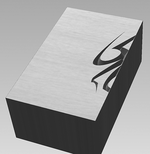
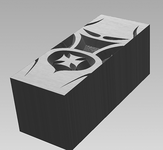
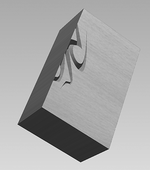
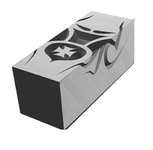
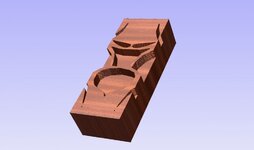
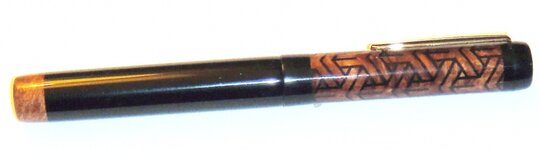
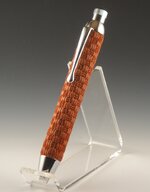
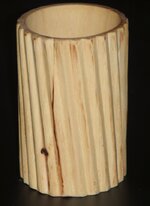
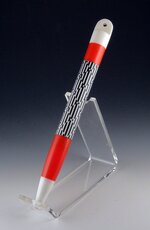
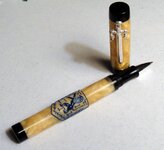
I'm also looking for possible models/designs Gcodes that I could use to make some pretty stuff. I'm using Vector Art software to work the Gcodes most are from V3M. files, I purchased a hand full of small designs, most of animals and other small stuff, willing to share my files with someone that has some I could use...!
Please, let me know...!
Cheers
George
I wonder how many of you use CNC machines and if ever used the A axis and worked with wood and used to the Mach3 software...??
I'm using a Chinese one with 4 axis, USB and 1,500W spindle, thanks goodness that Chinese keep making stuff cheap that allow many of us have a go at things that otherwise would be impossible, they are no longer that expensive.
I'm also looking for possible models/designs Gcodes that I could use to make some pretty stuff. I'm using Vector Art software to work the Gcodes most are from V3M. files, I purchased a hand full of small designs, most of animals and other small stuff, willing to share my files with someone that has some I could use...!
Please, let me know...!
Cheers
George


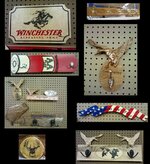
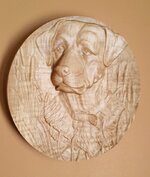
") . The talent here has grown tremendously over the years.
. The talent here has grown tremendously over the years.