kronewi
Member
Thank you Mike. I appreciate the tutorial!
Kevin
Kevin

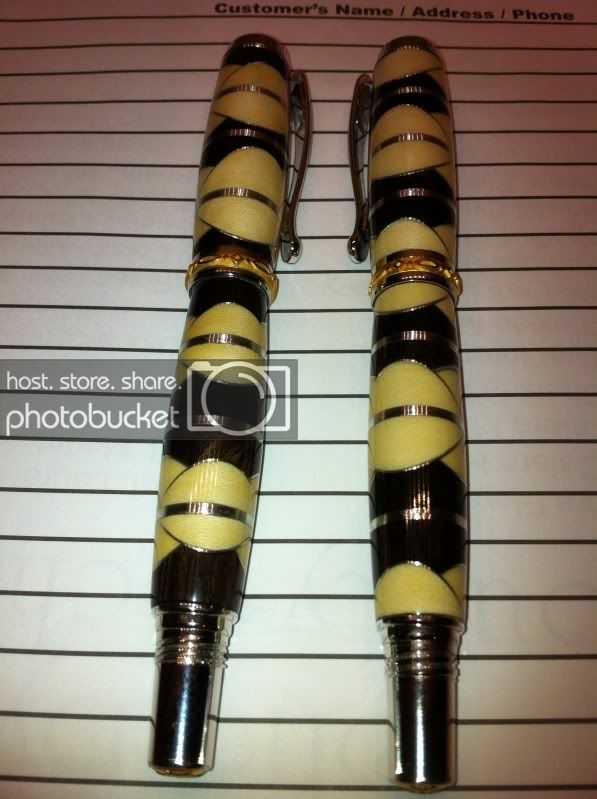
Scallops away. http://www.penturners.org/forum/f13/segmented-scalloped-burled-ivory-89687/
I will eventualy figure out what I want to do with that blank. I may want to enter it in a contest if it comes out well.
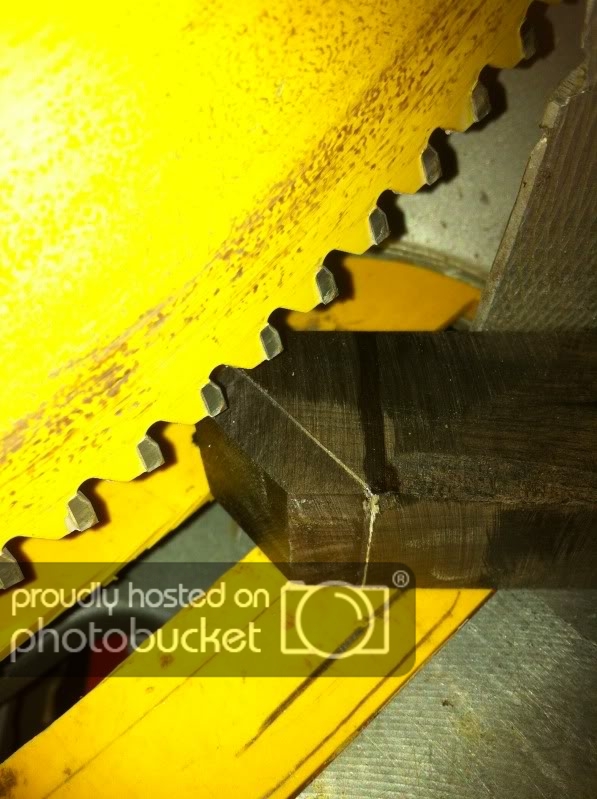
Ok John T. has asked me to explain more about what I am doing and how I have extended my methods so this is the place to do it. I will answer questions here and only here that way all of the information stays here. All of the cuts that are needed to do scalloping using my method are already in this thread but I have added a twist to it. Can you figure out what that twist is? I know that some of you have already figured it out. I will tell you that using my method you will get a break in the lower scallop and this cannot be avoided. You will loose the width of the kerf.
Phil (firewhatfire) figured this some time ago and actually helped me to see what was going on. So again I am going to ask you..
Do you know what sort of twist would give you the second scallop? Twist should be used literally here!
Post your pictures here in this thread if you like and lets see how you are doing at it.


So Steve is absolutely right all you need to do to get the scallops my way is to turn the blank 90 degrees and make exactly the same cut again, add aluminum and reglue and you are done. When you make this second cut you actually cut away some of the old scallop. When you glue the piece back on you glue it minus the kerf of the saw. This is why you see the break. You can tell if you have done a good job by where the break occurs. It takes time to figure that out. There are other things to look for also but this should get you all started. Post your pictures here in this thread if you like and lets see how you are doing at it.
